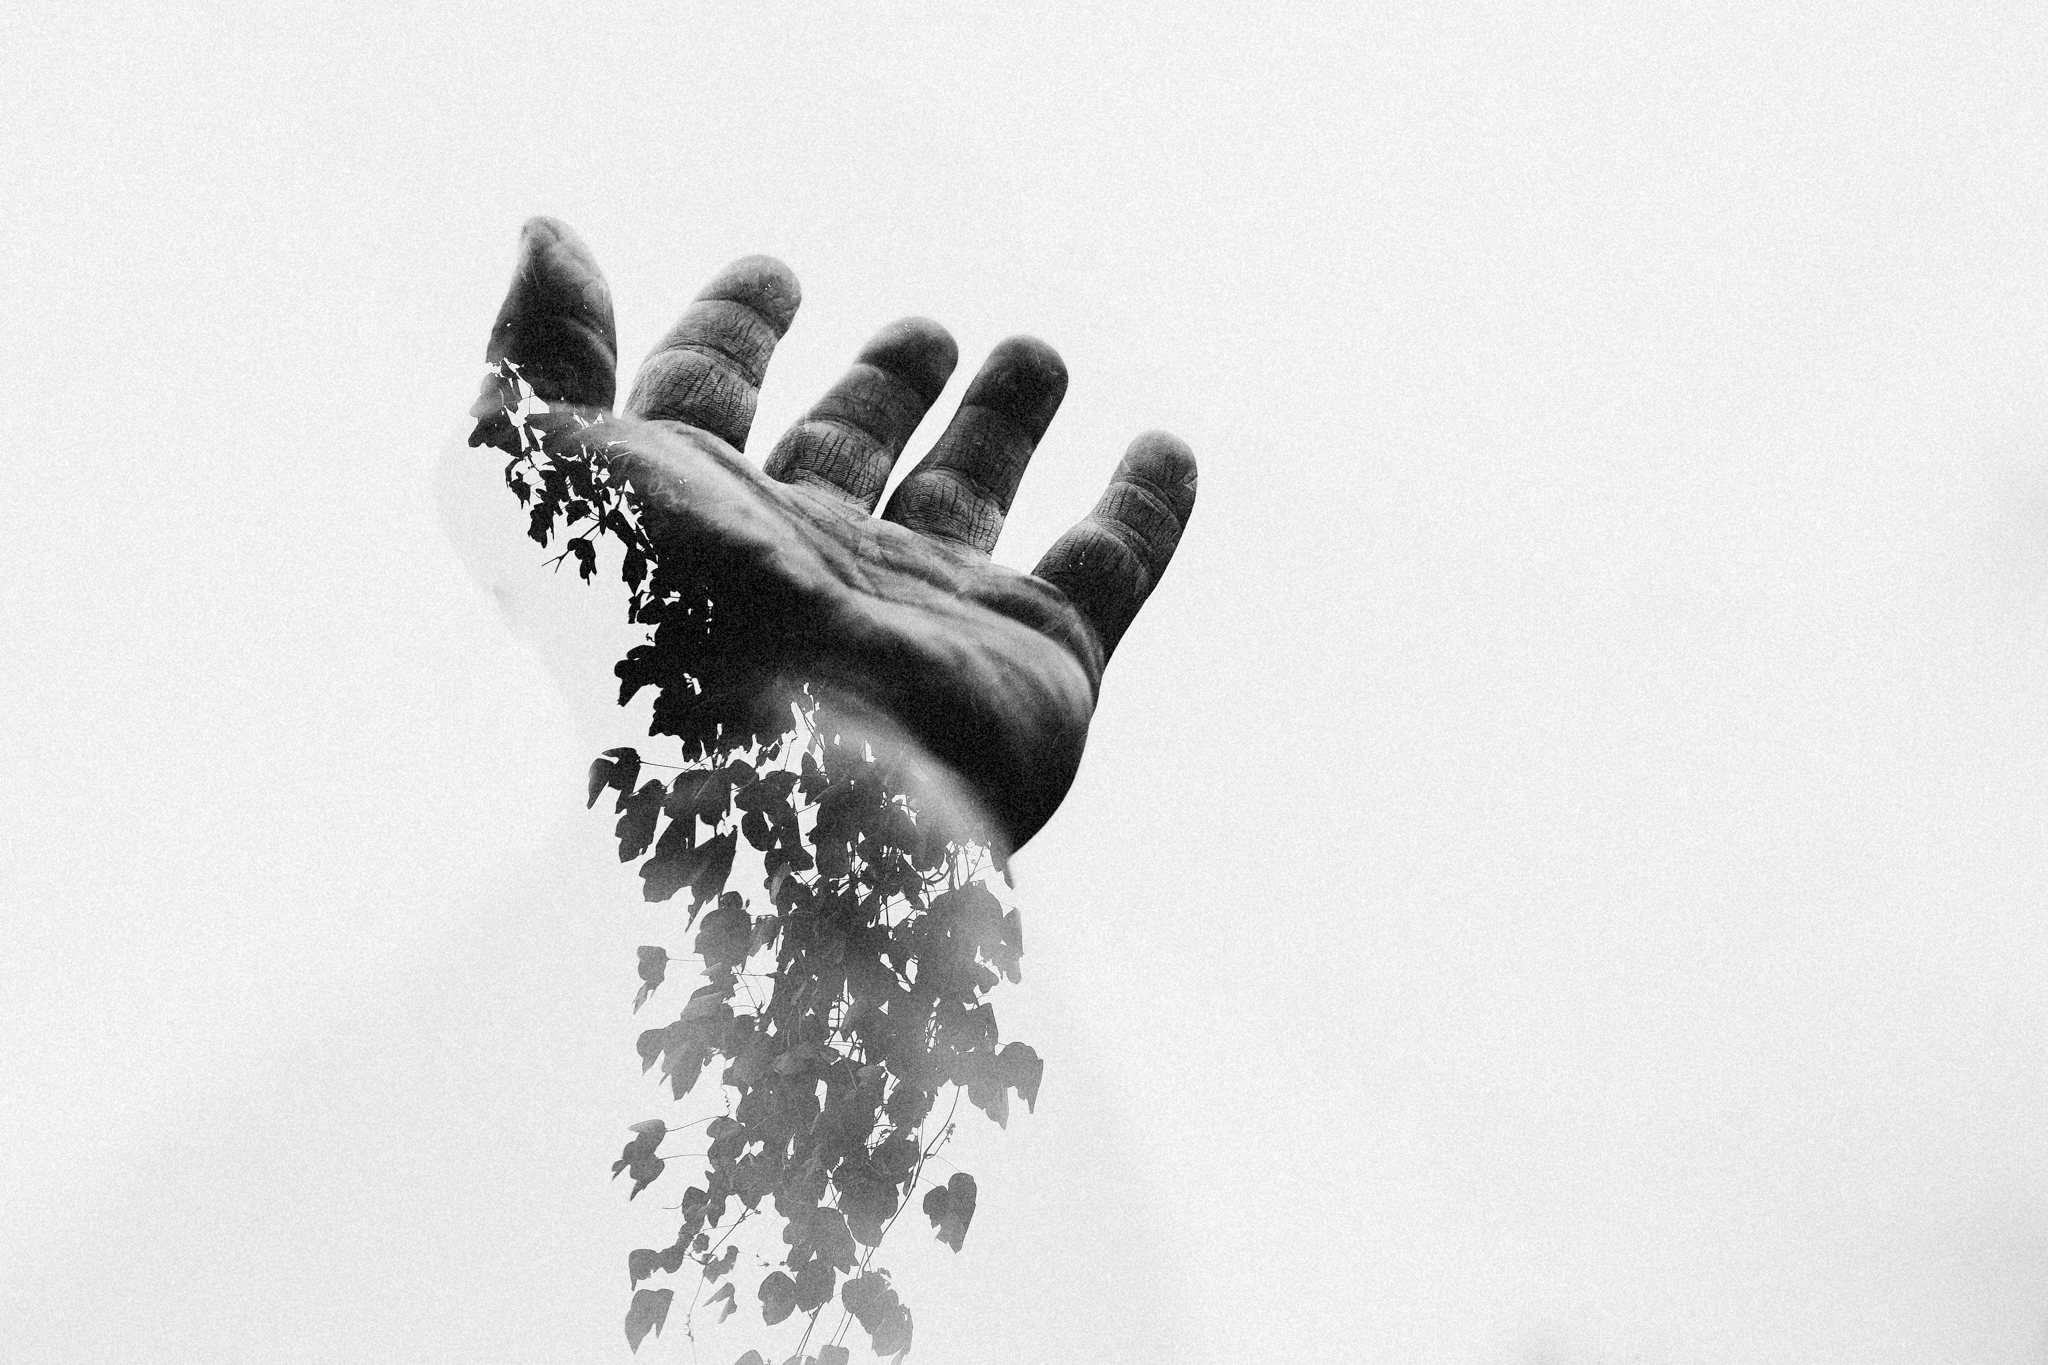
How To Shoot A Double Exposure With The 5D MARK lll & IV
As a "purist", I'm not much into special effects and a ton of "post-production" with my photography. When I discovered that I could make multiple exposures "in-camera" in a few easy steps I was stoked. Read on to learn how to make your own multiple exposure.


Steps to making a "multiple exposure":
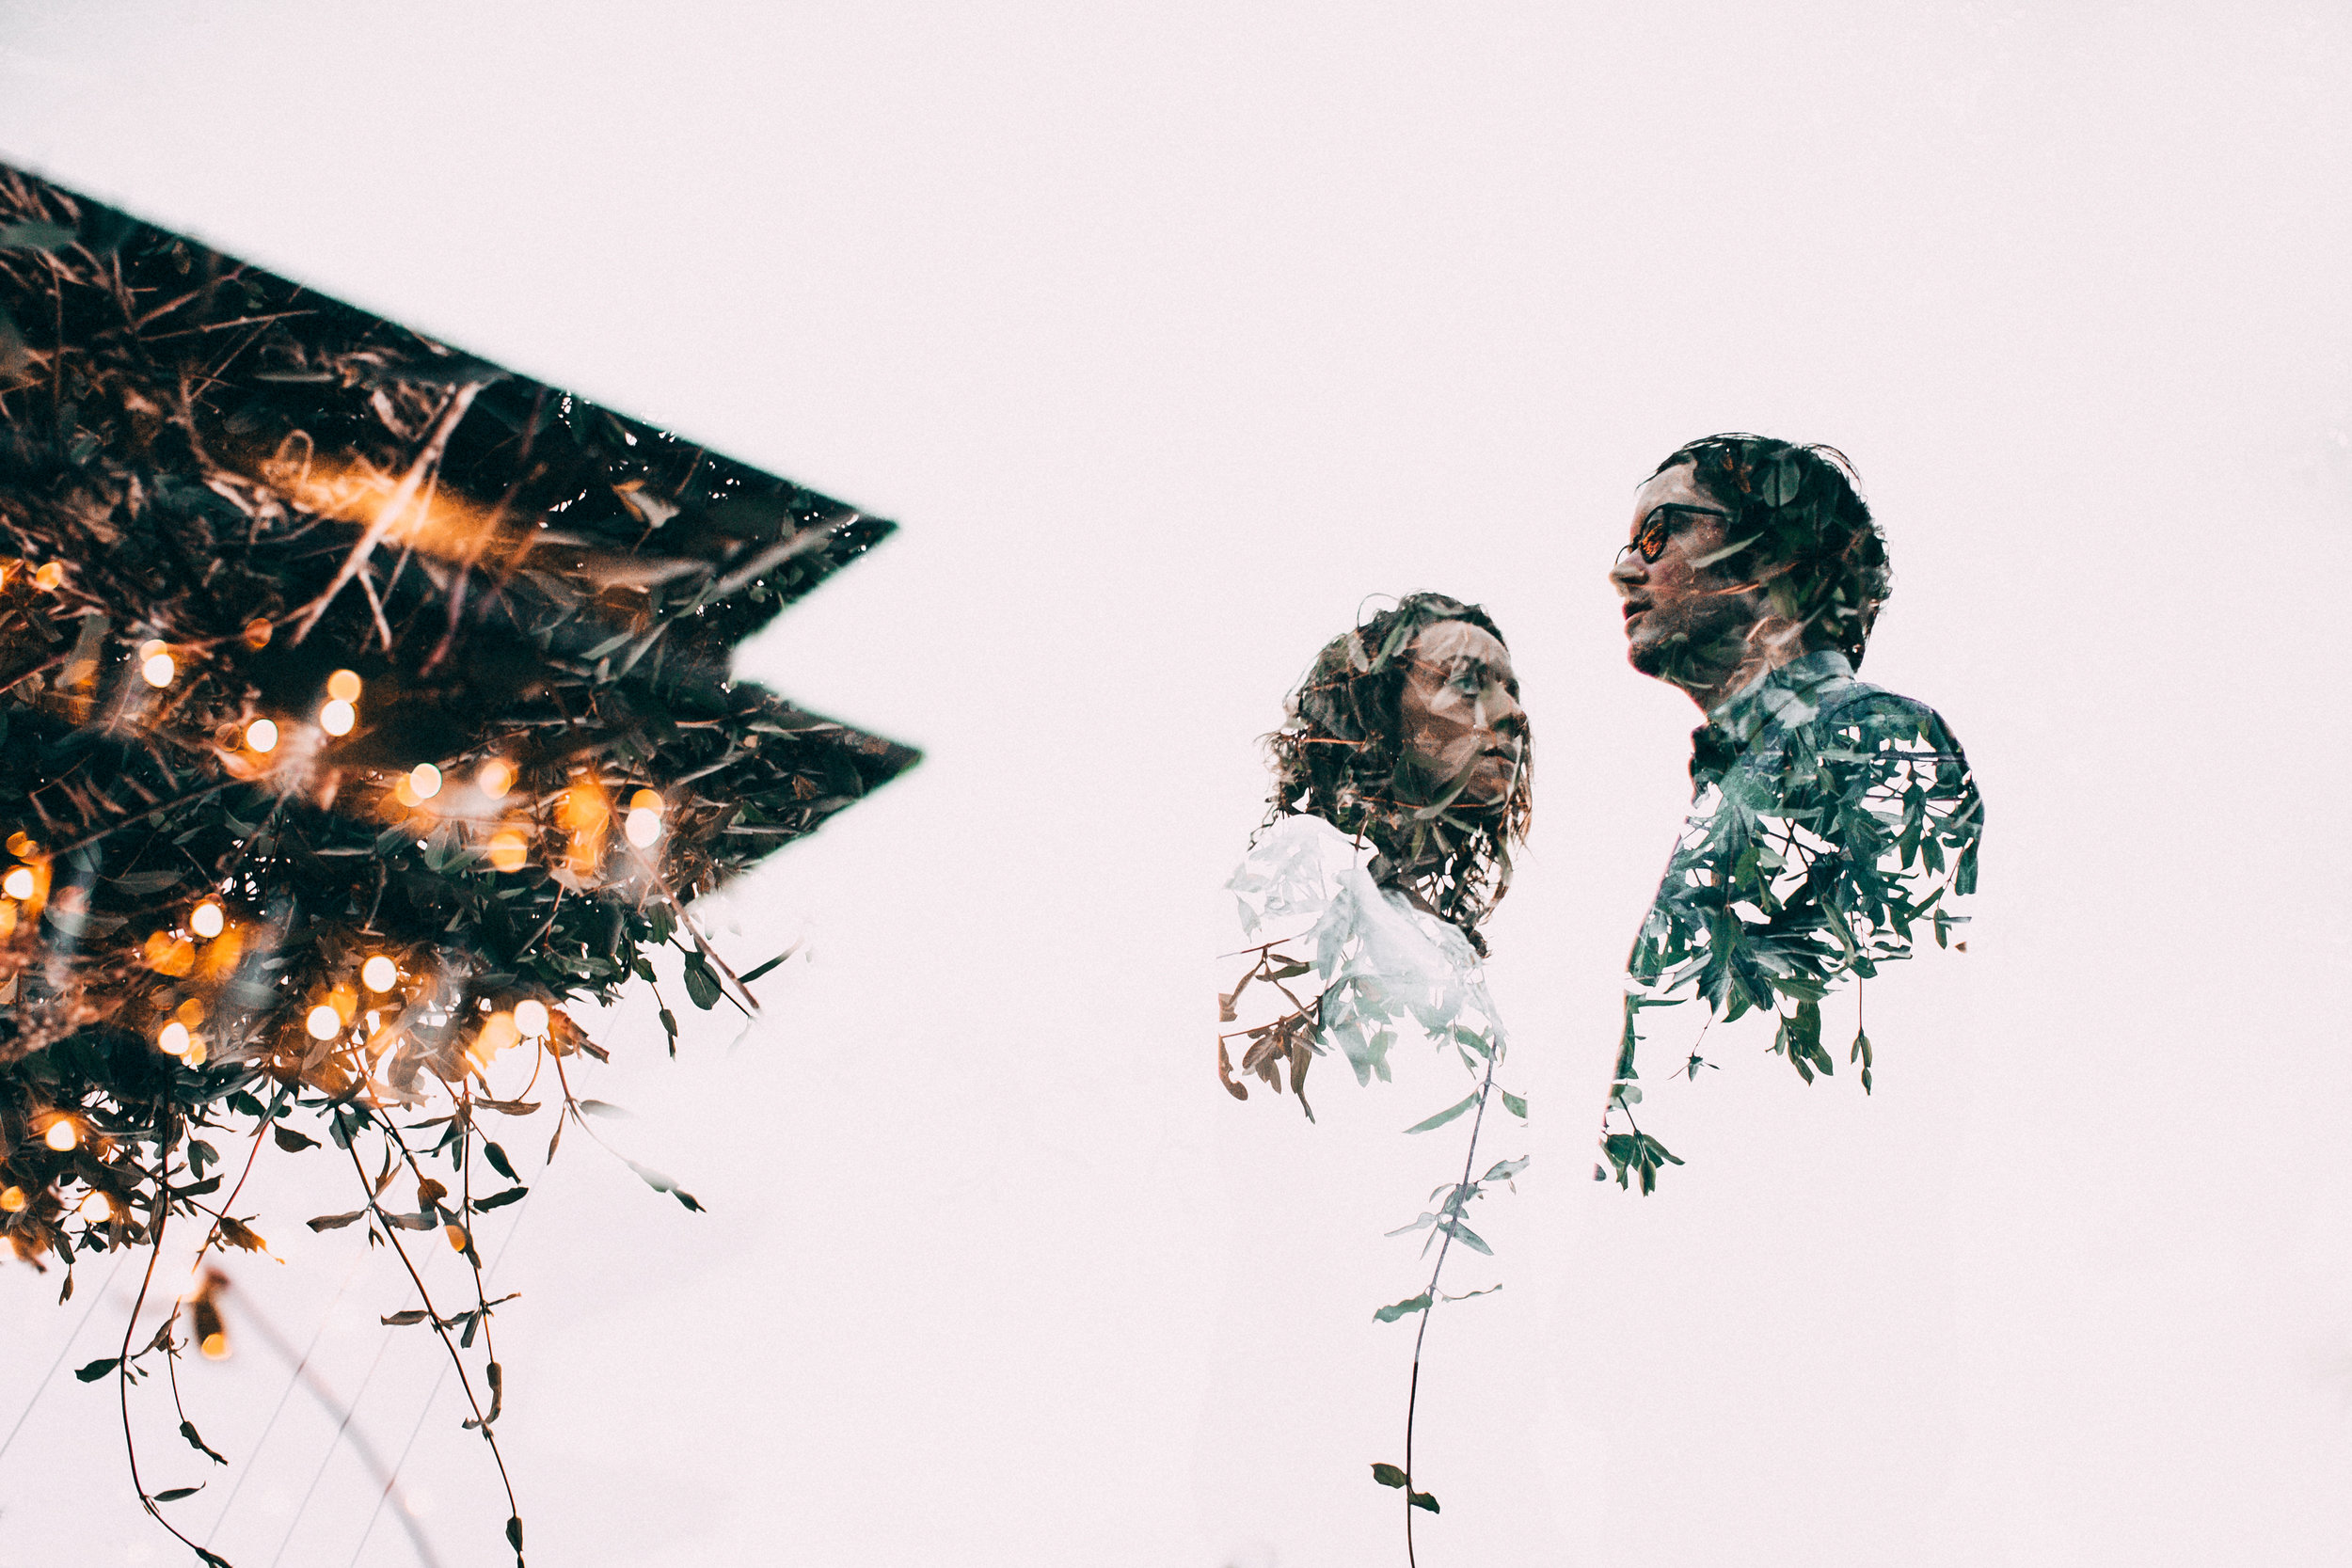
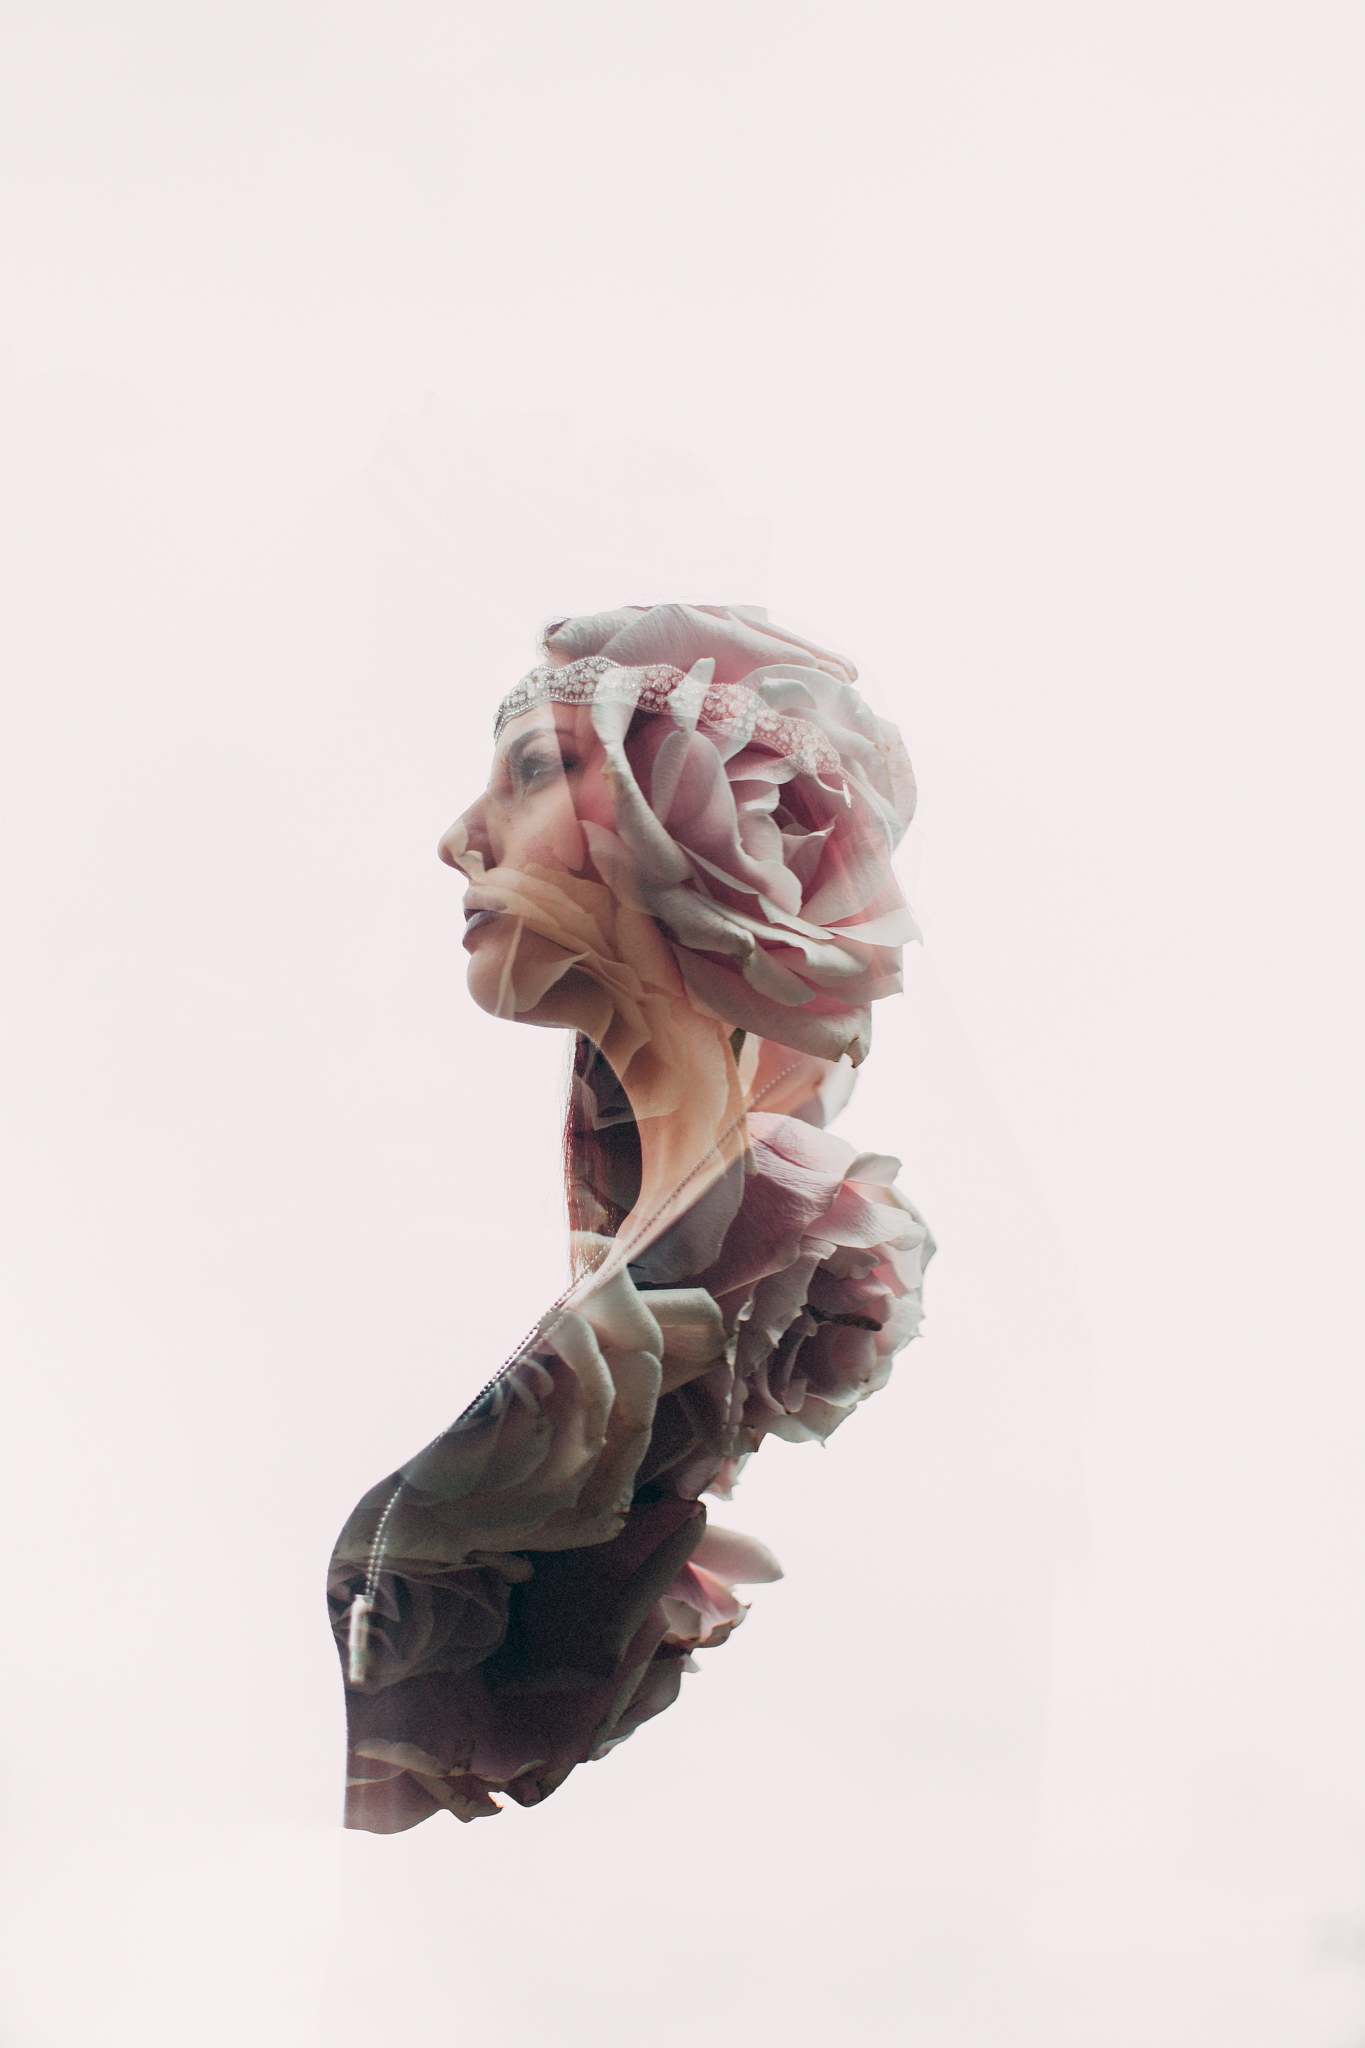
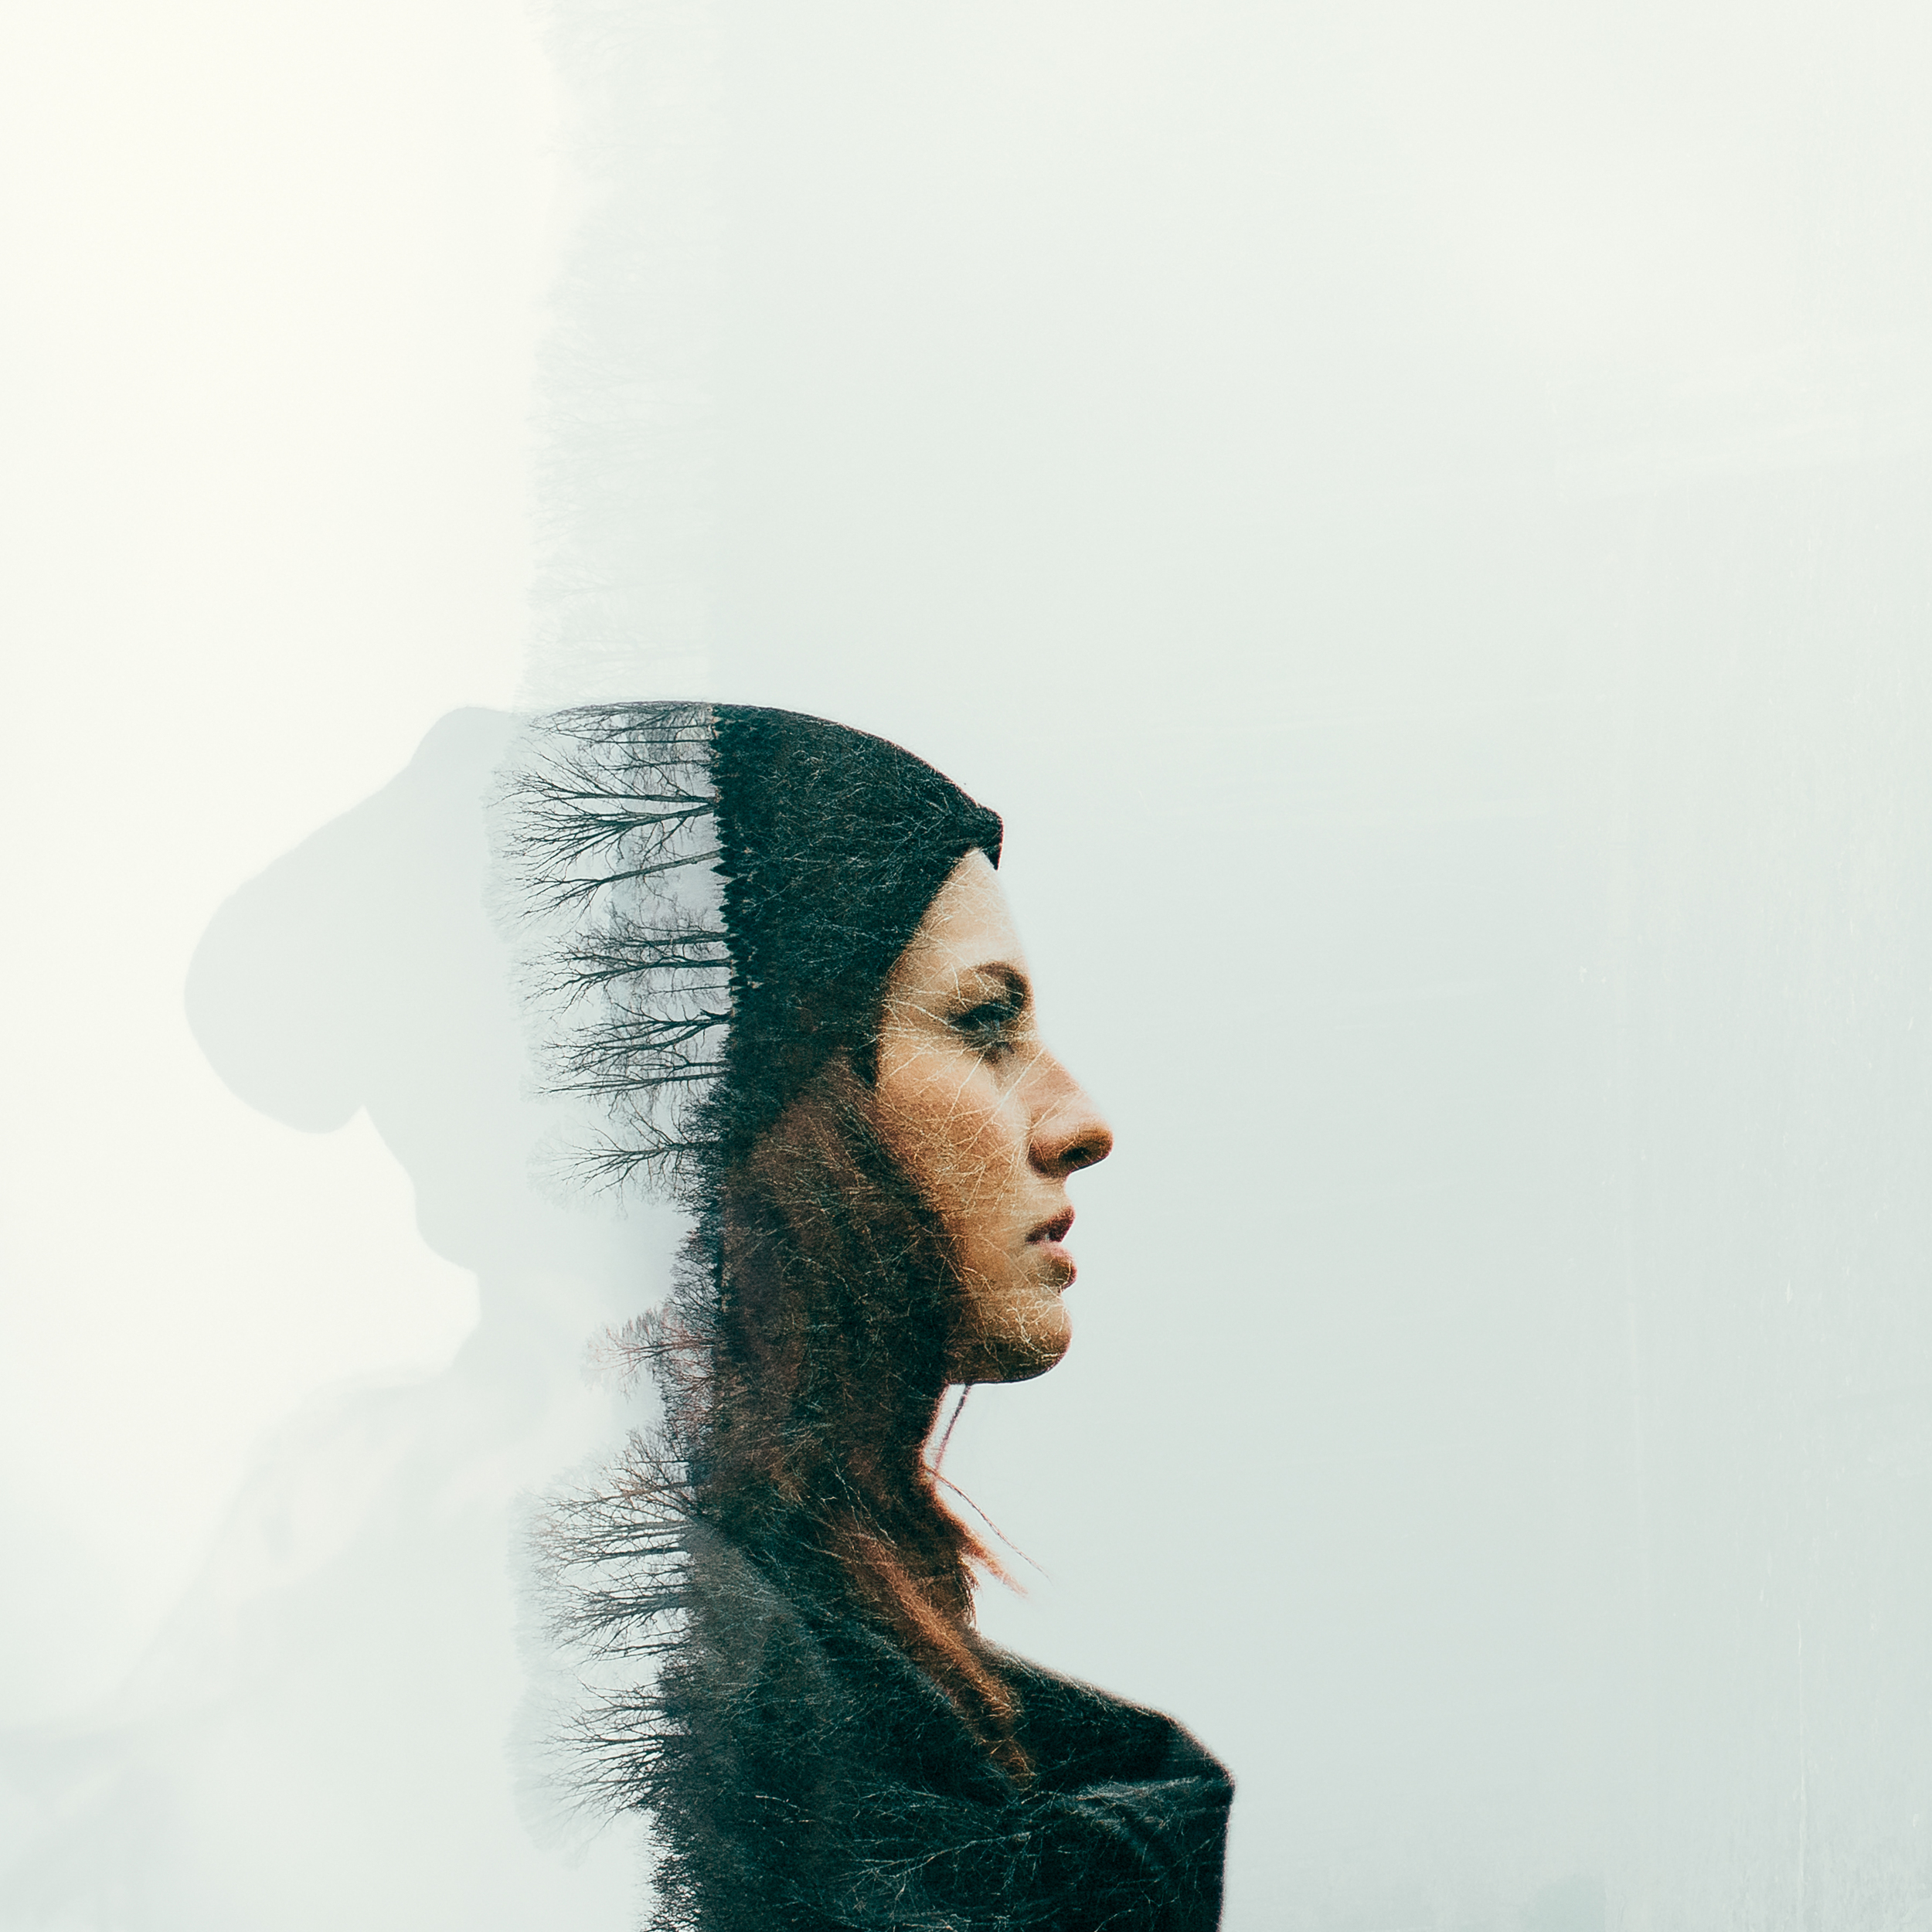
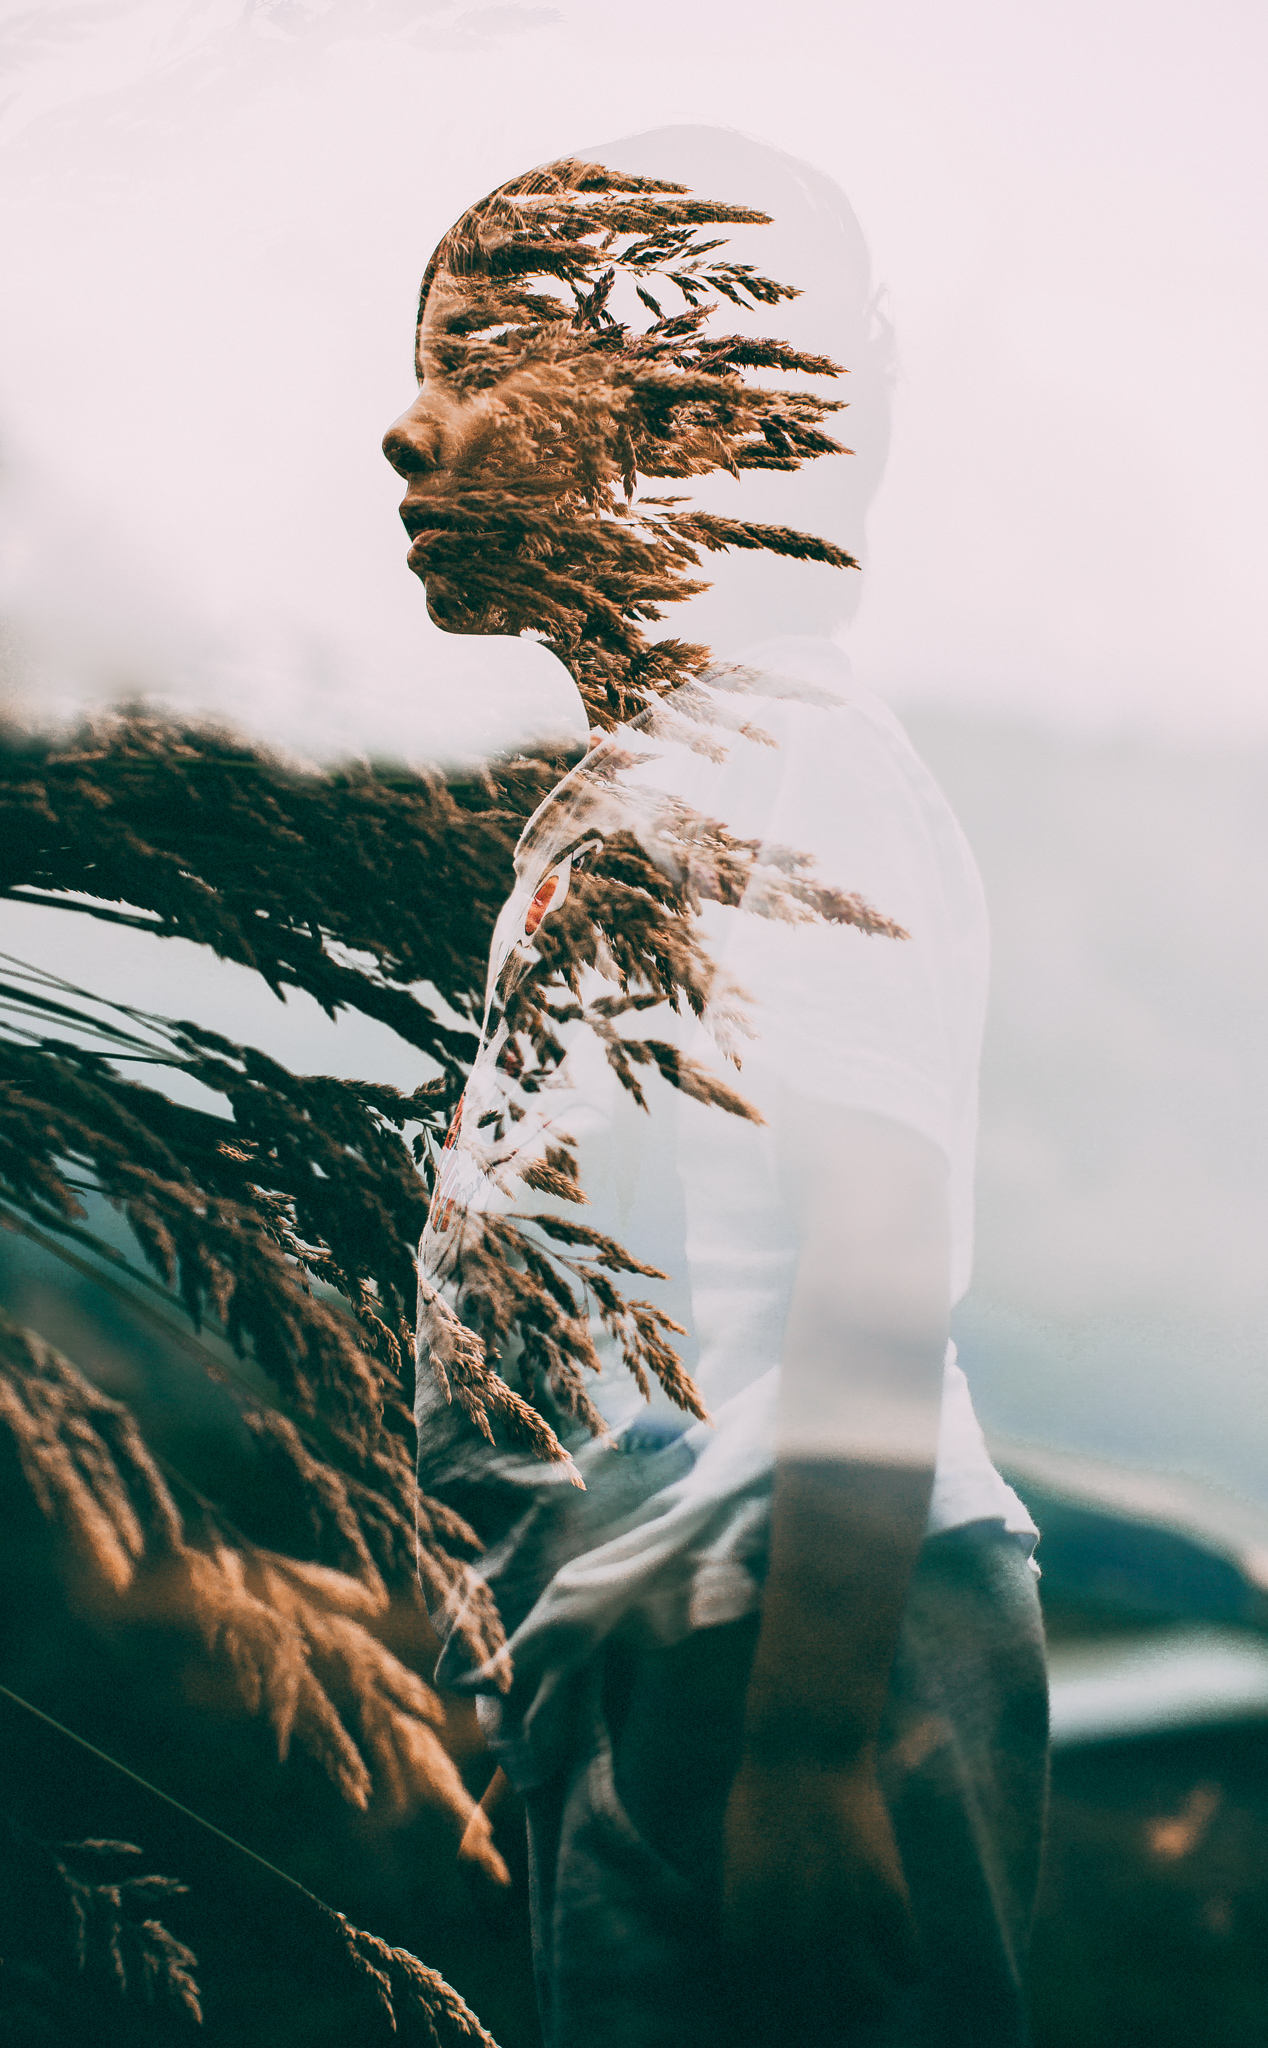
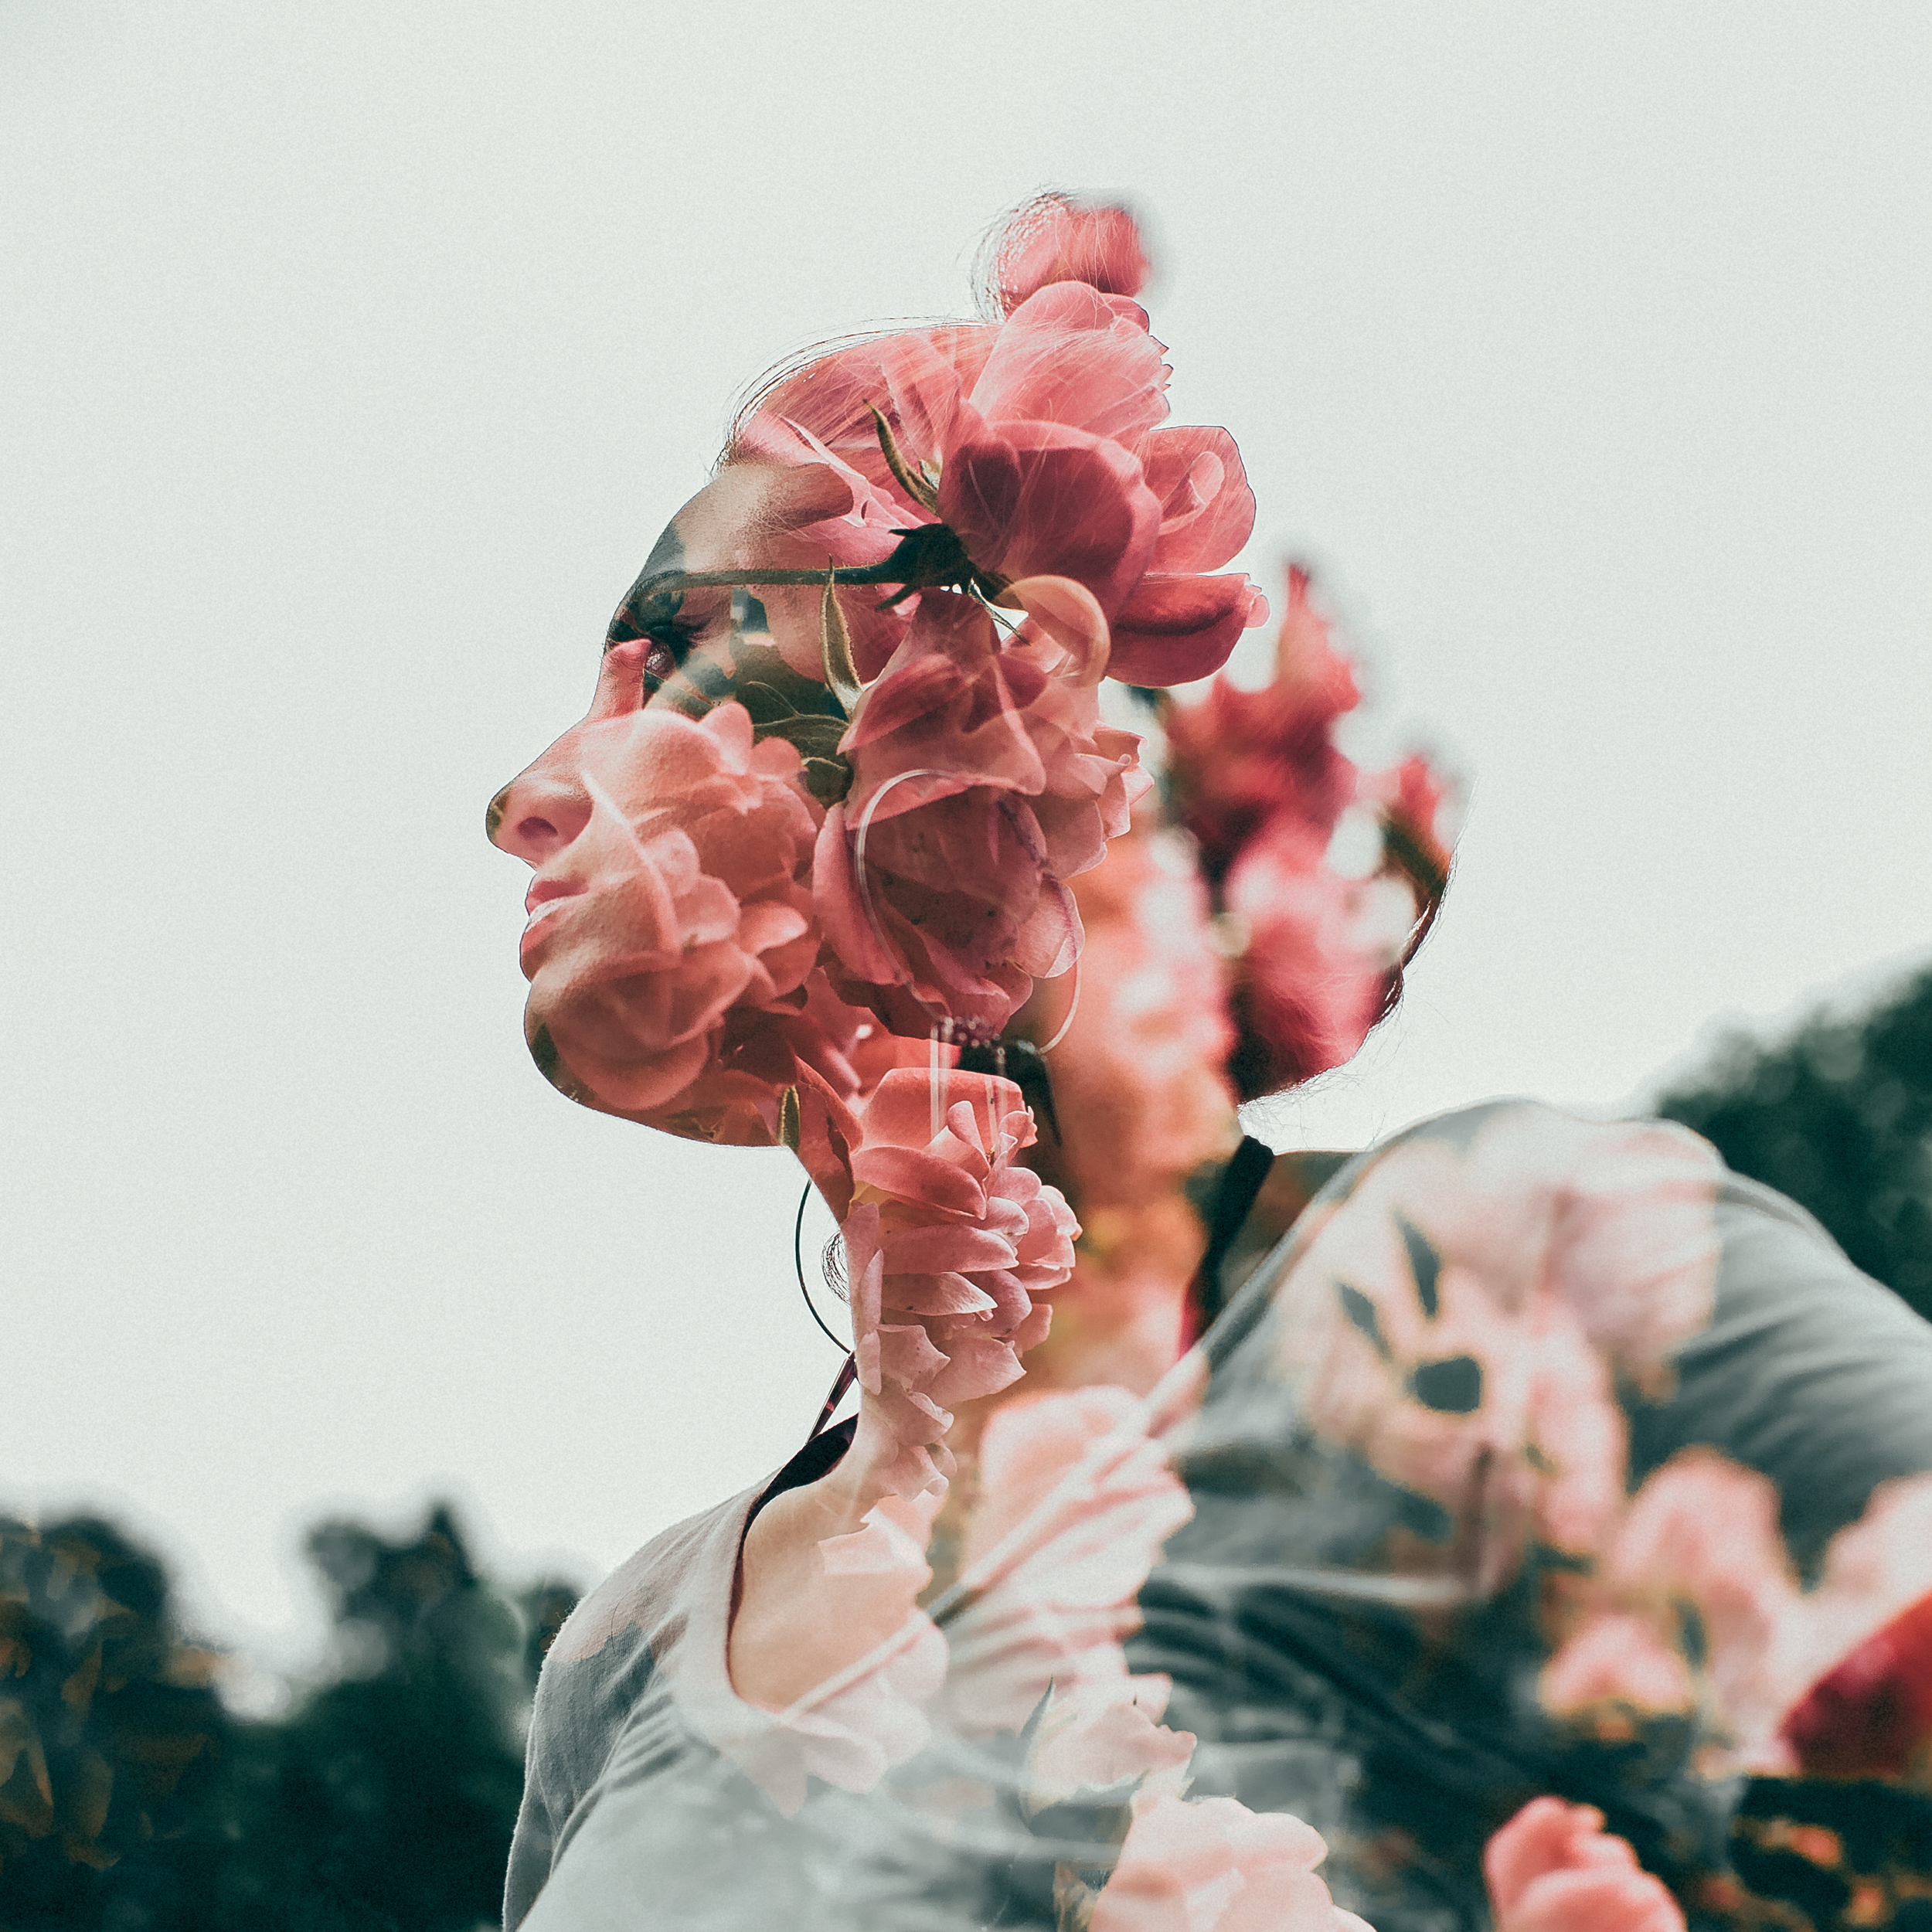
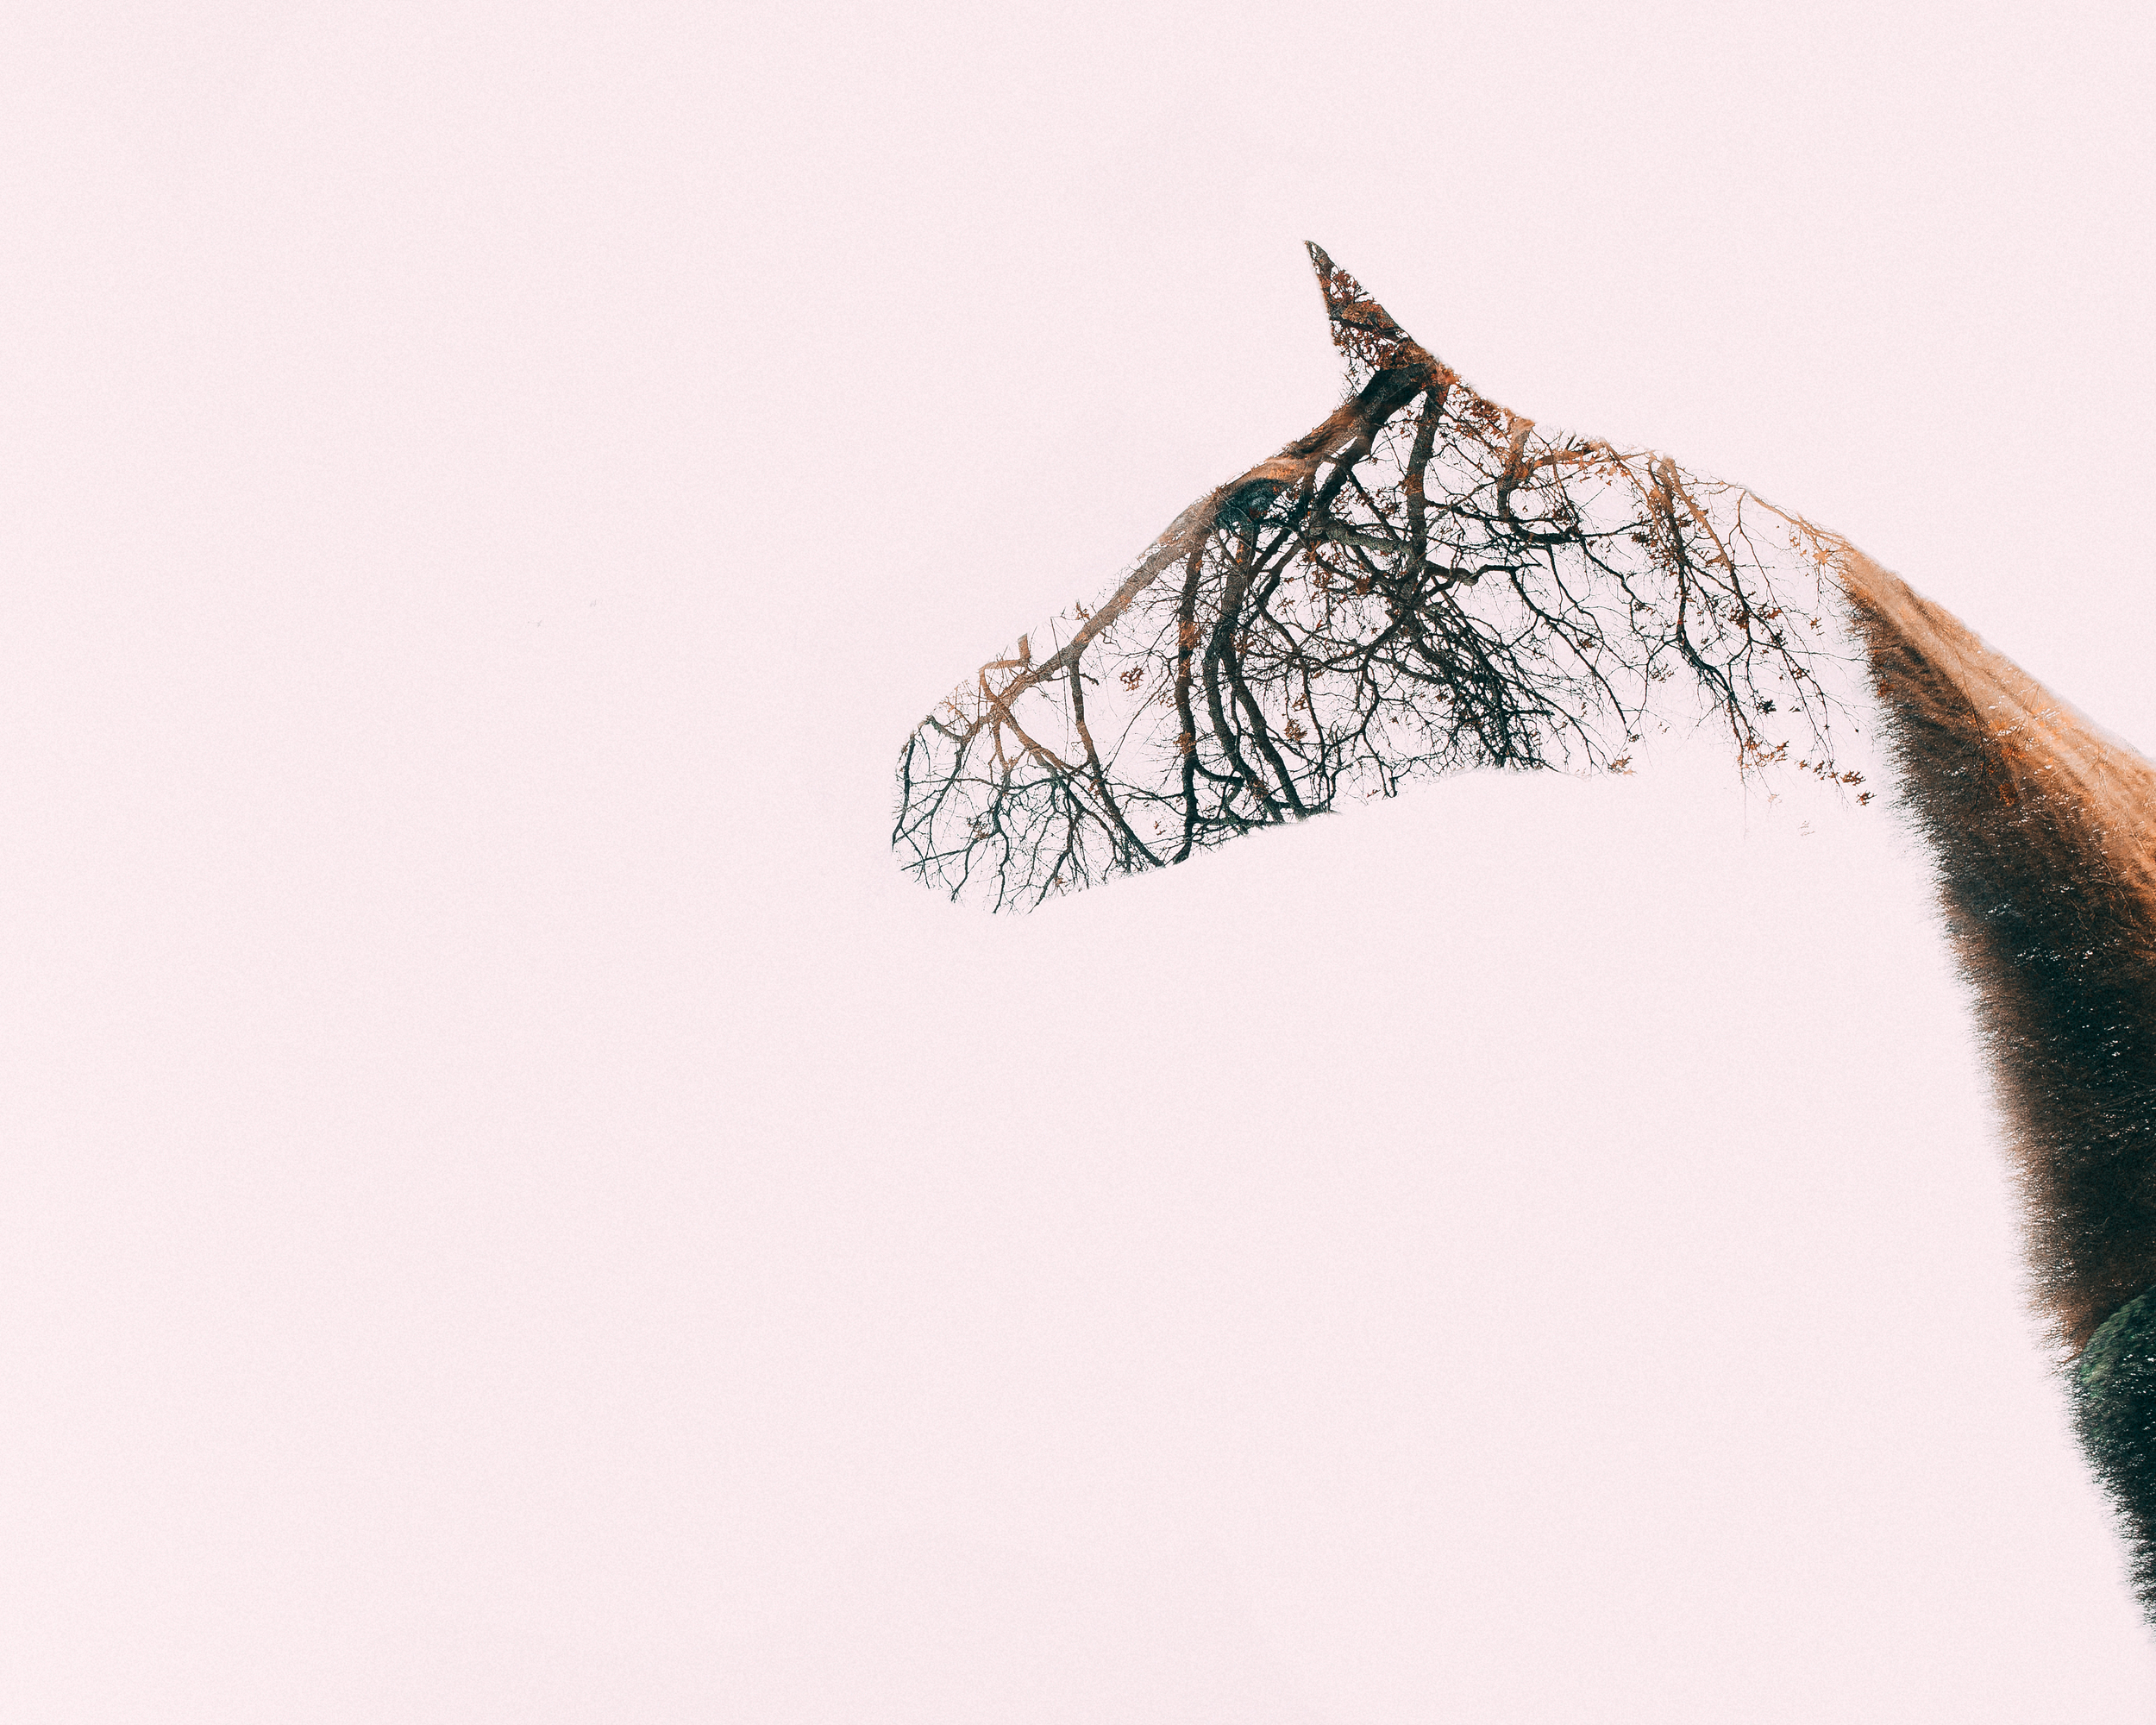
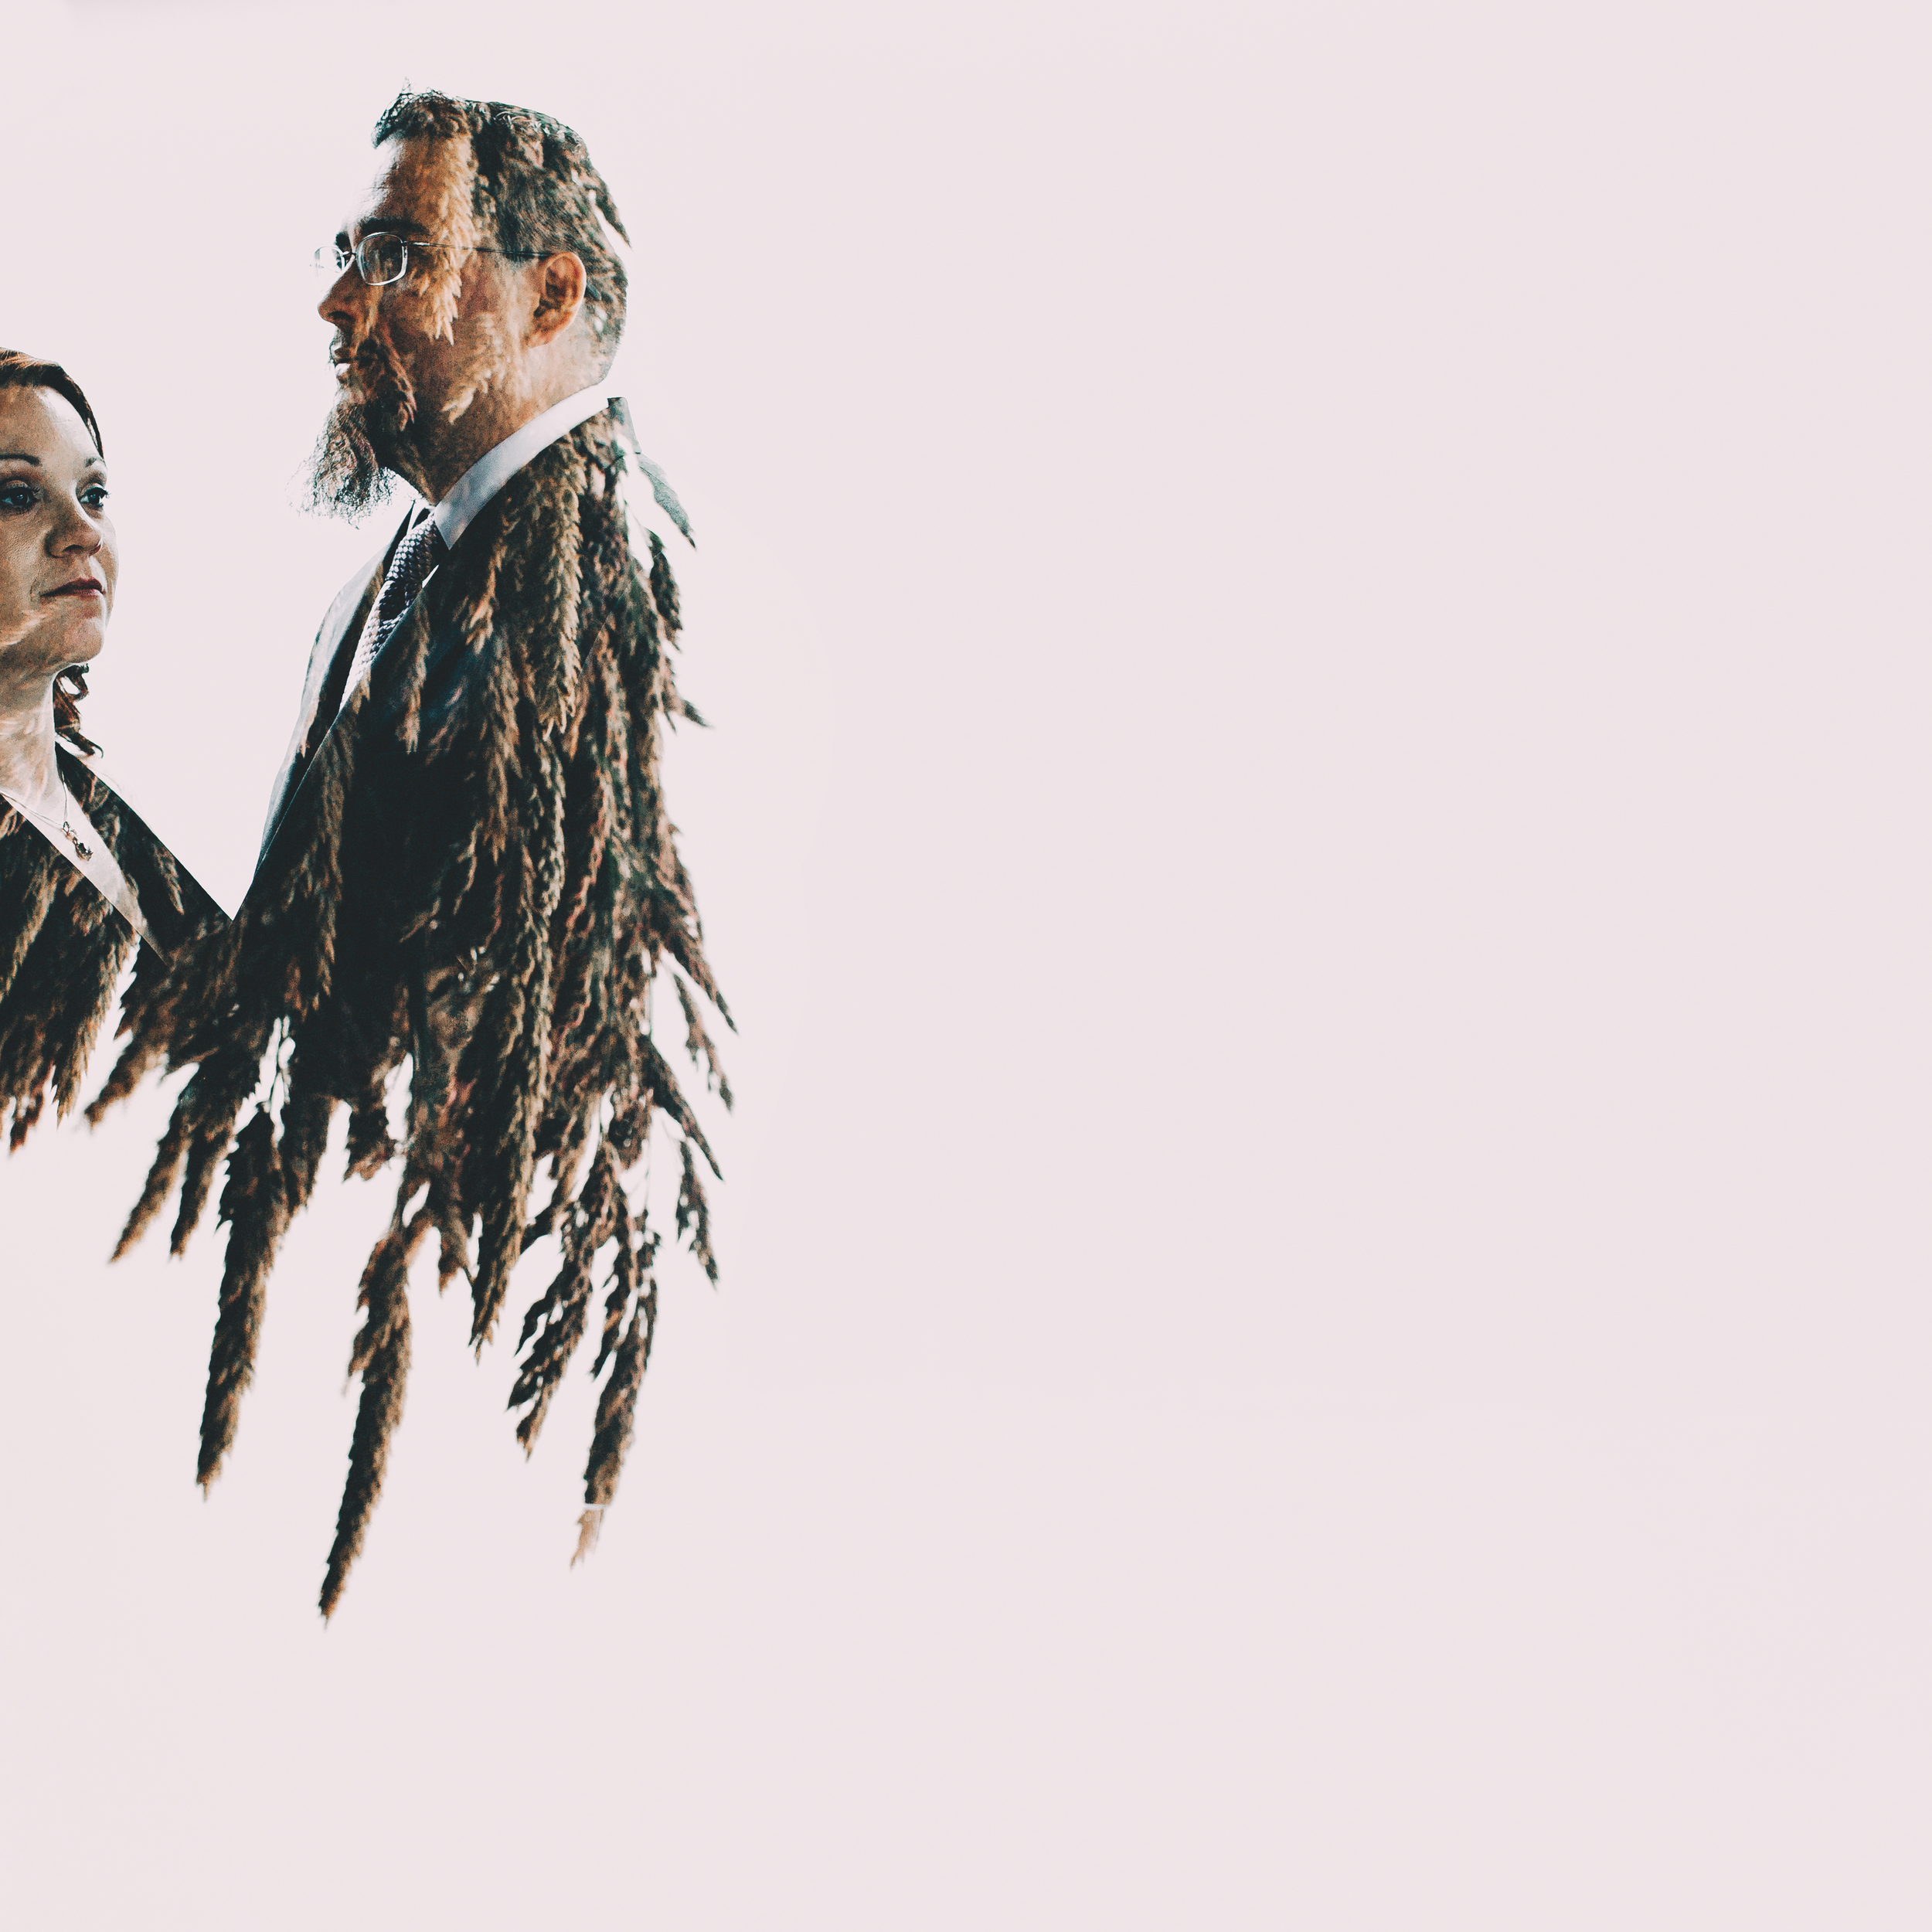
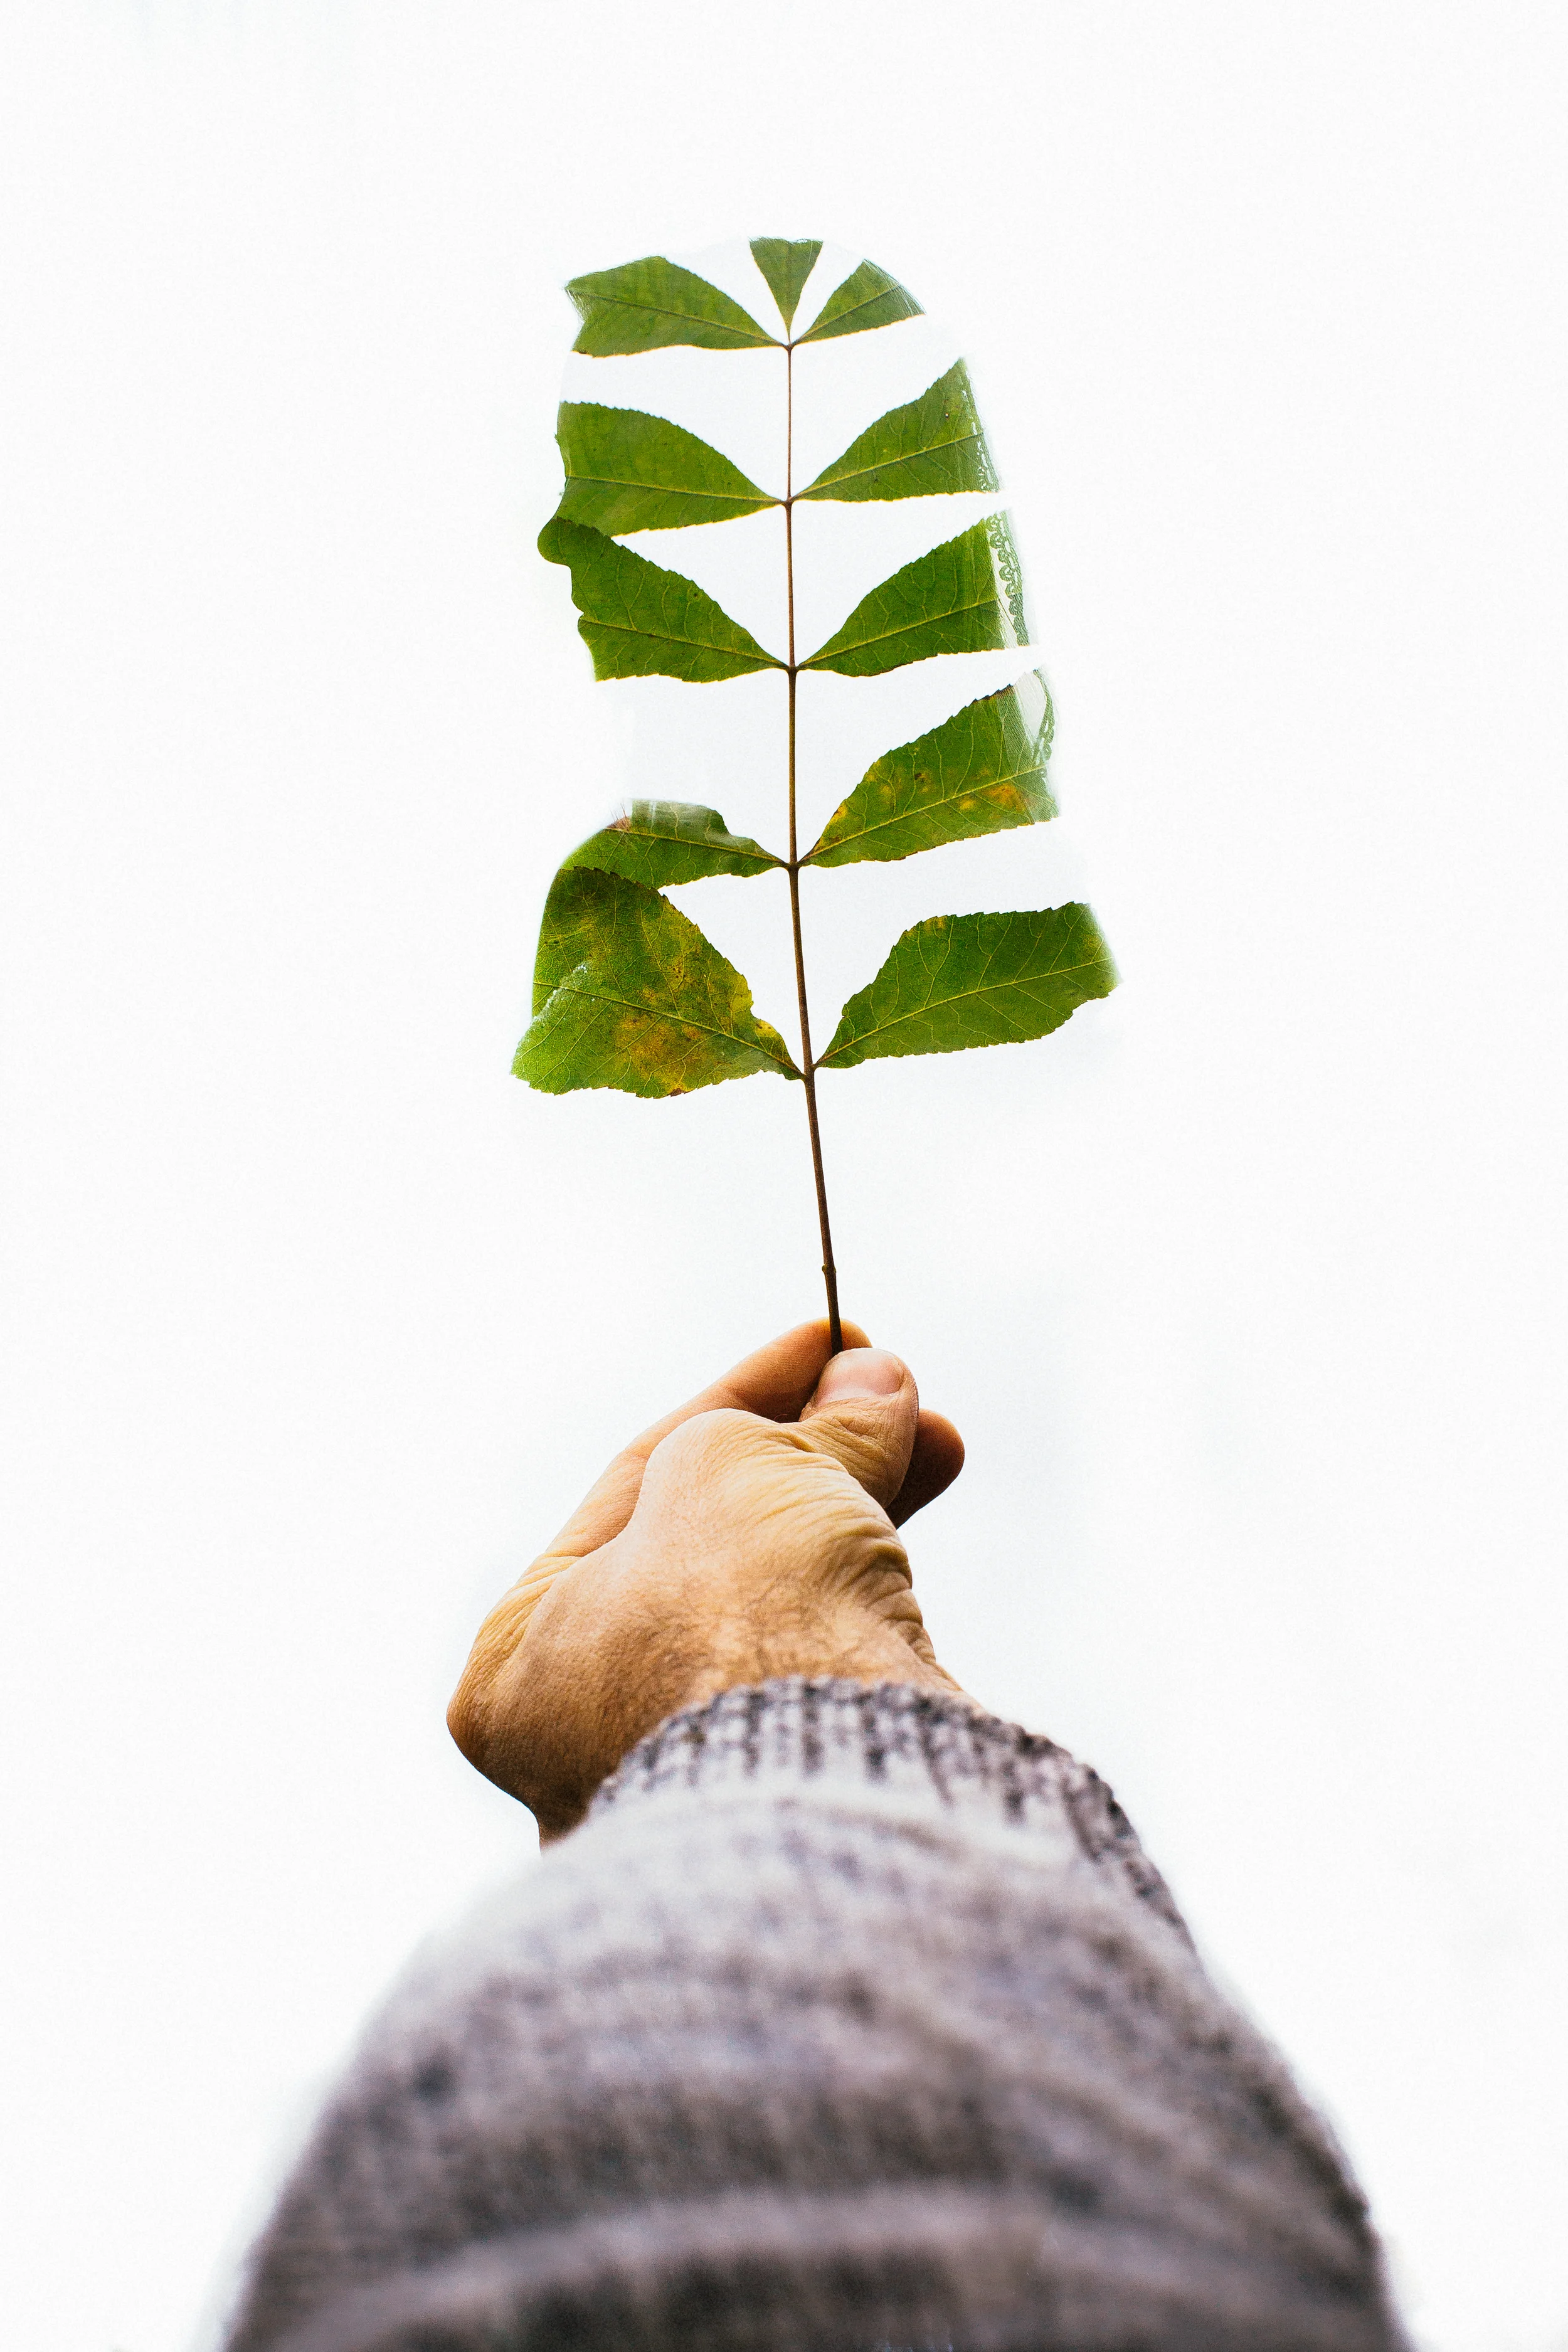
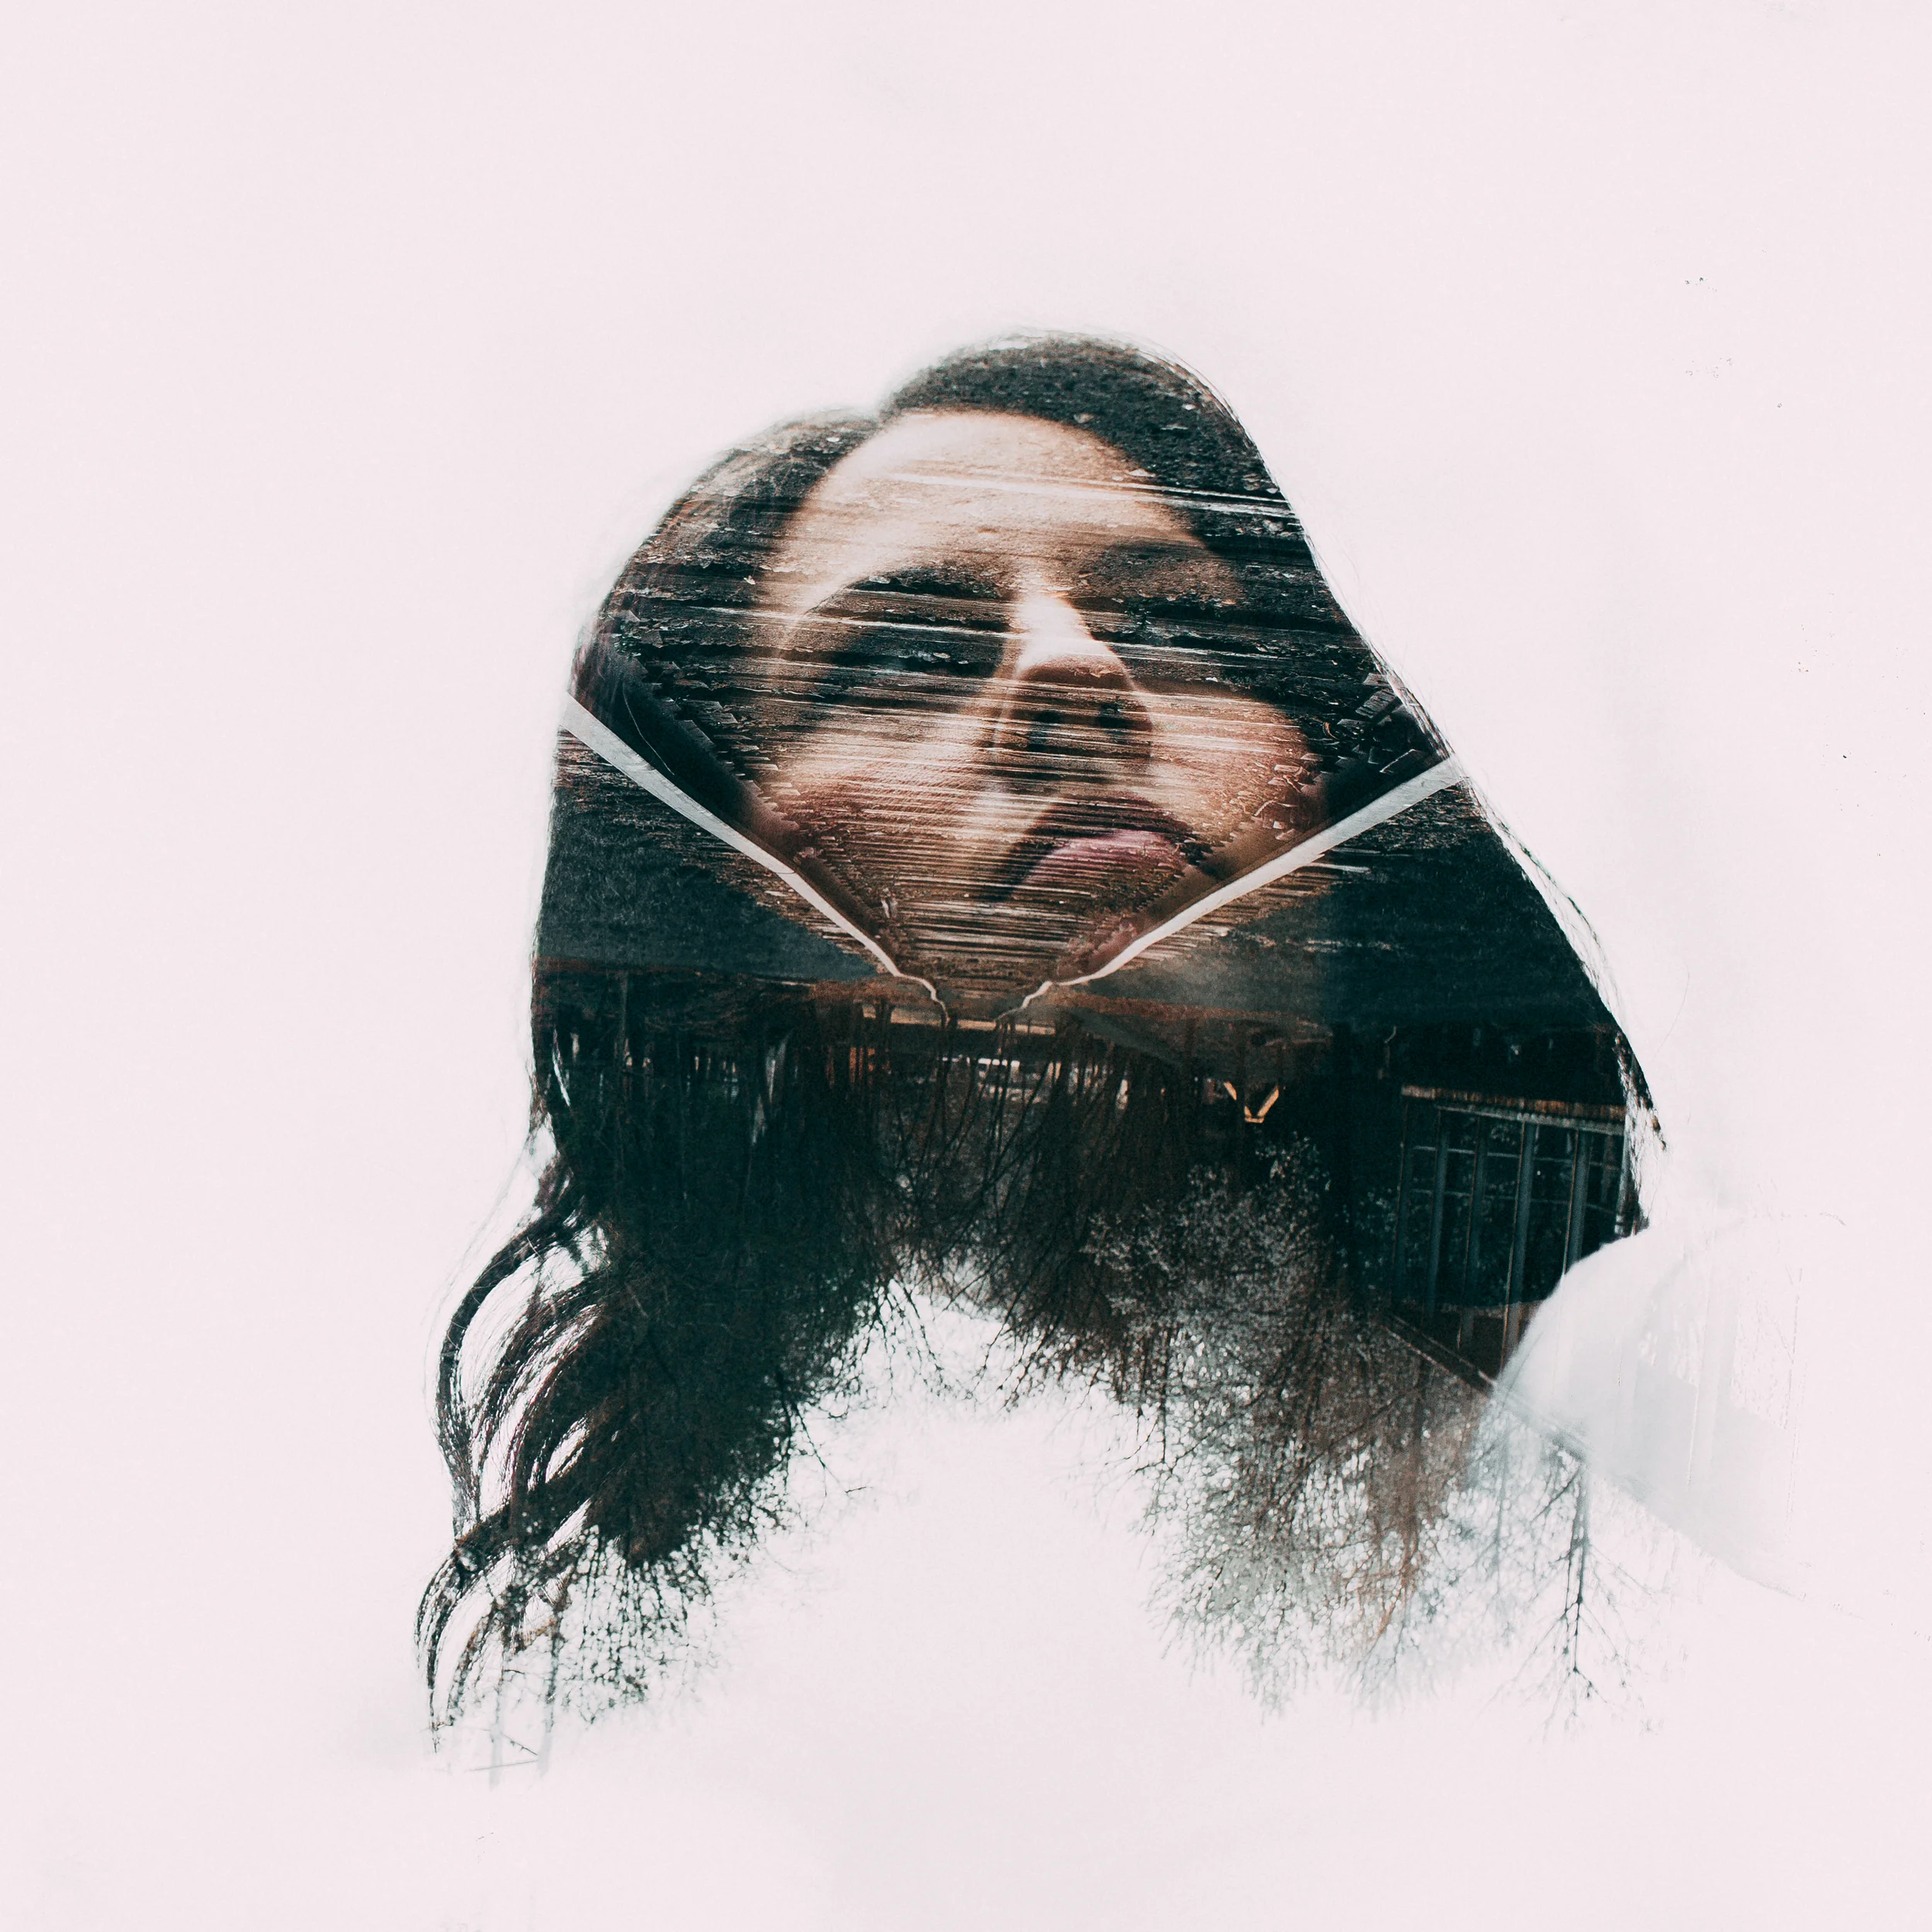
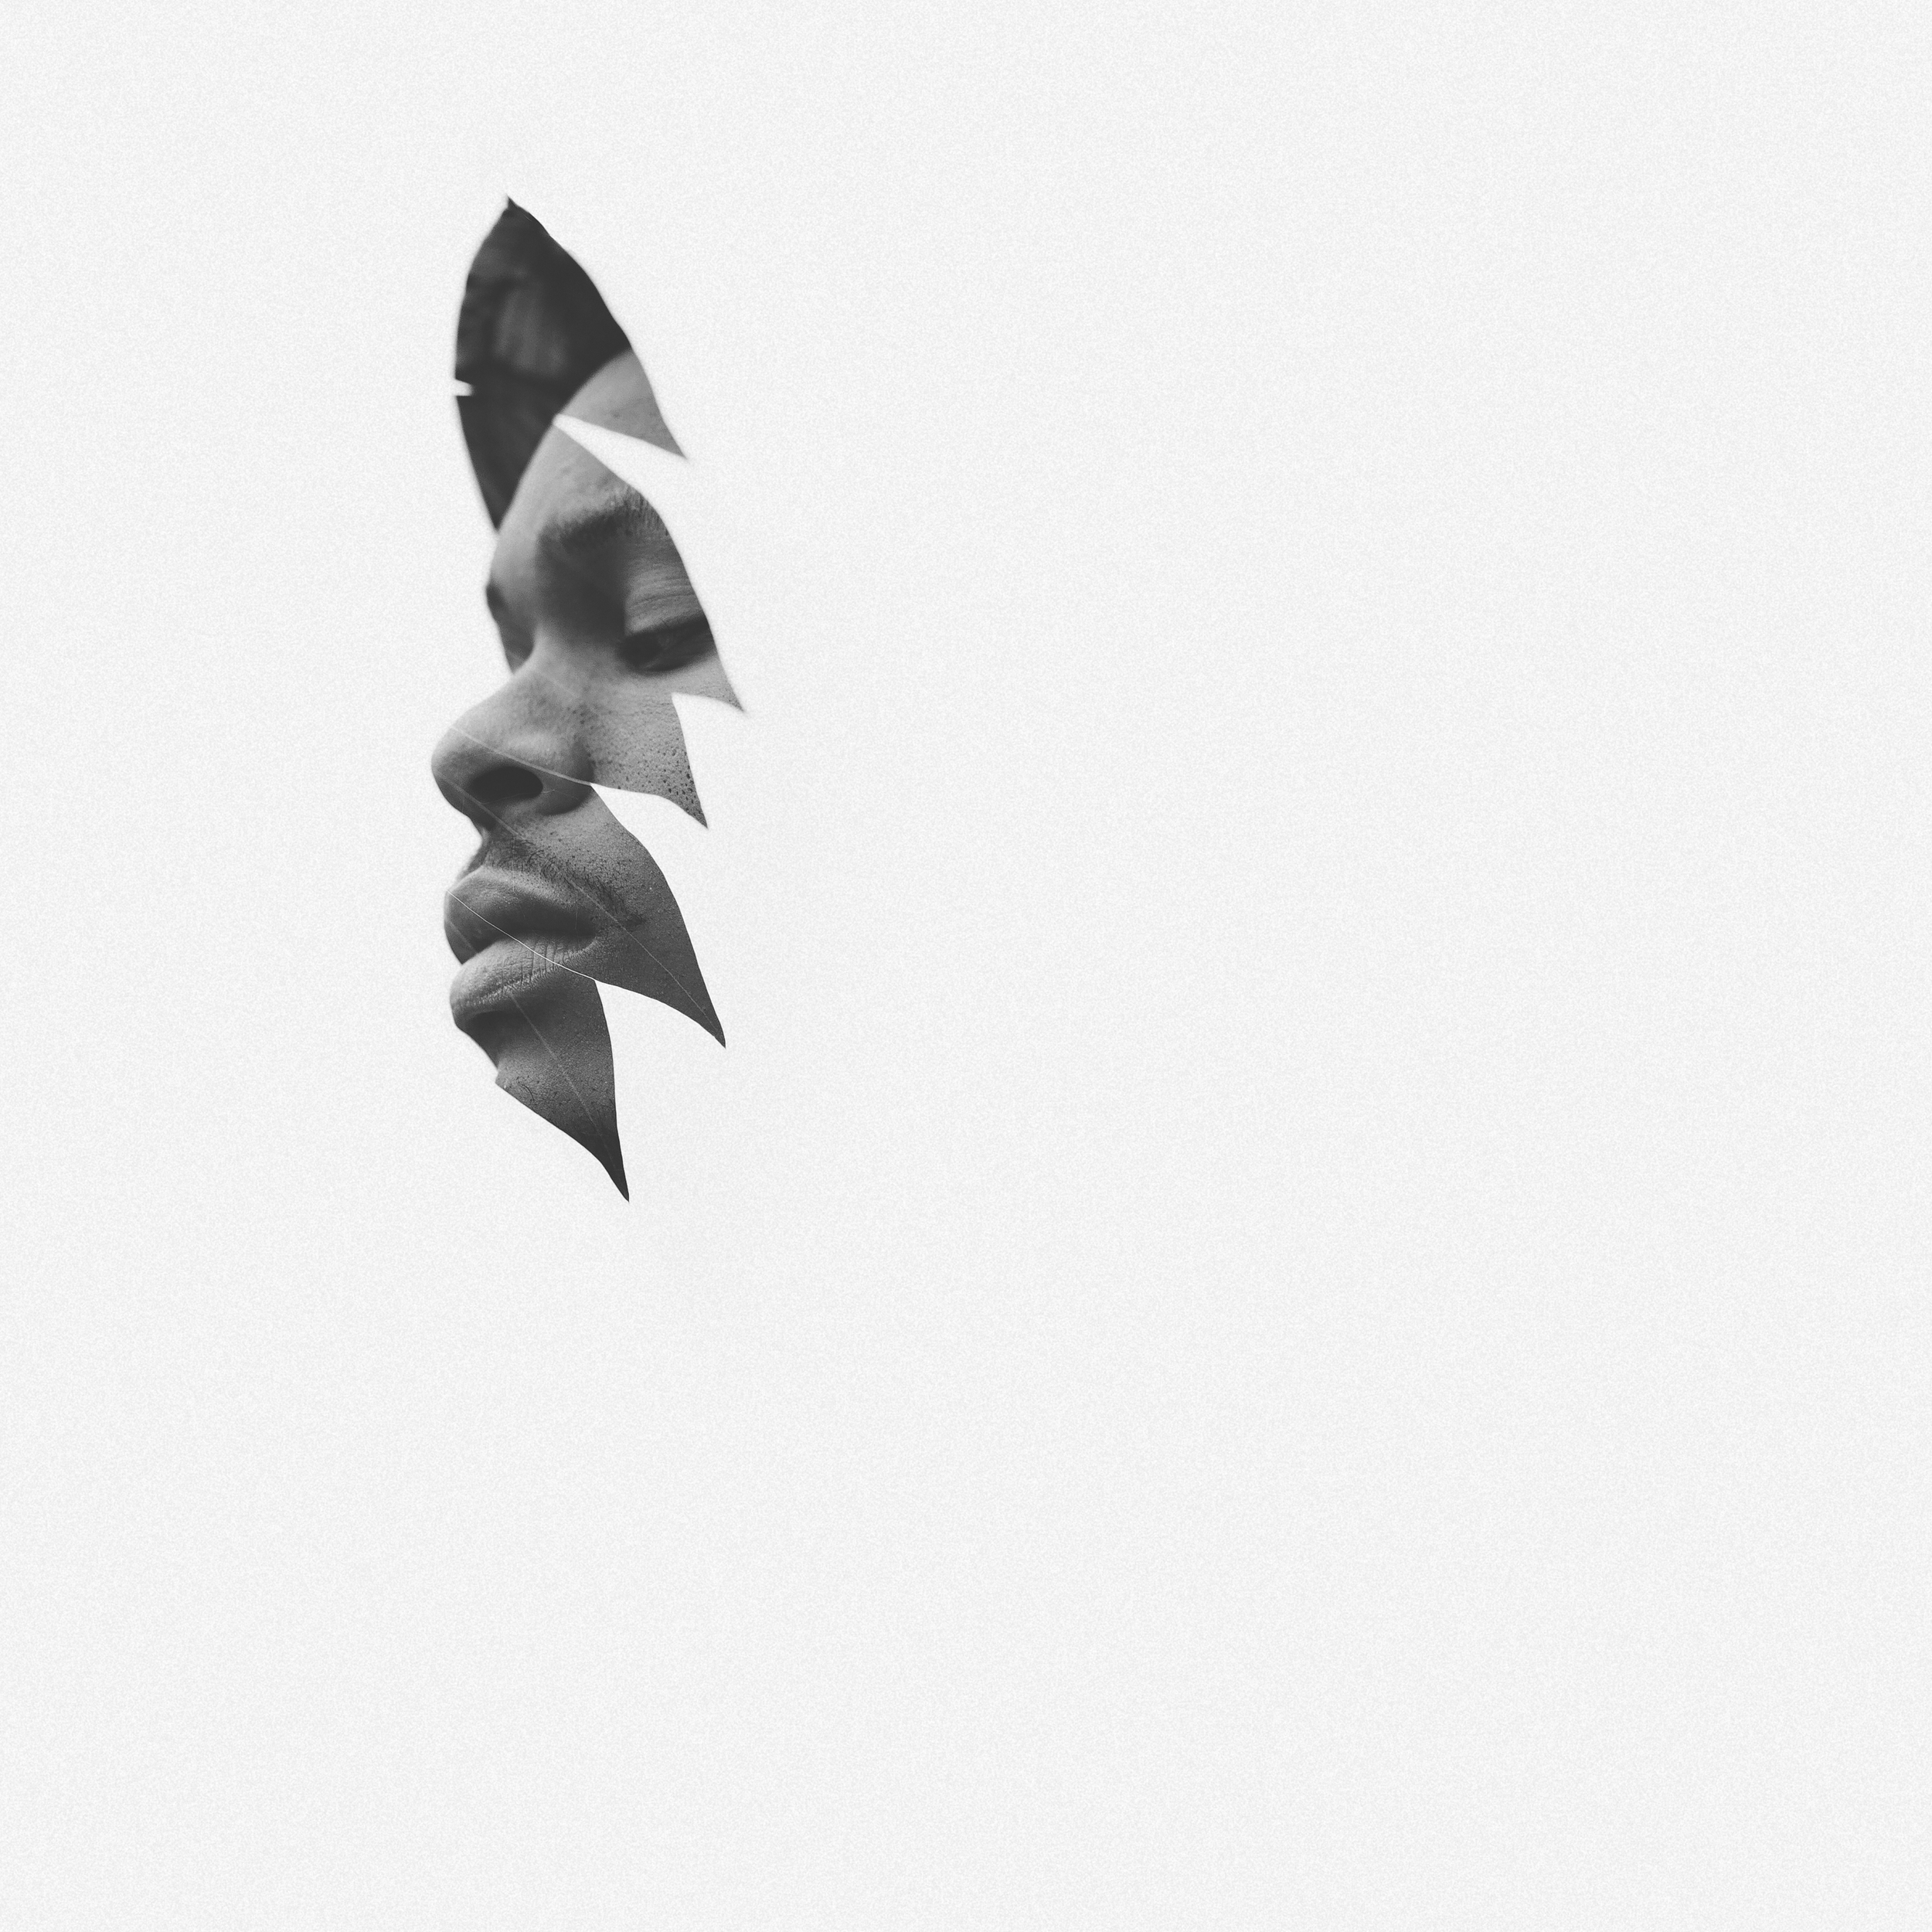
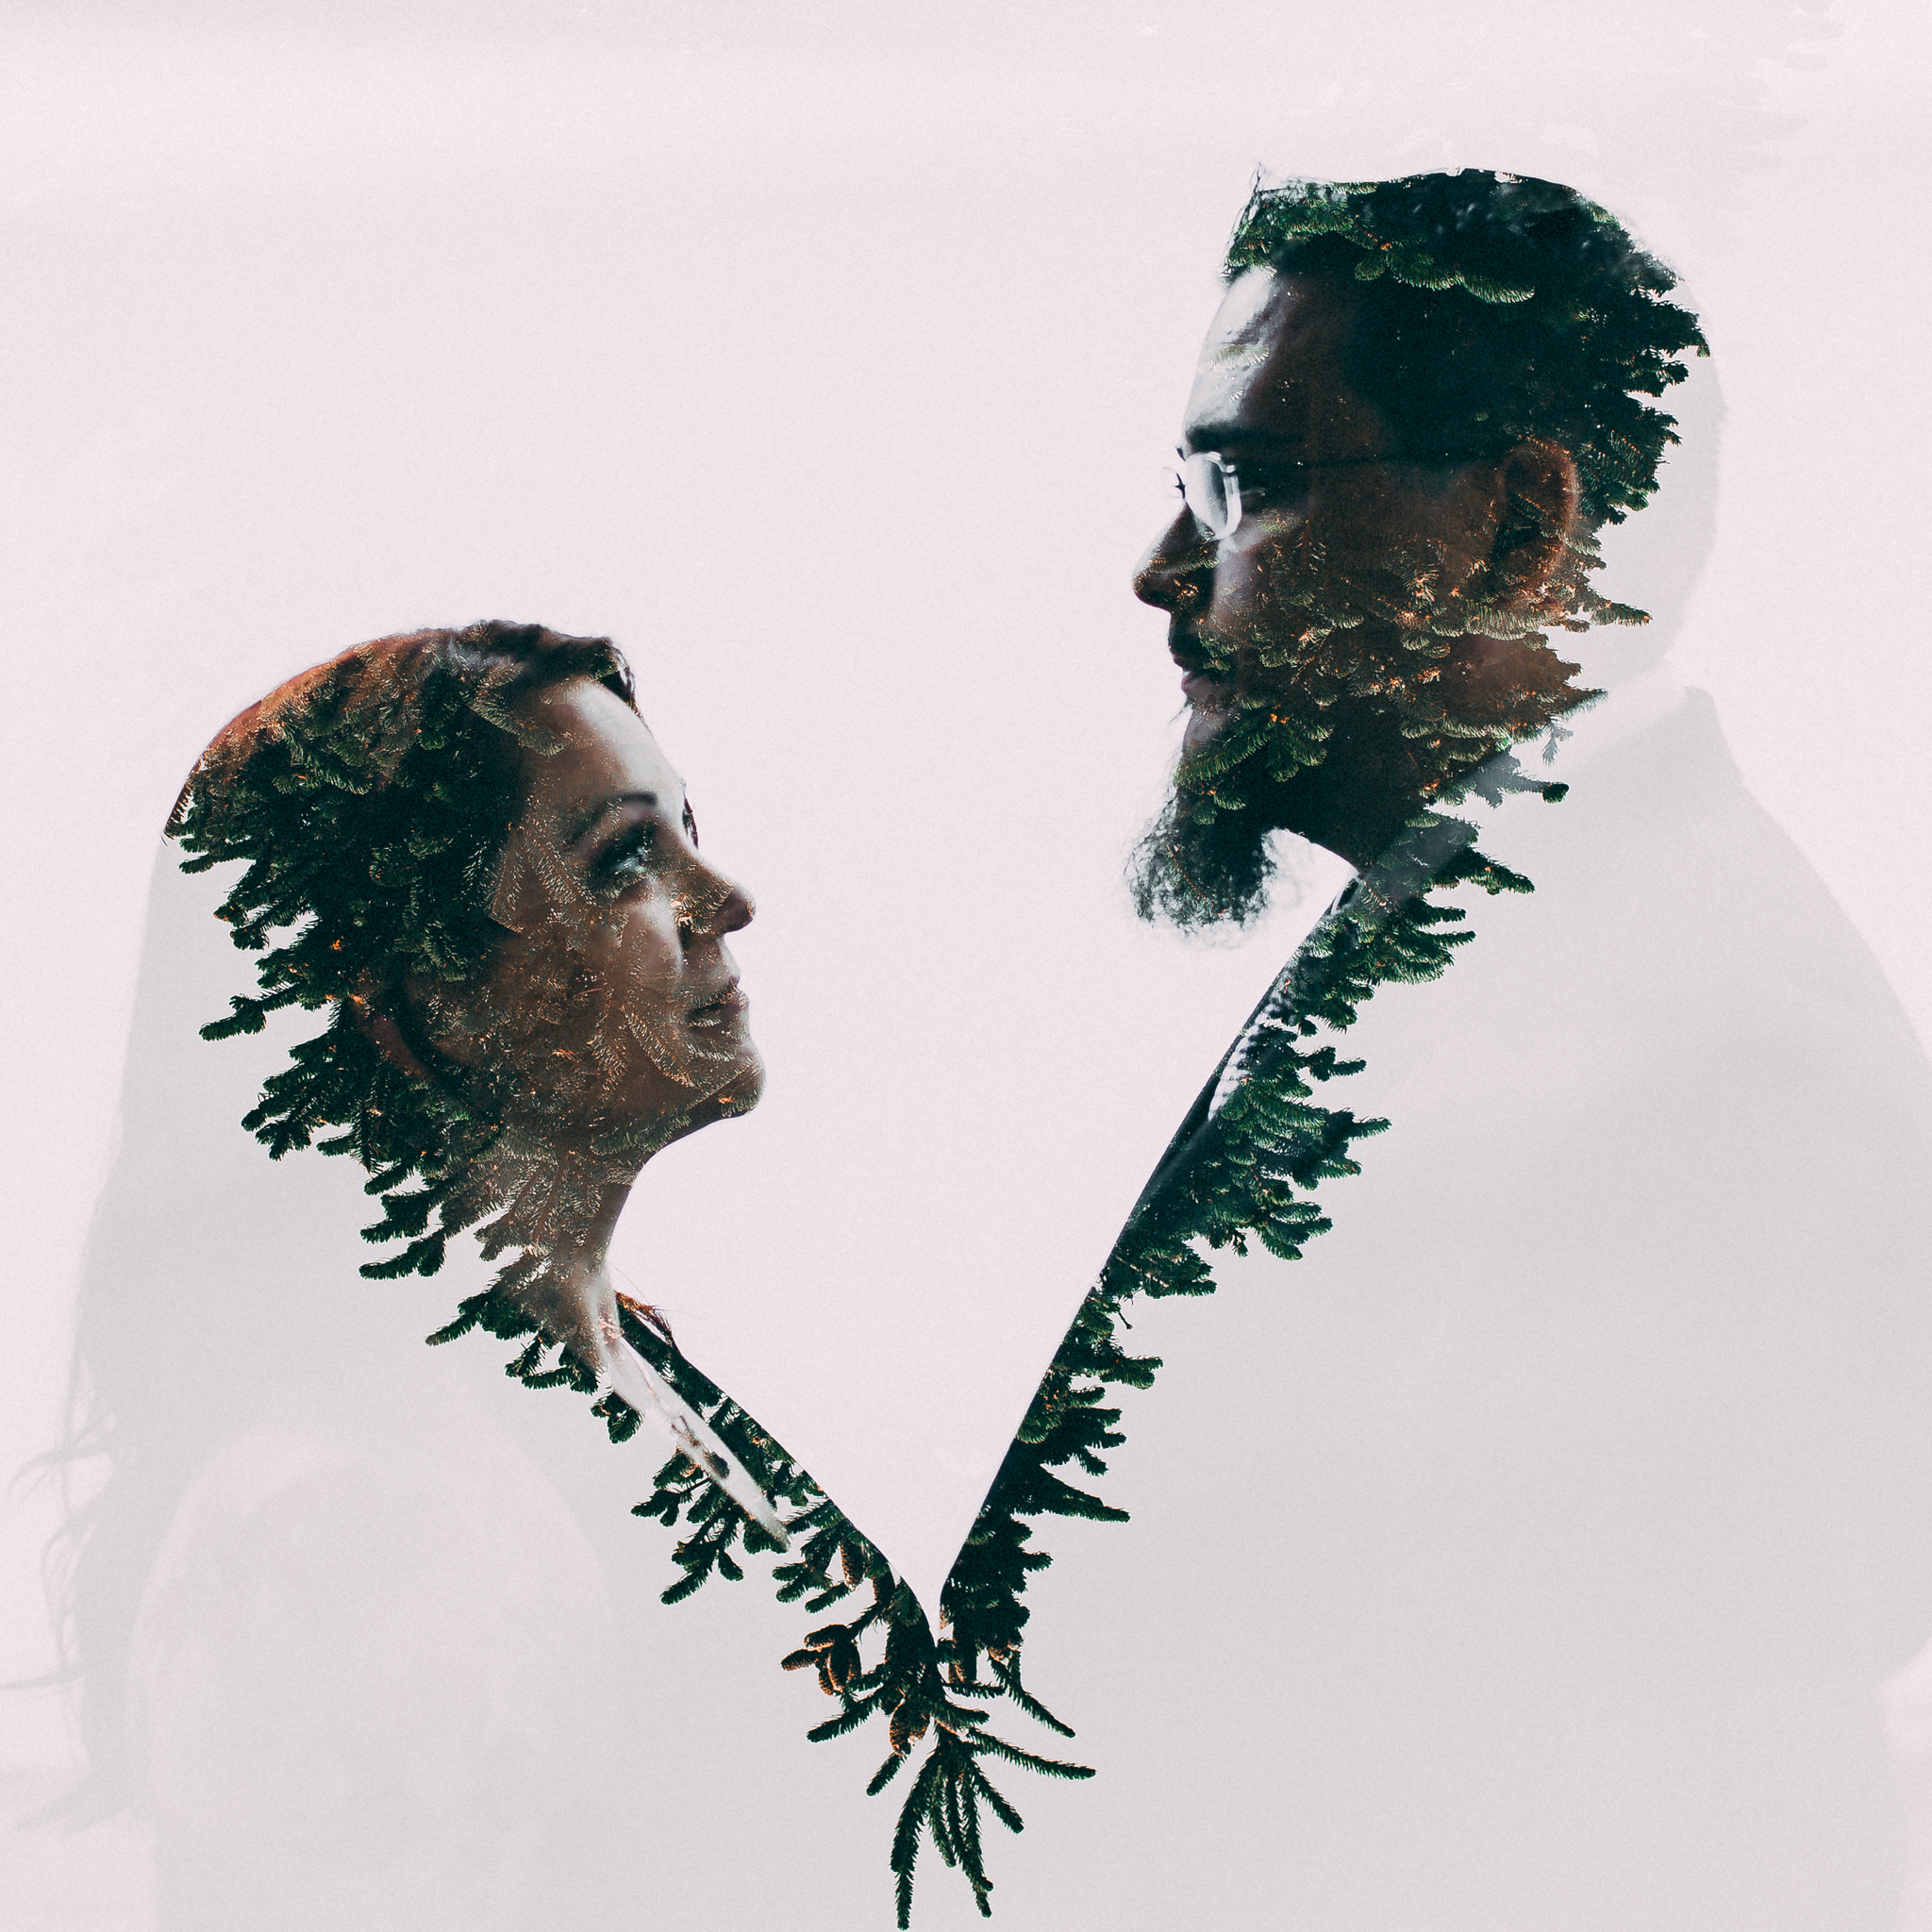
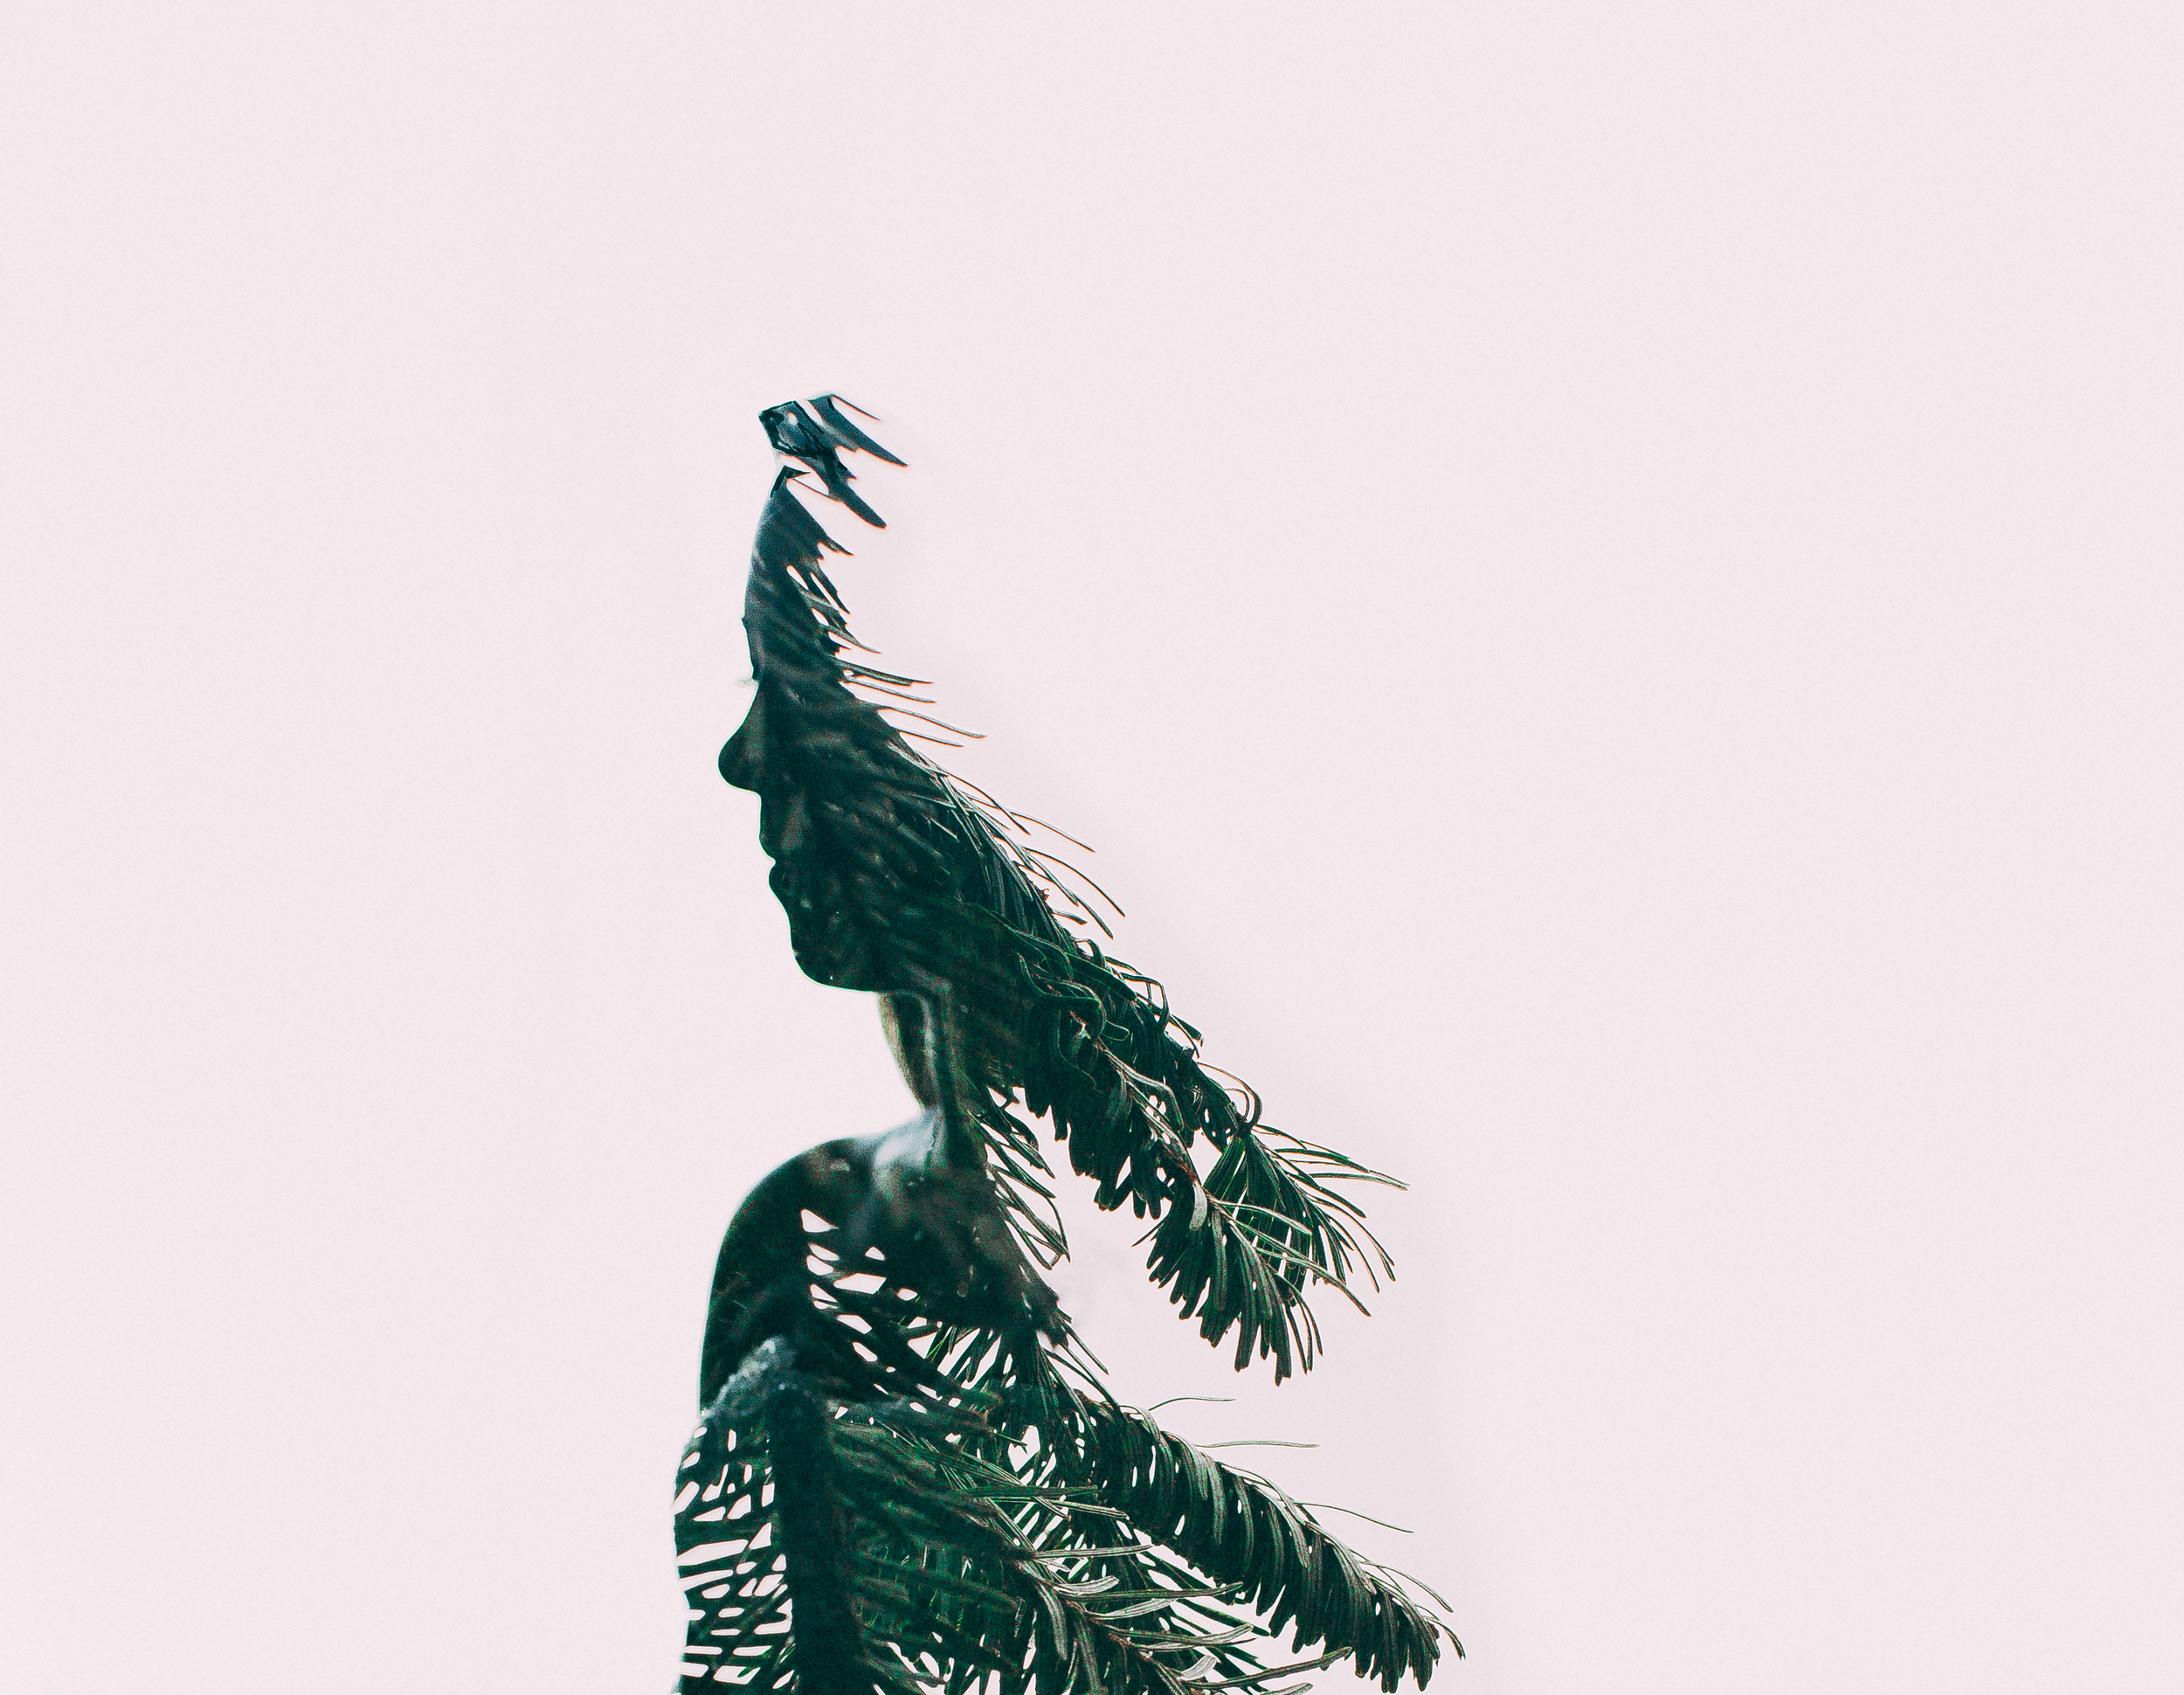
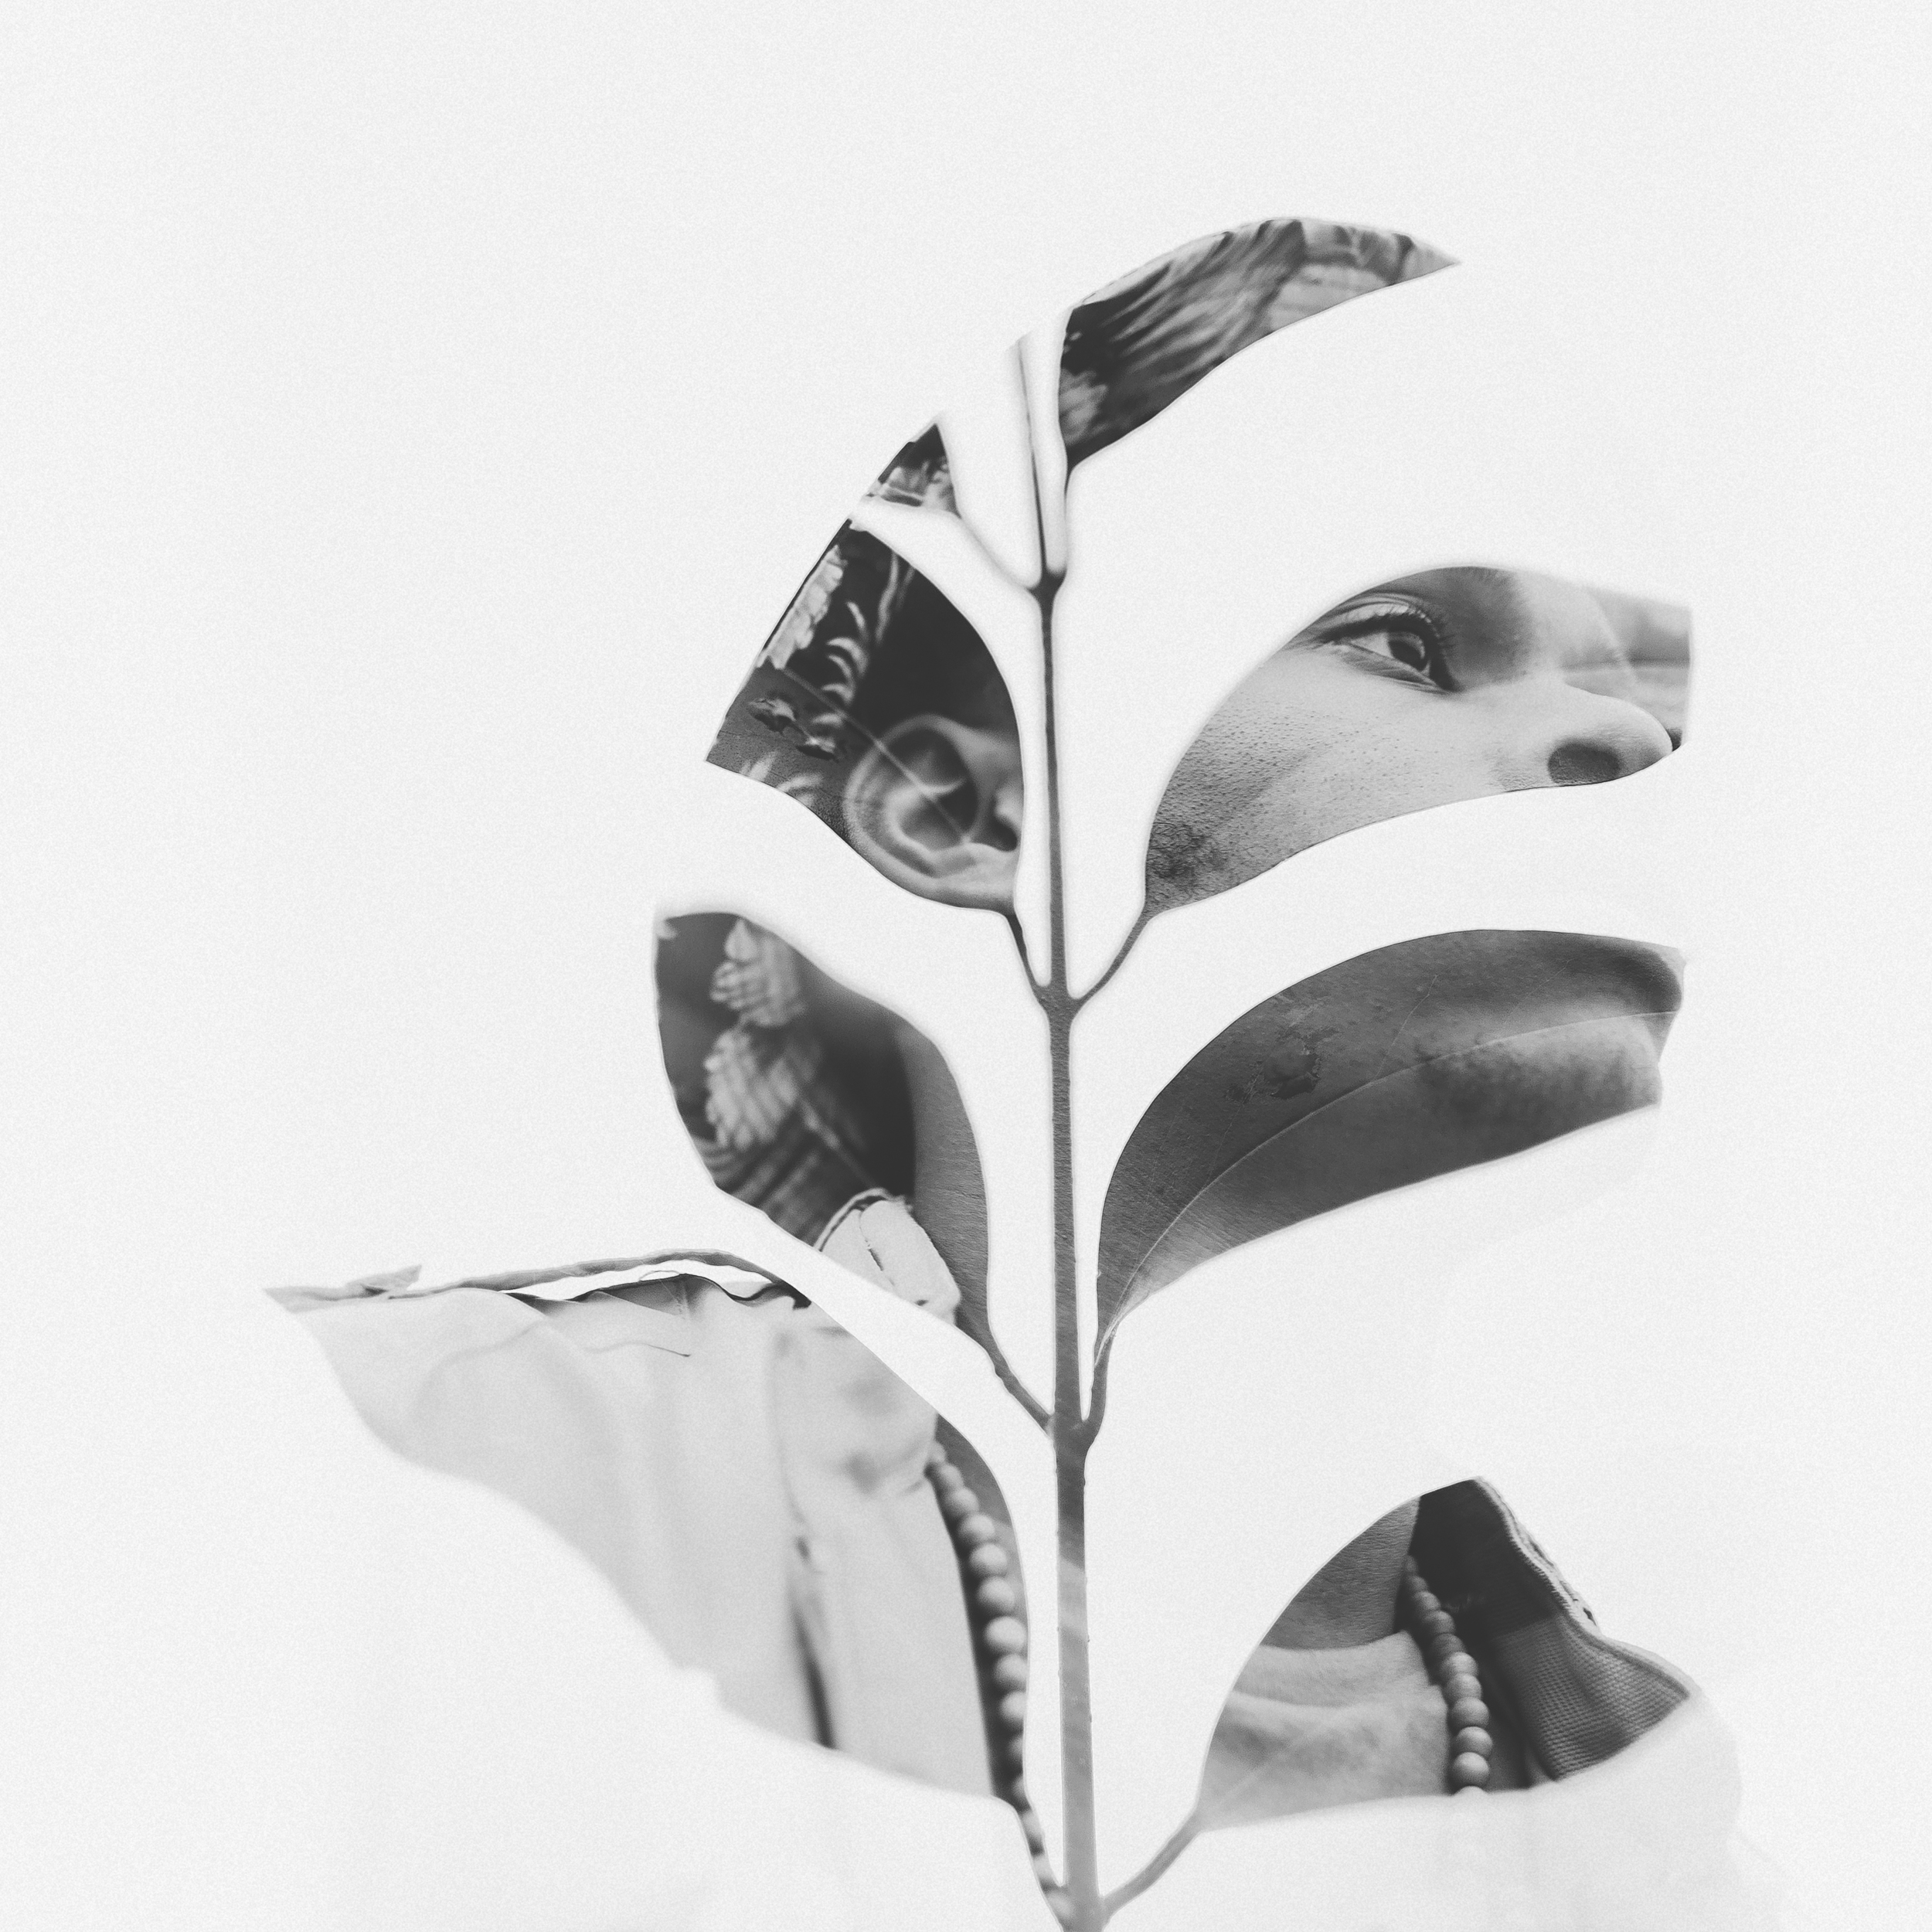
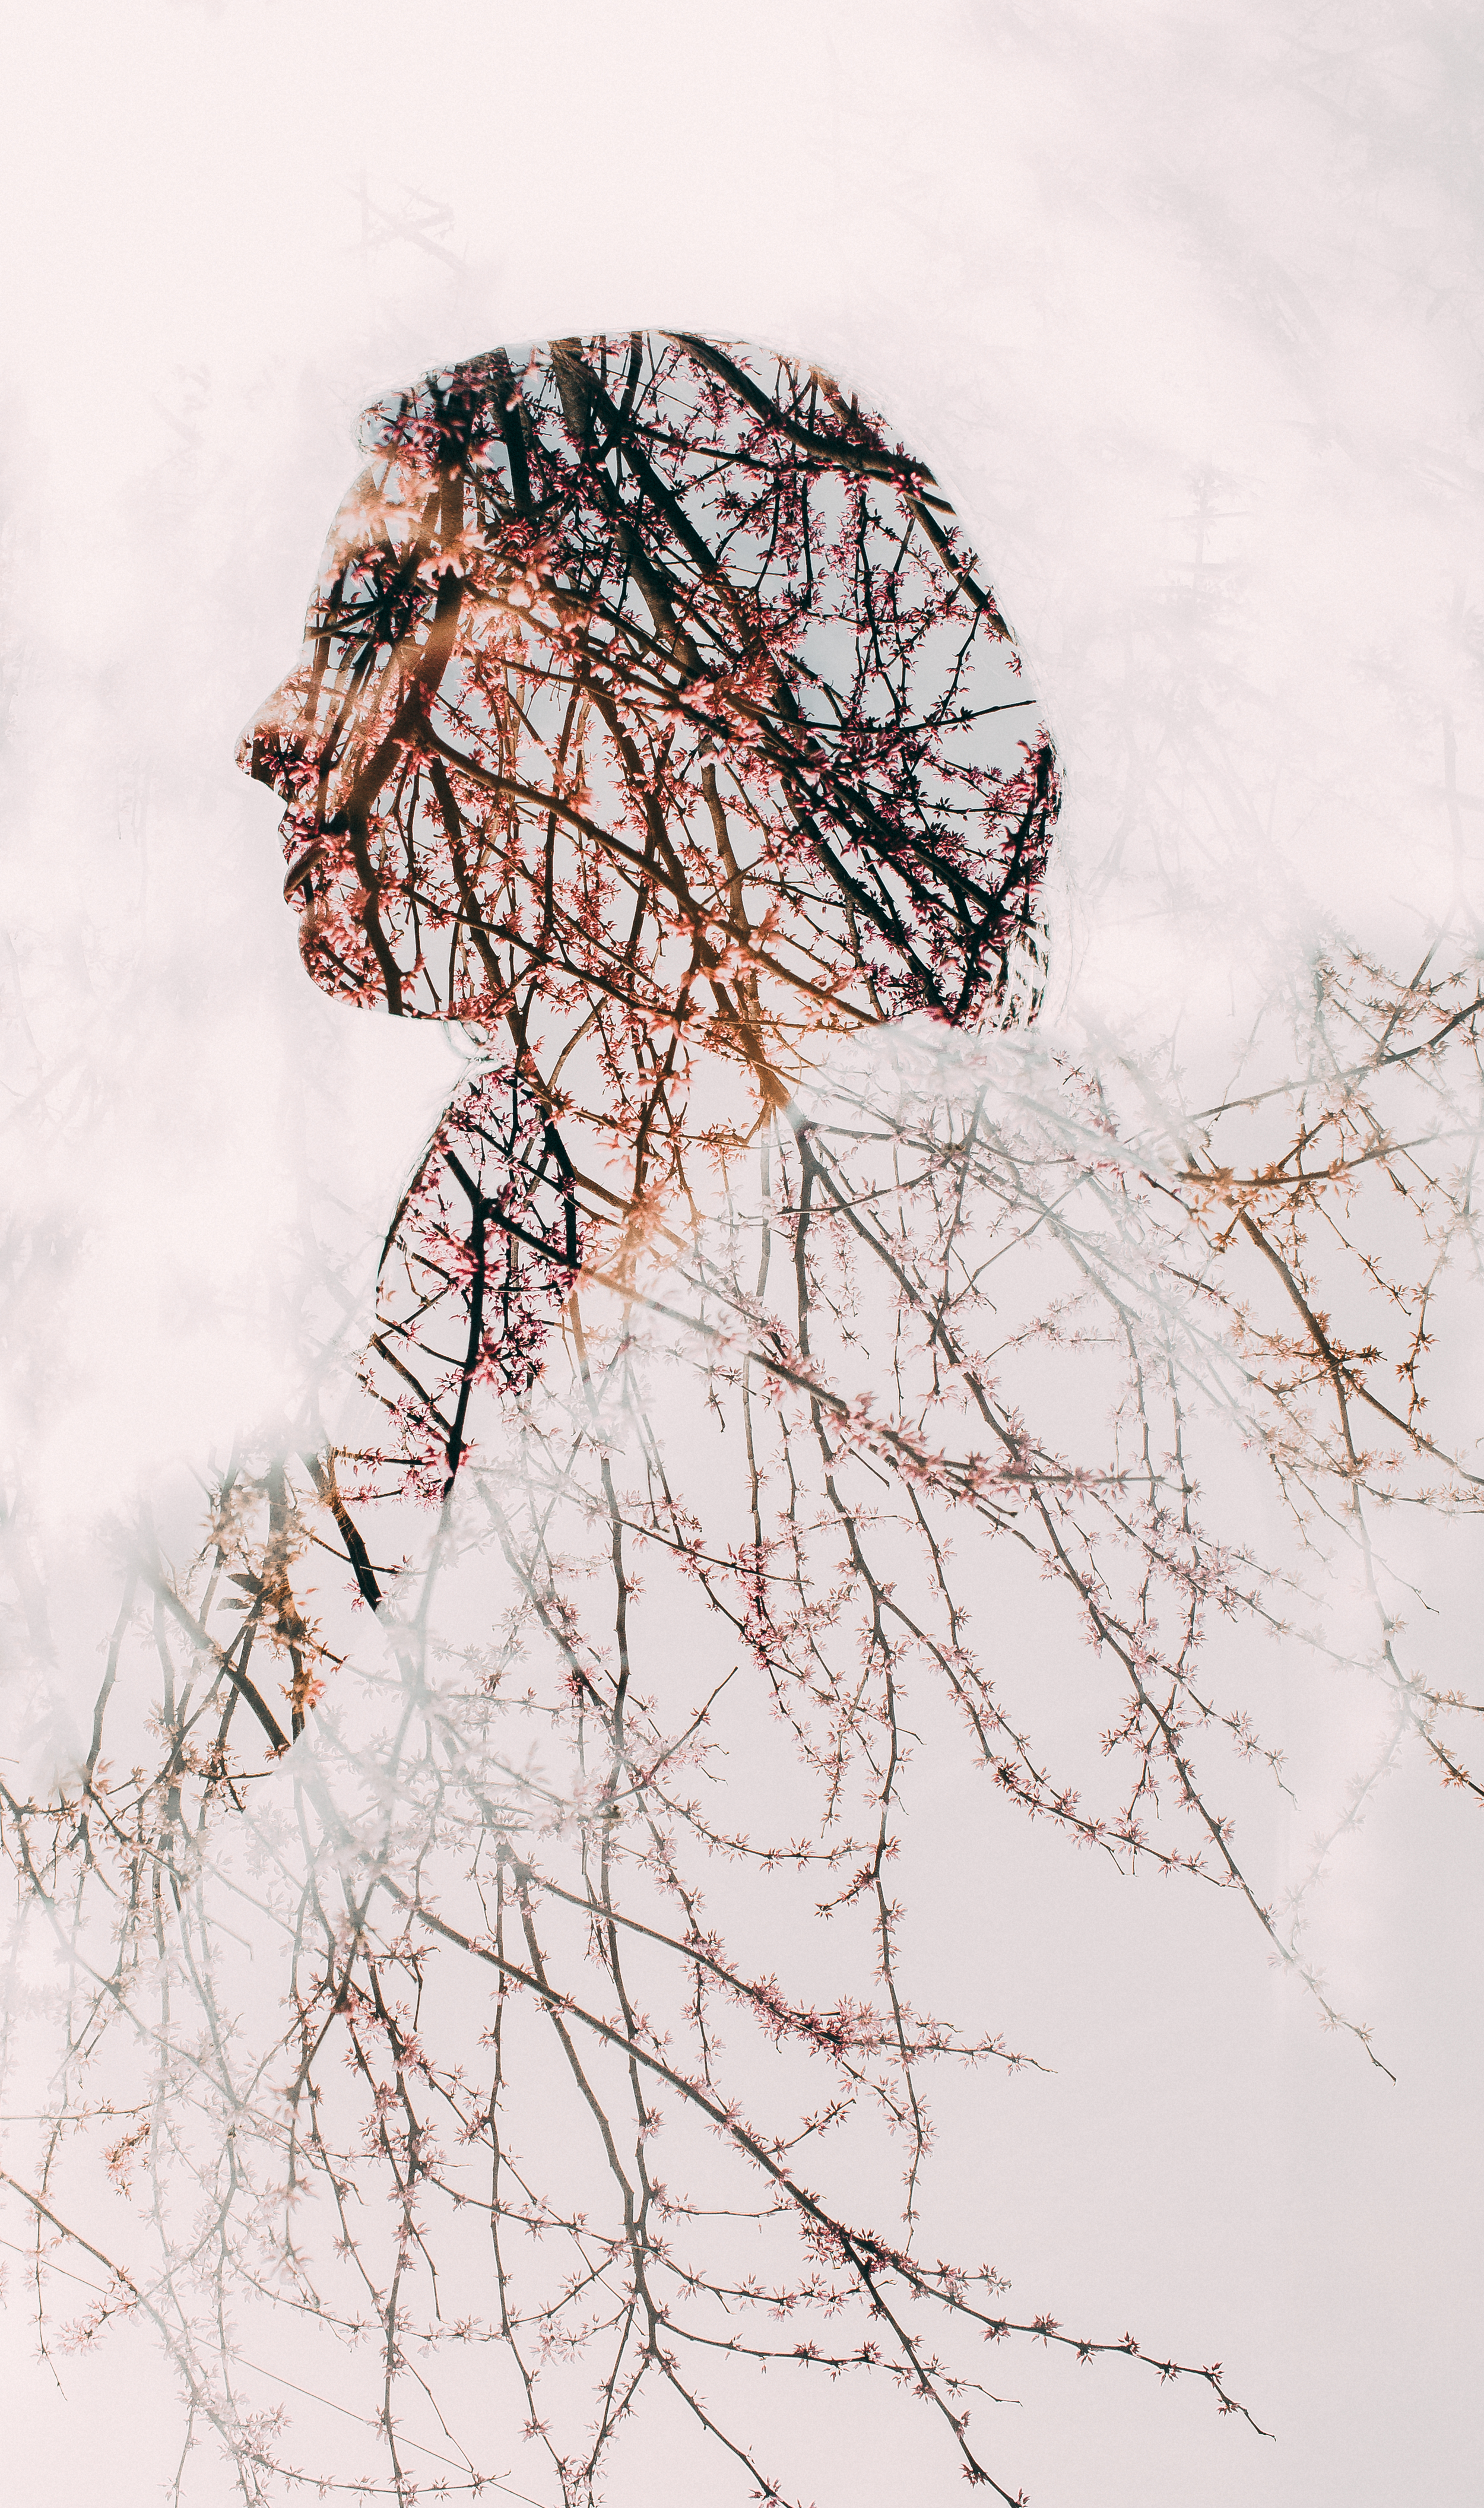
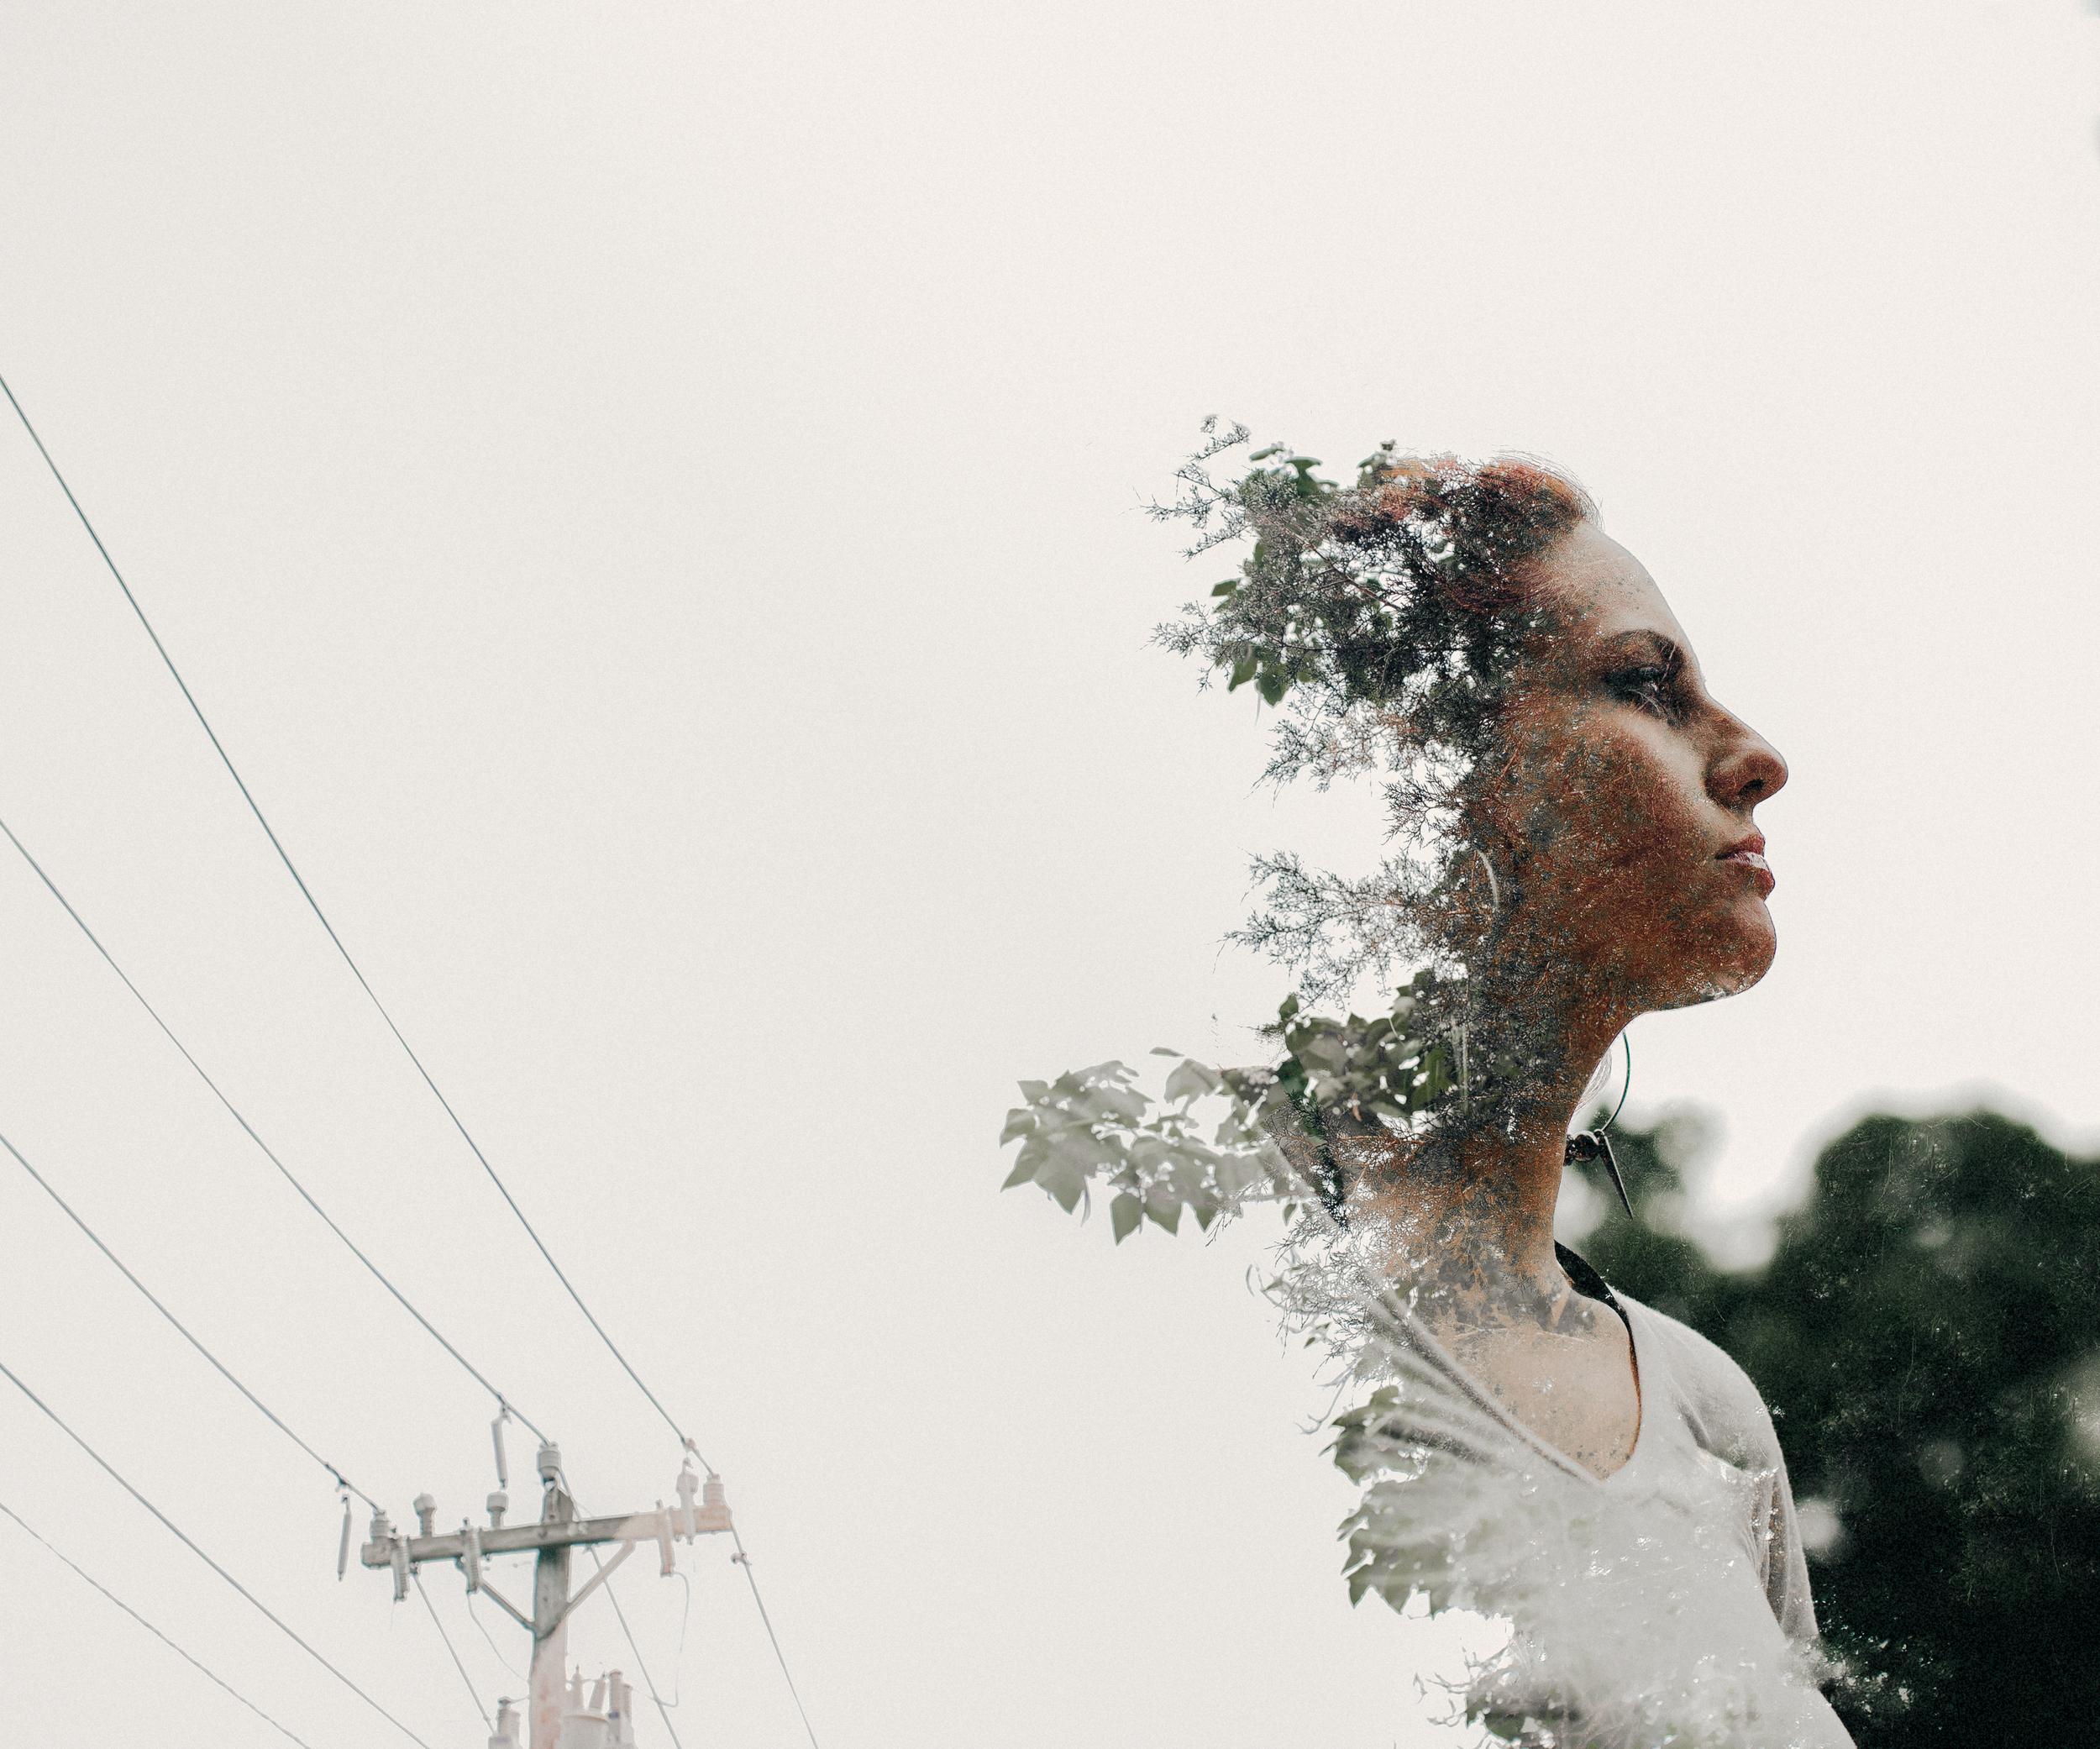
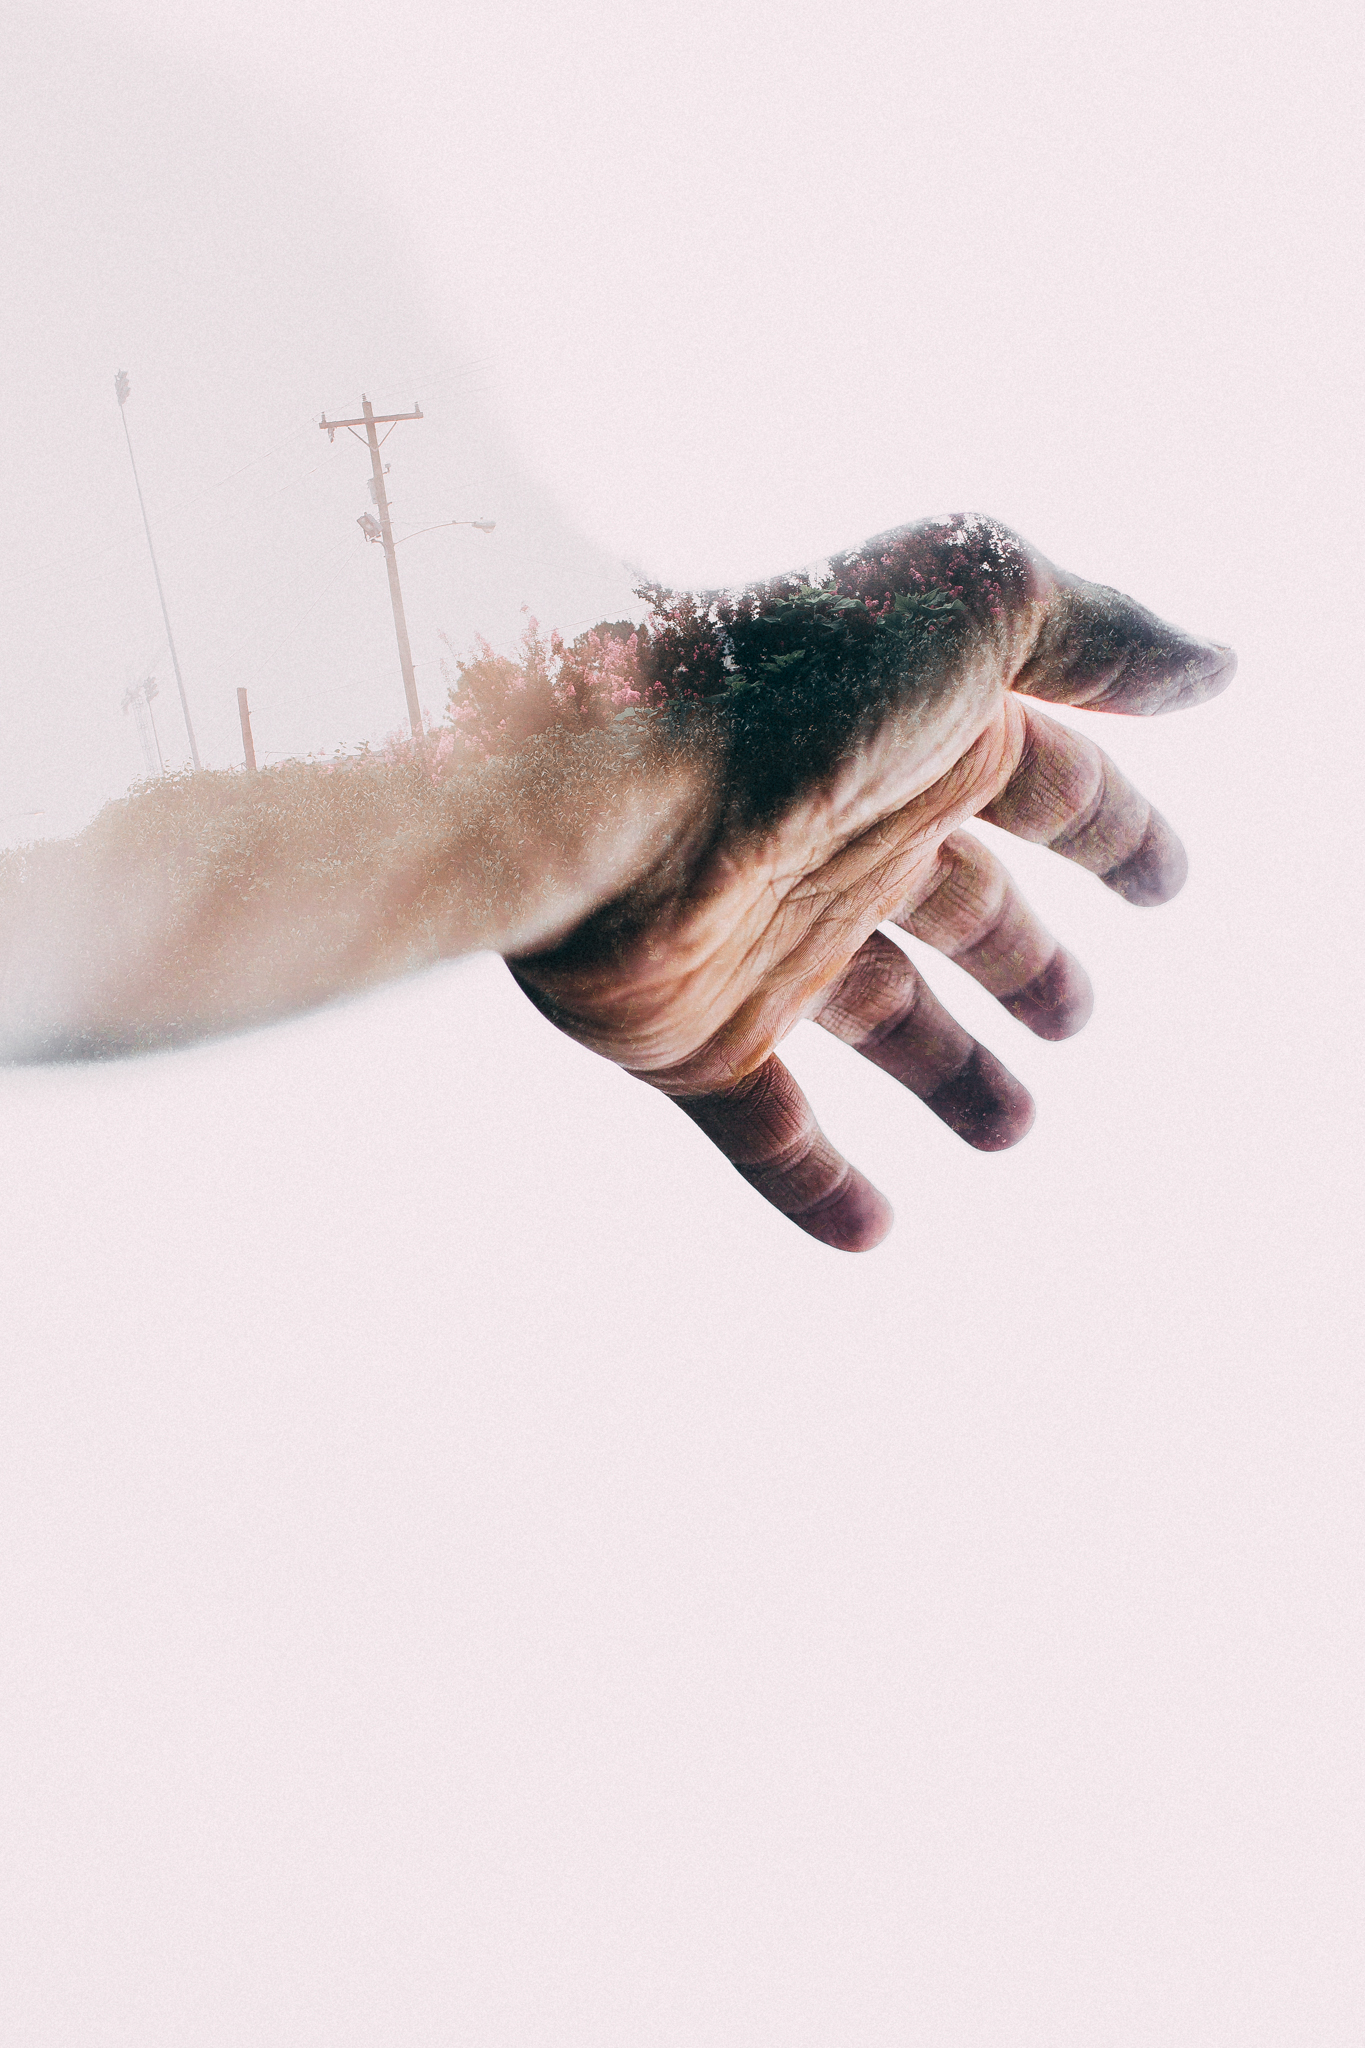
1. Shoot the silhouette in front of a white, highly exposed background. Try to shoot later in the day when you can so you have more even light. Shooting from a low angle is good here.
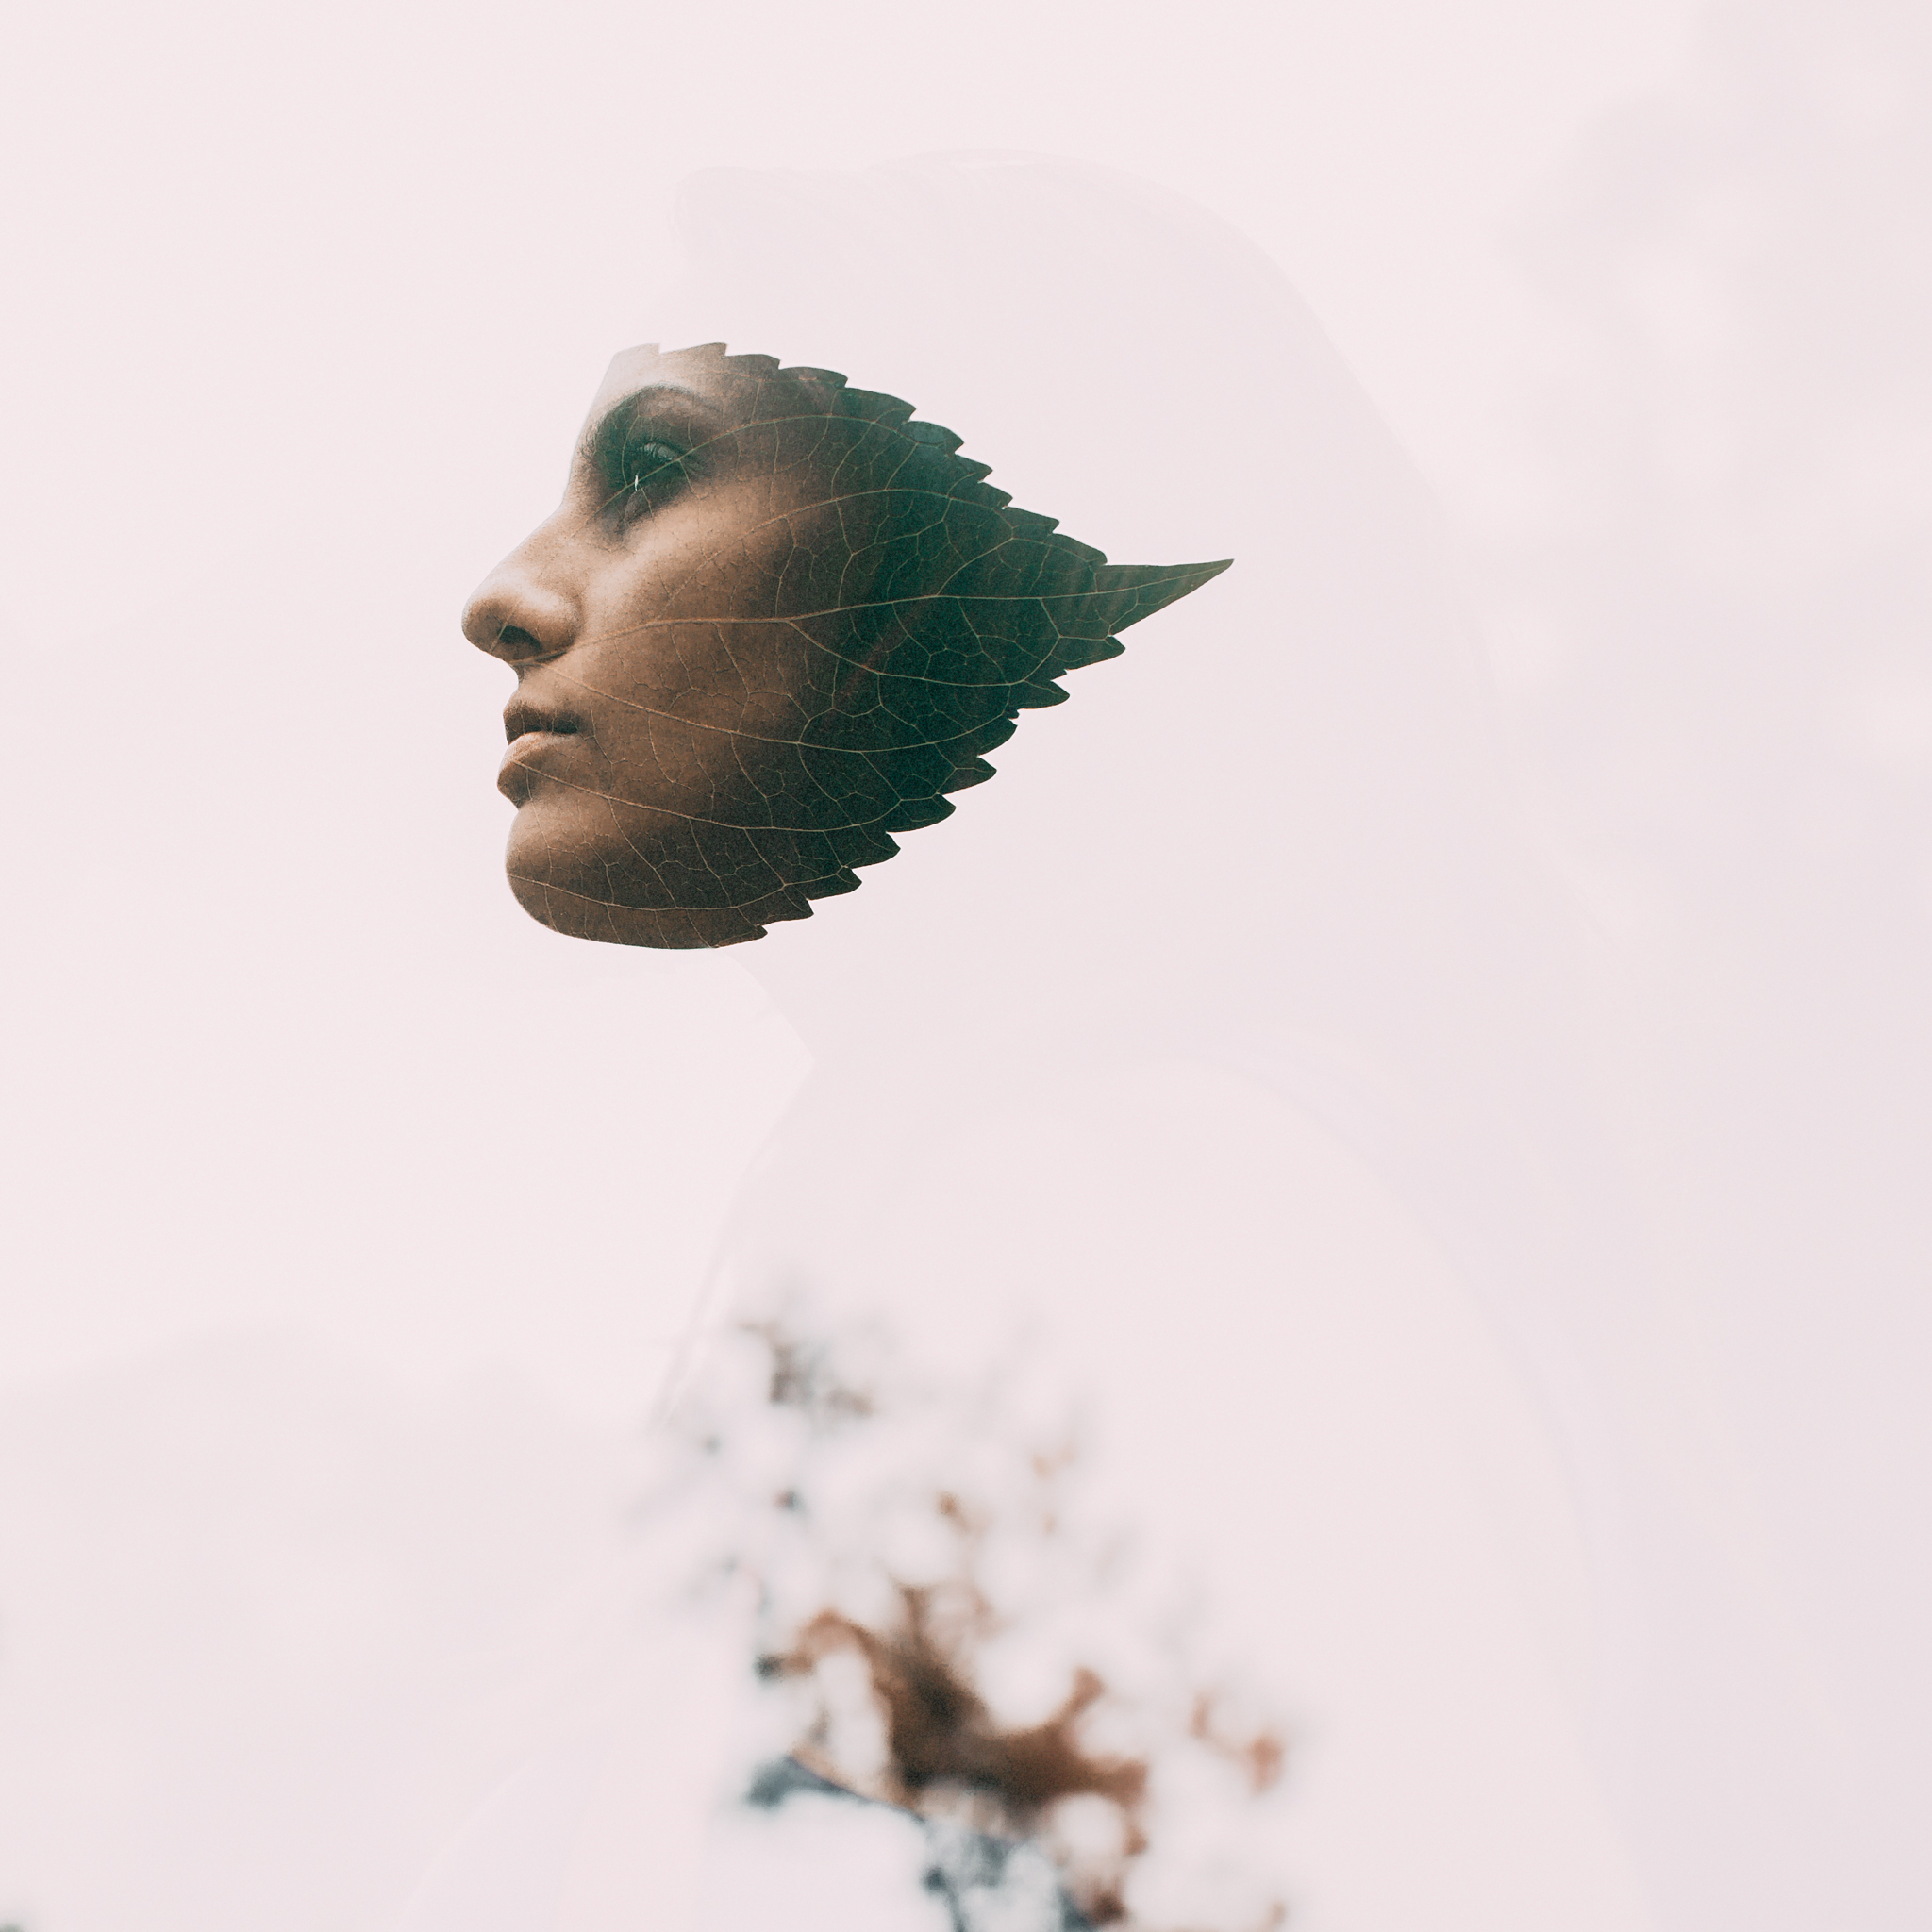
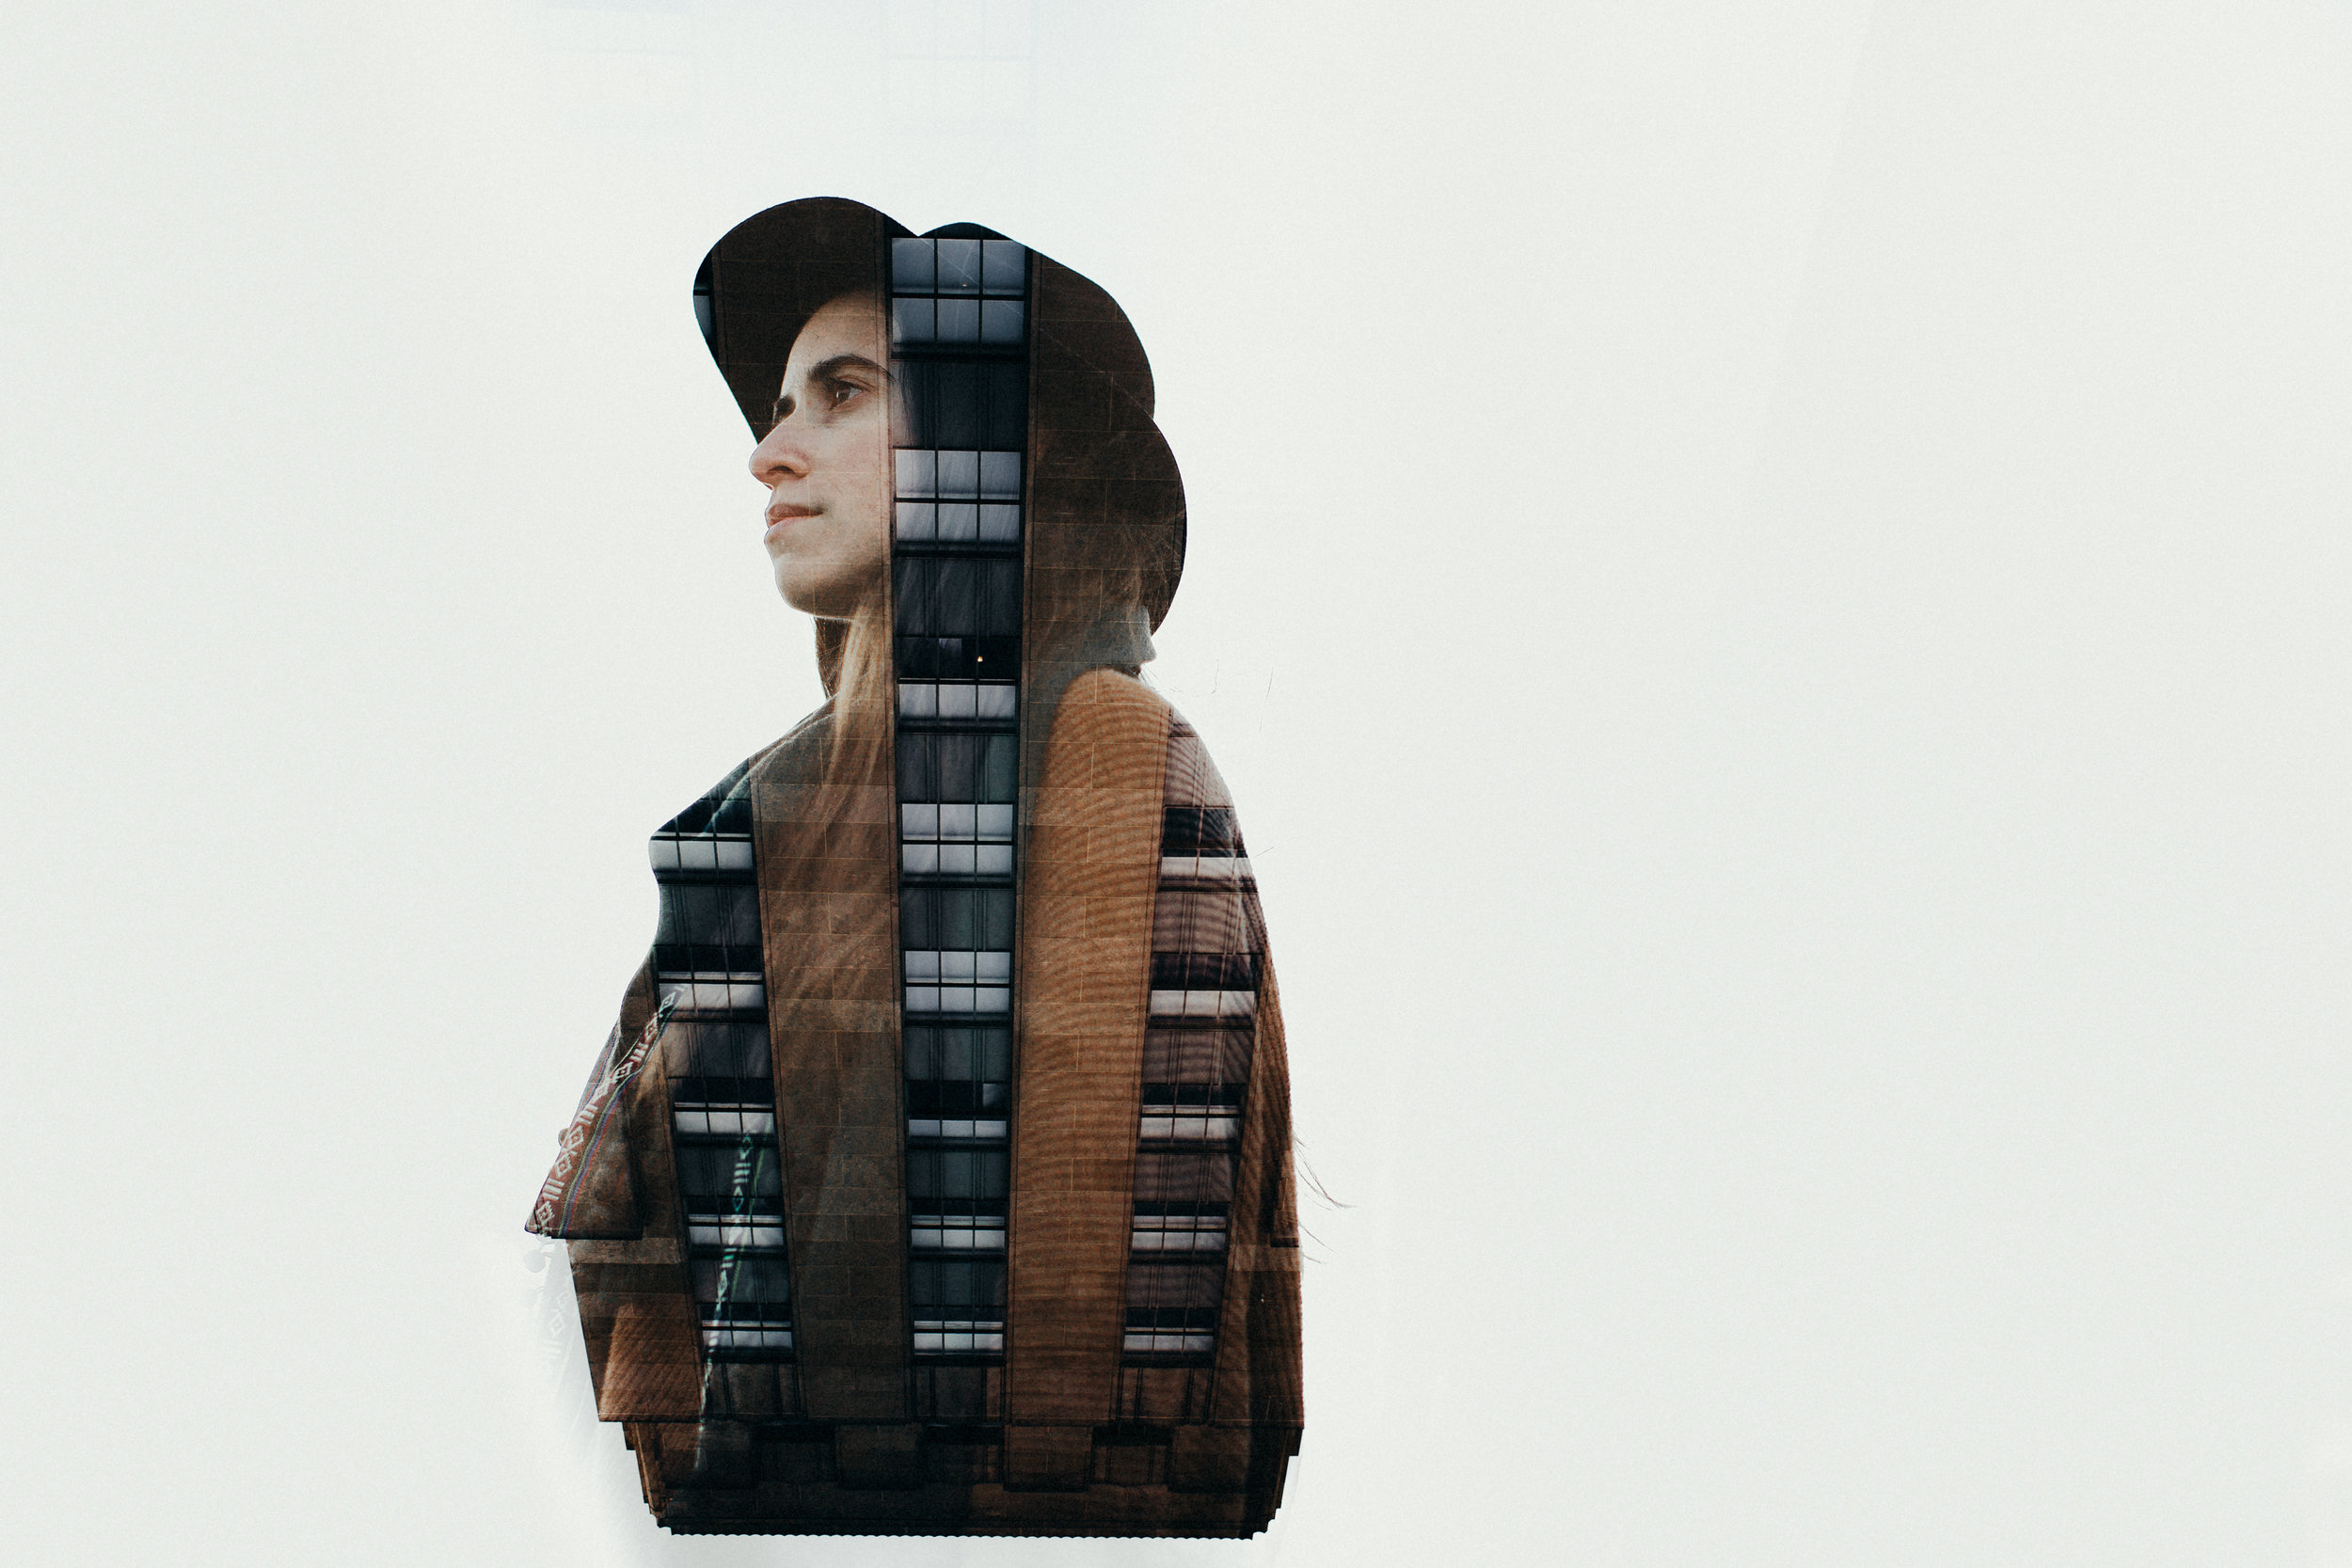
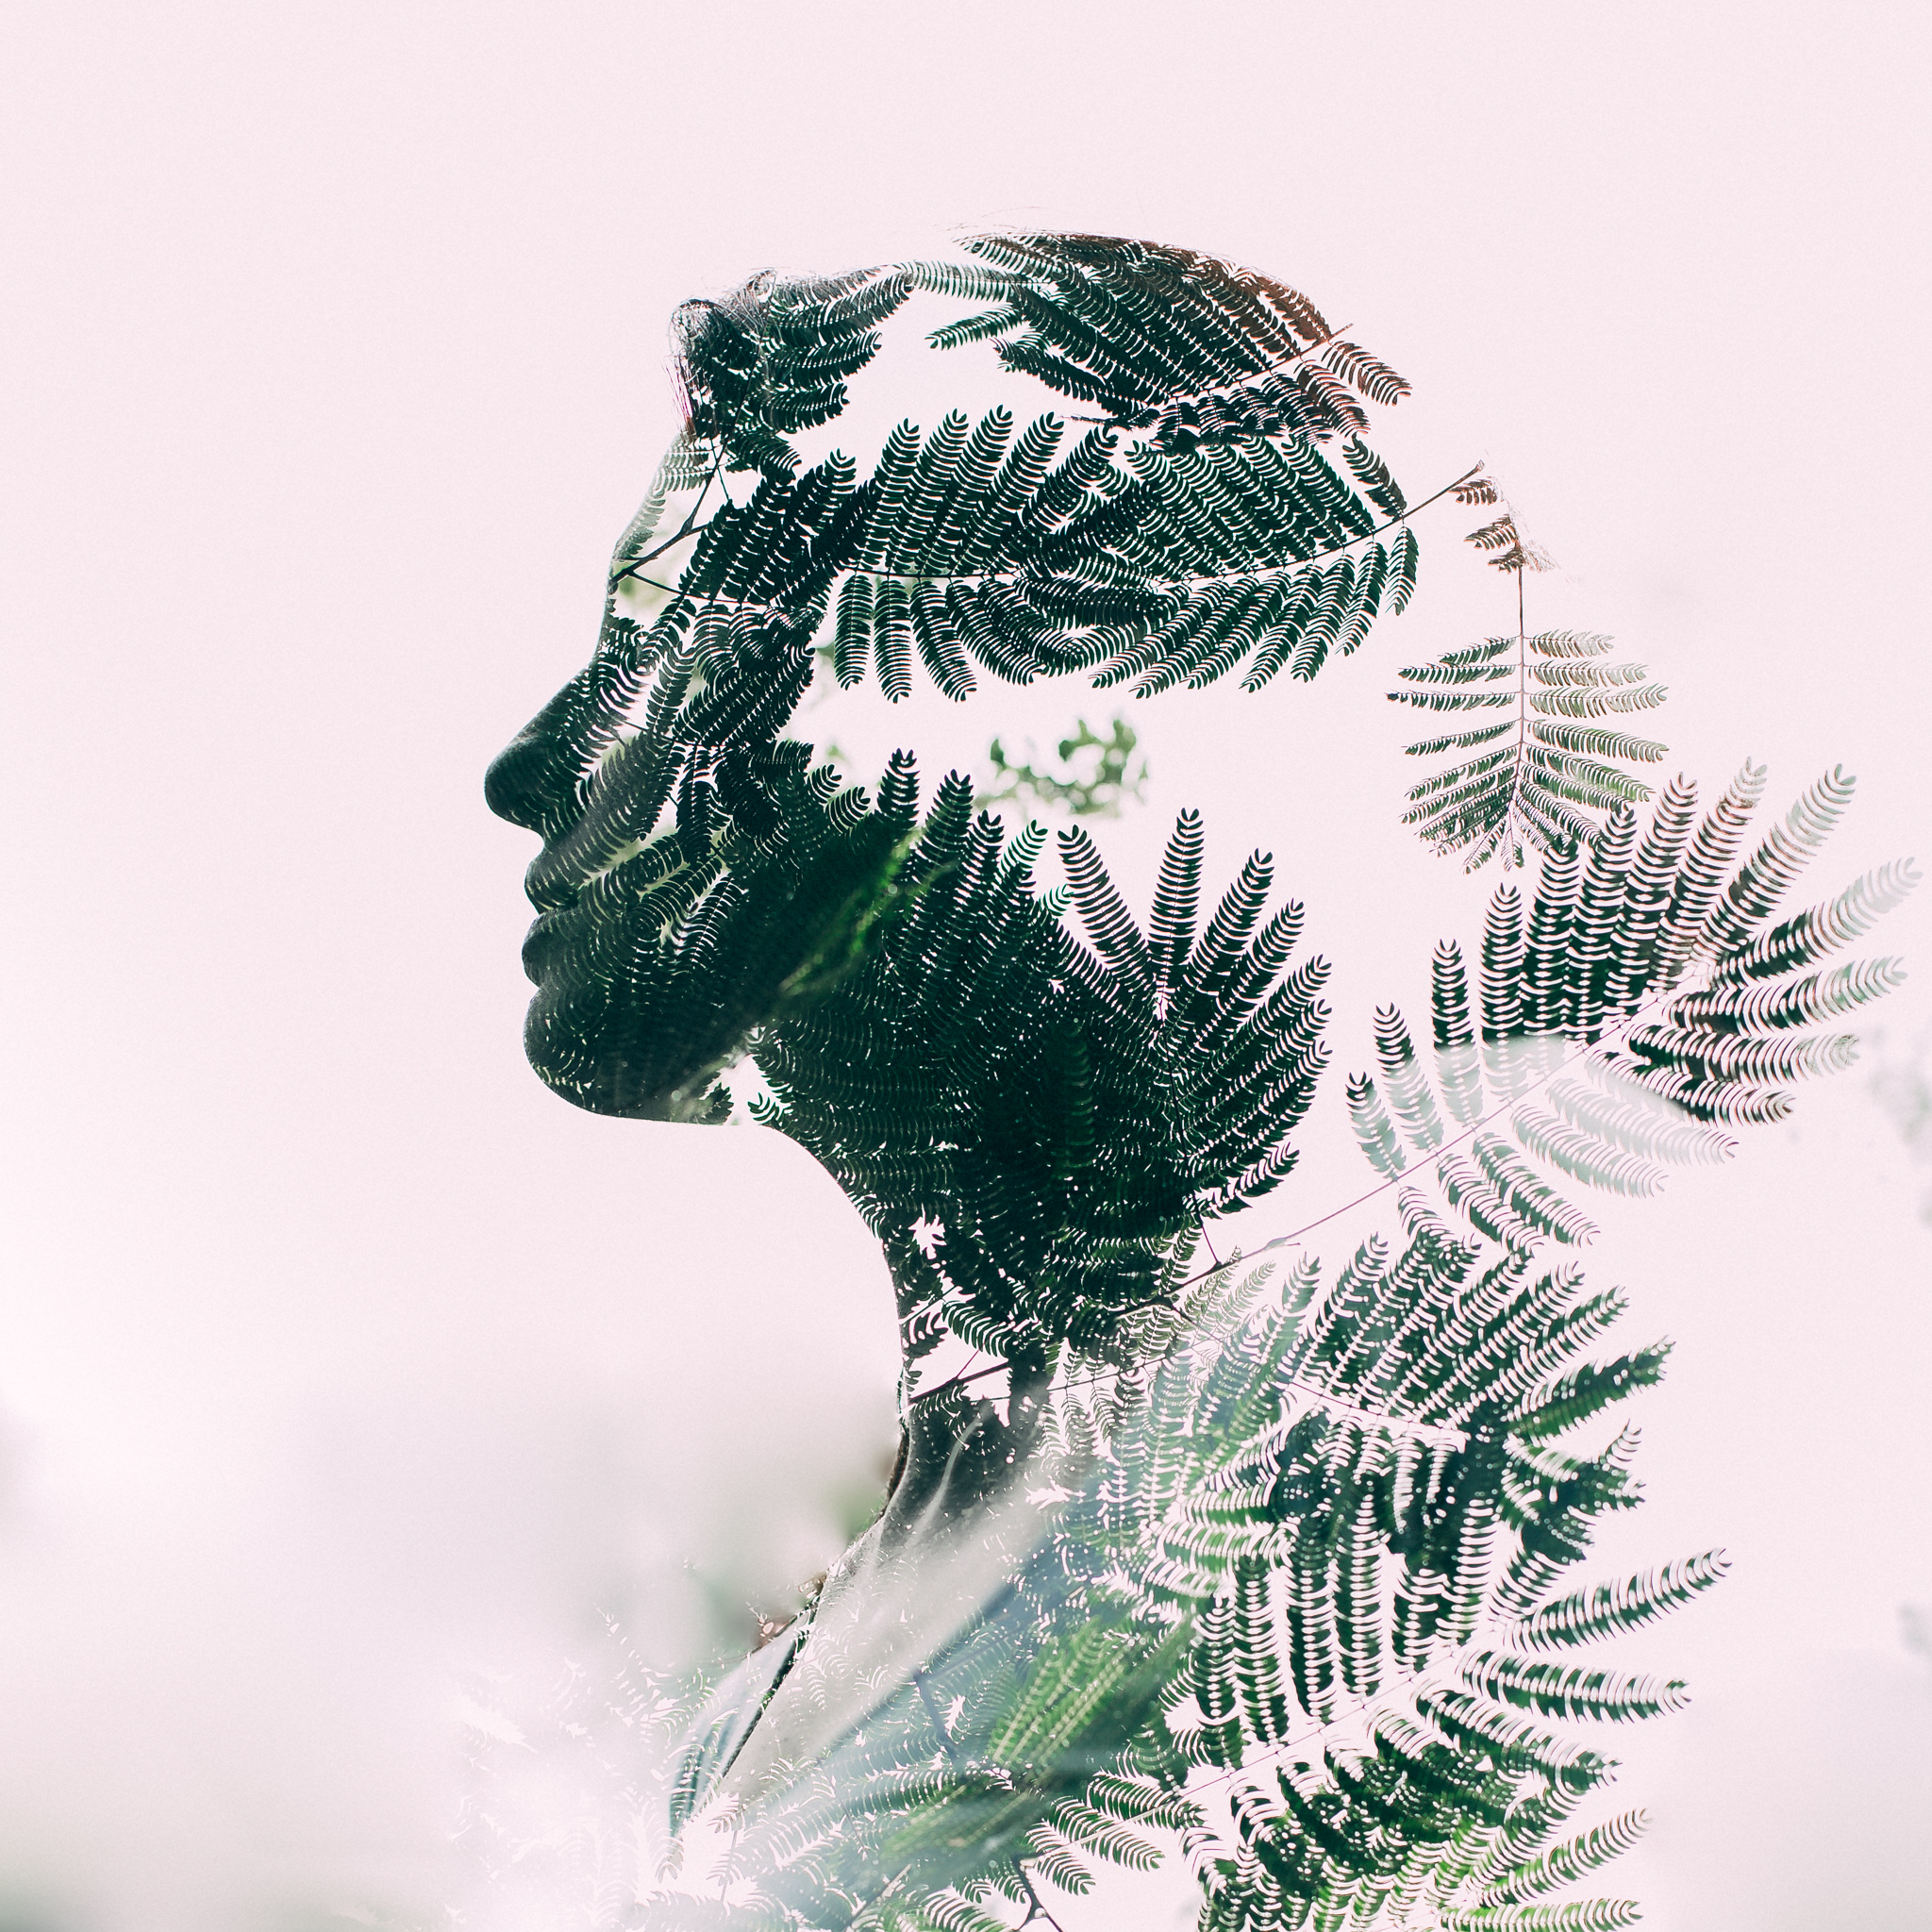
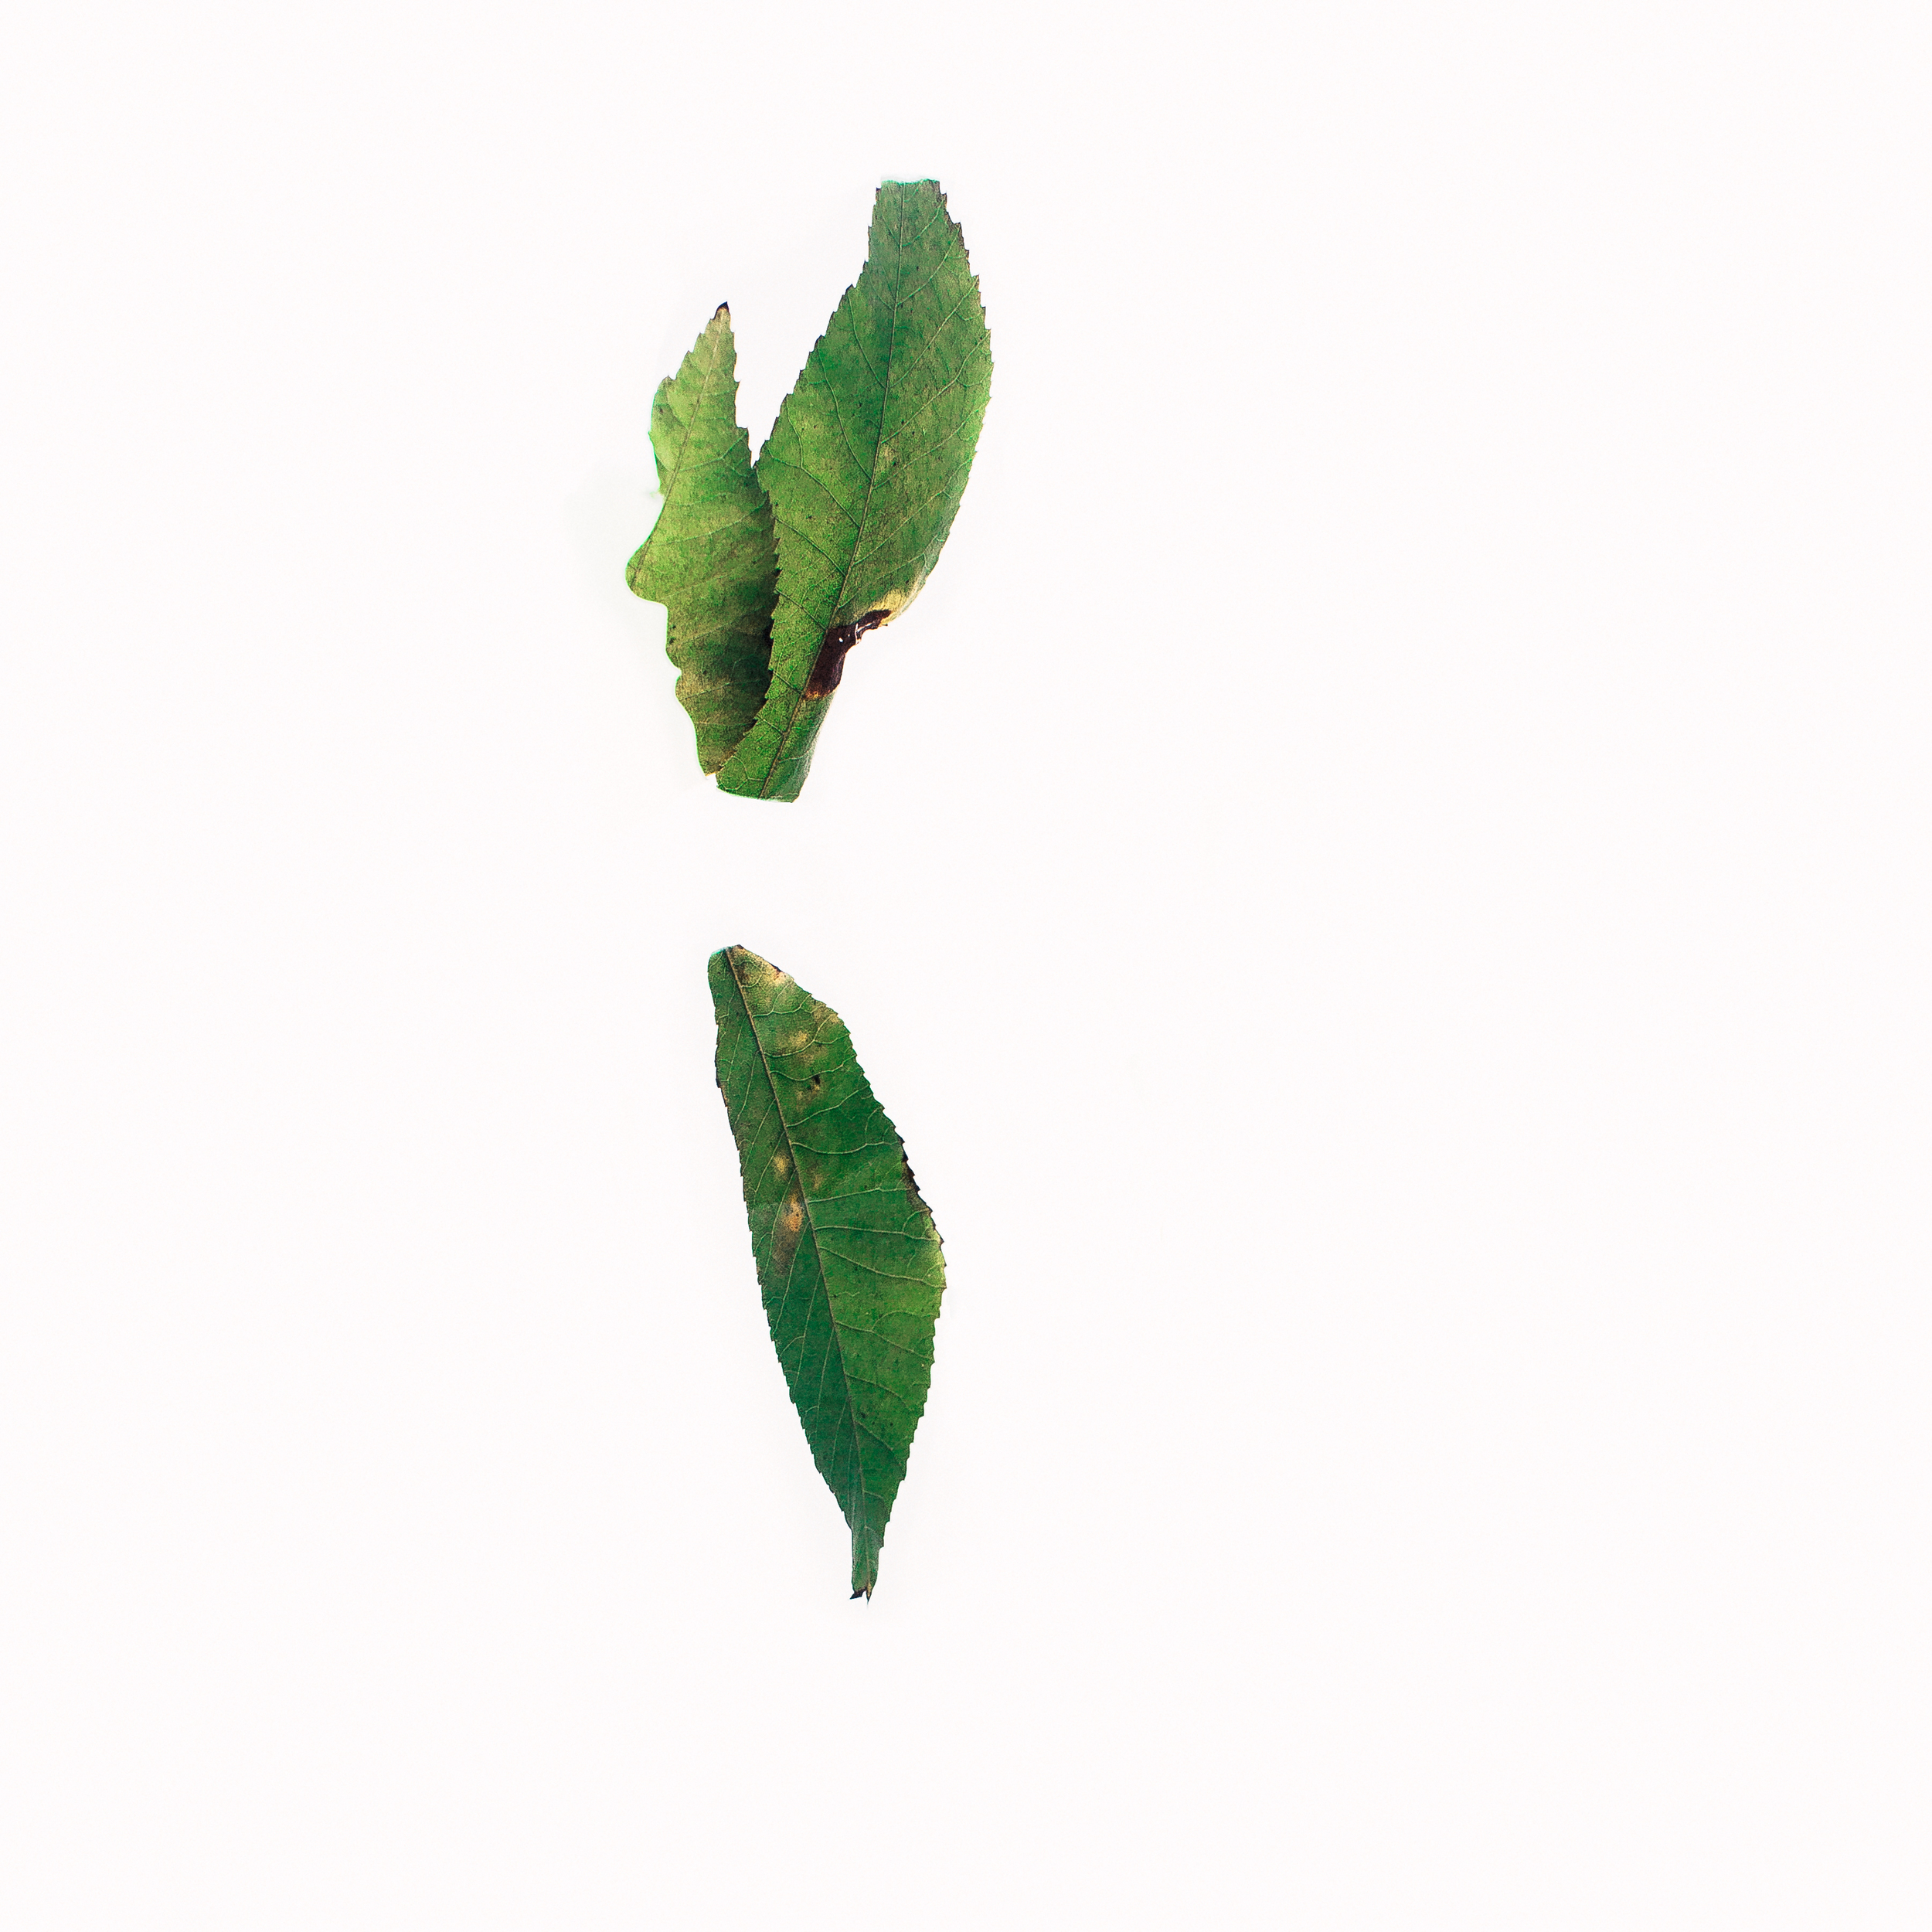
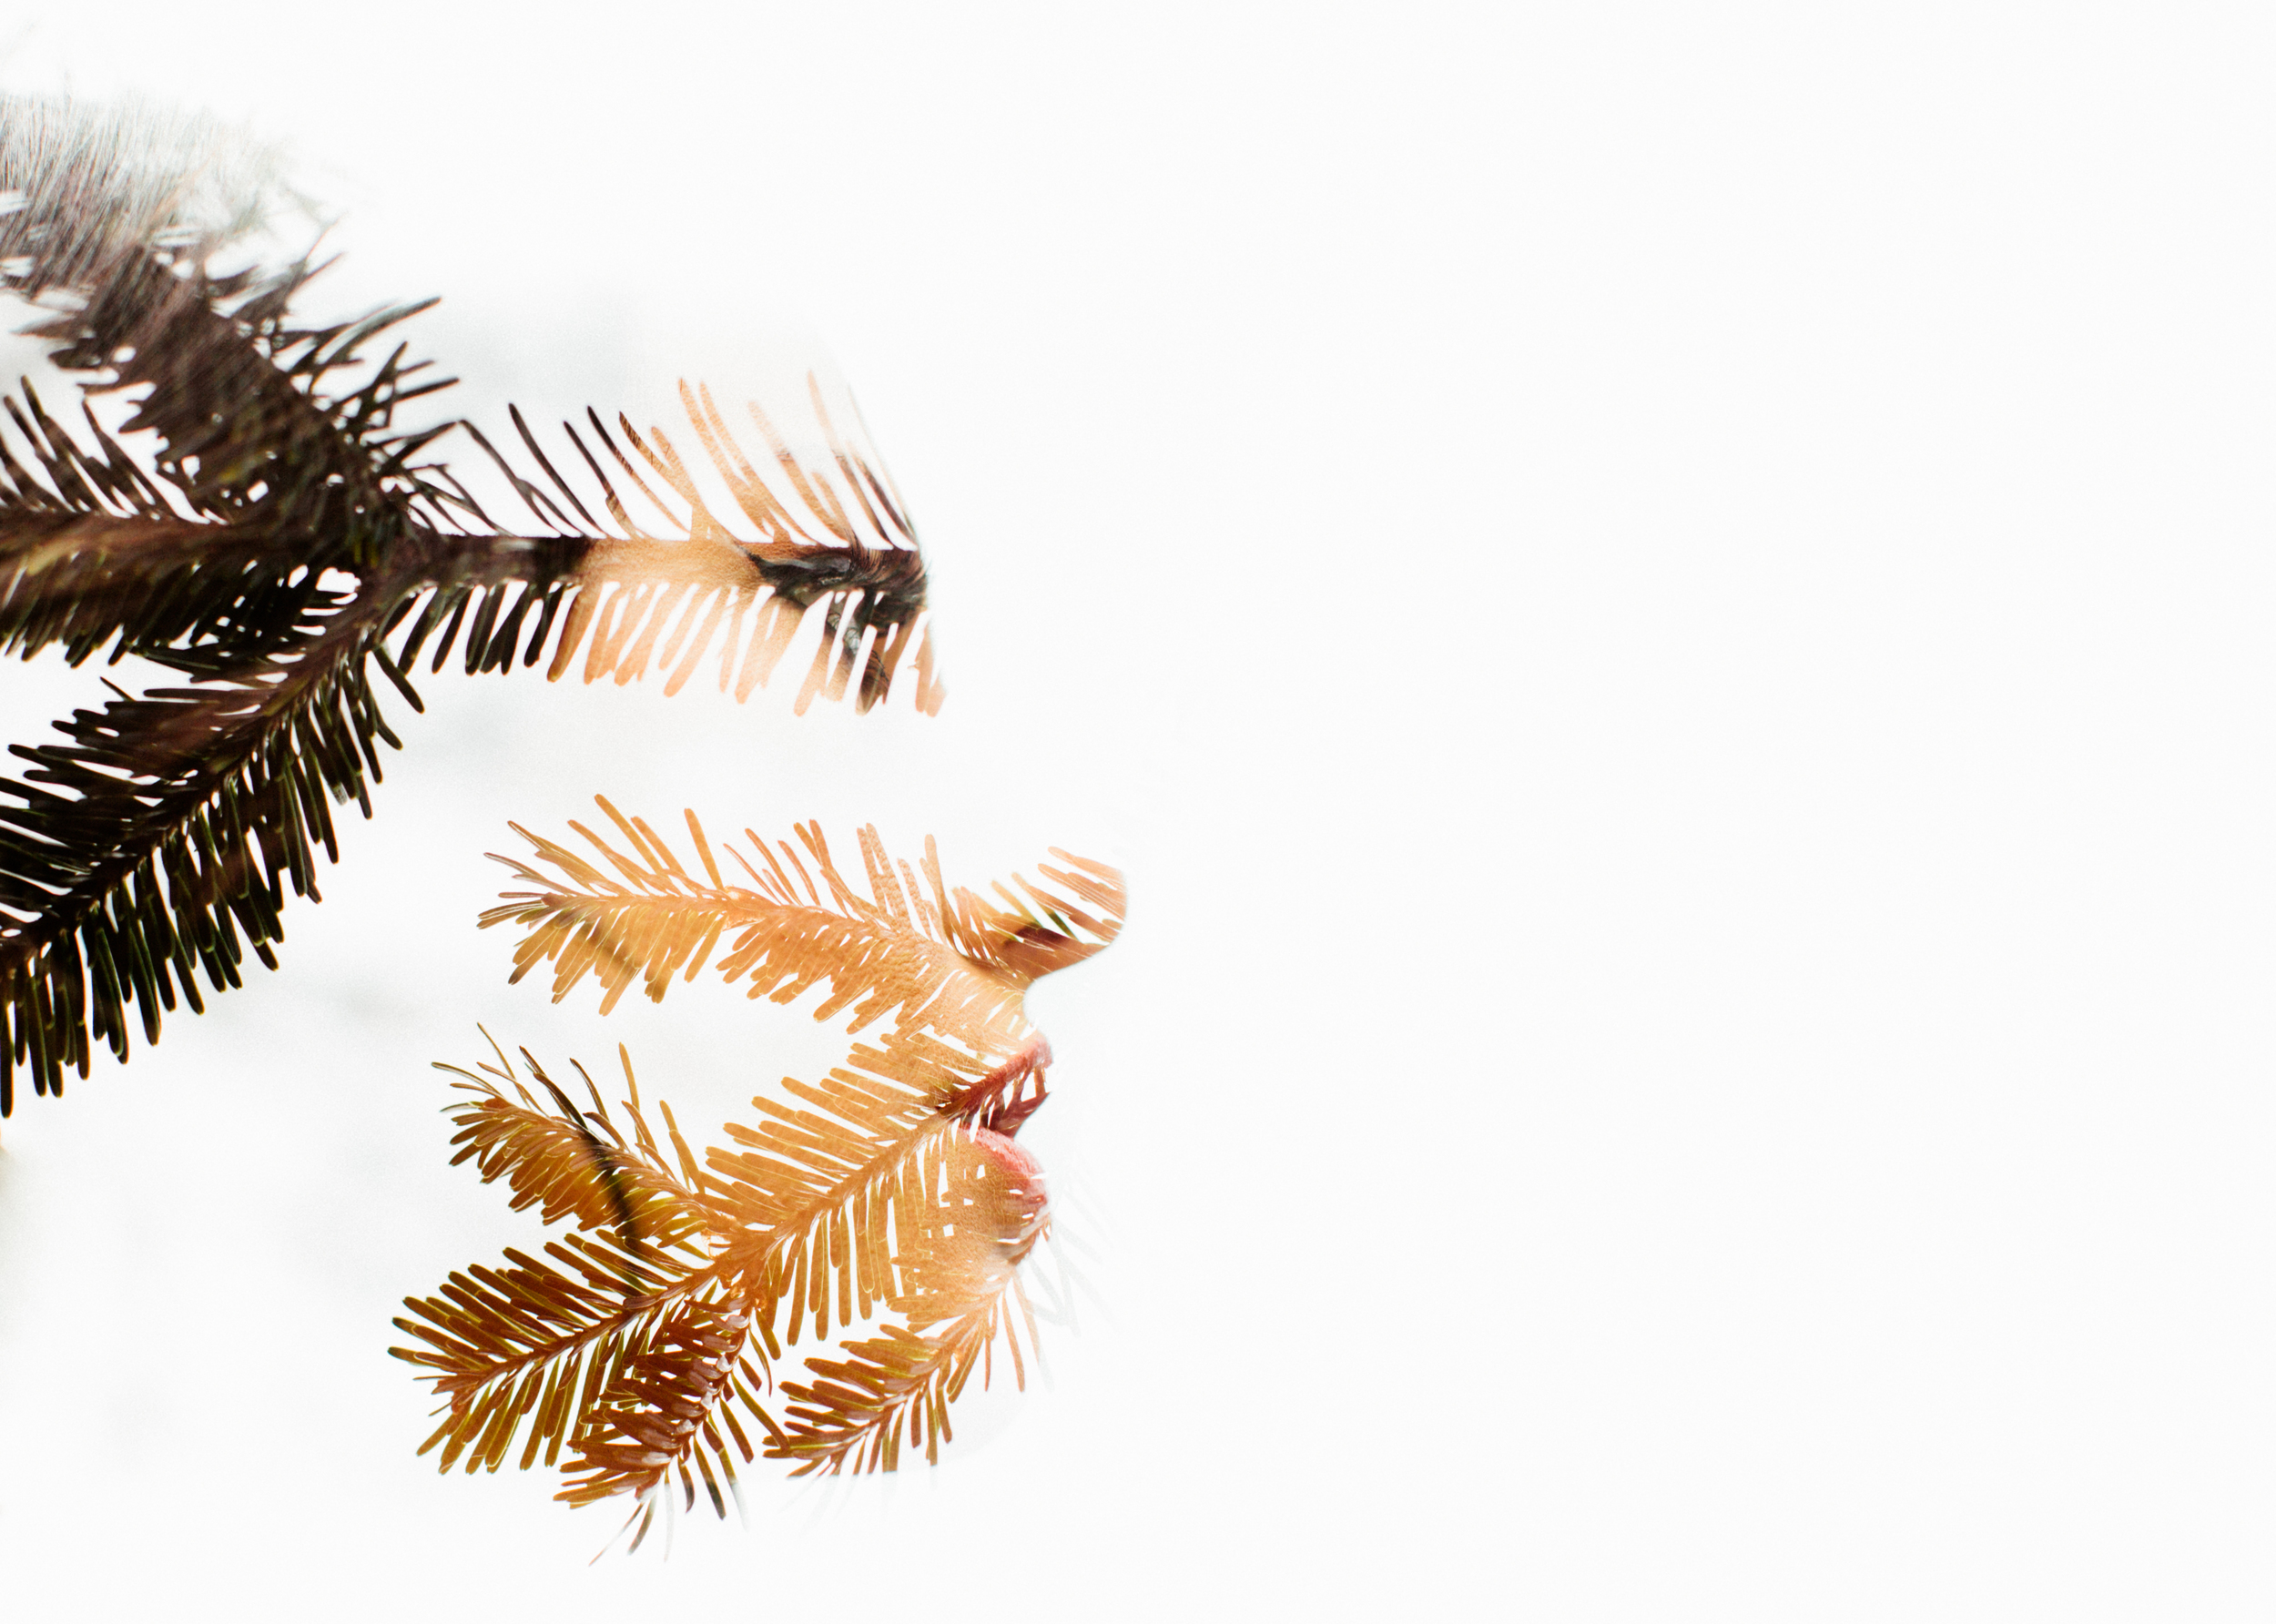
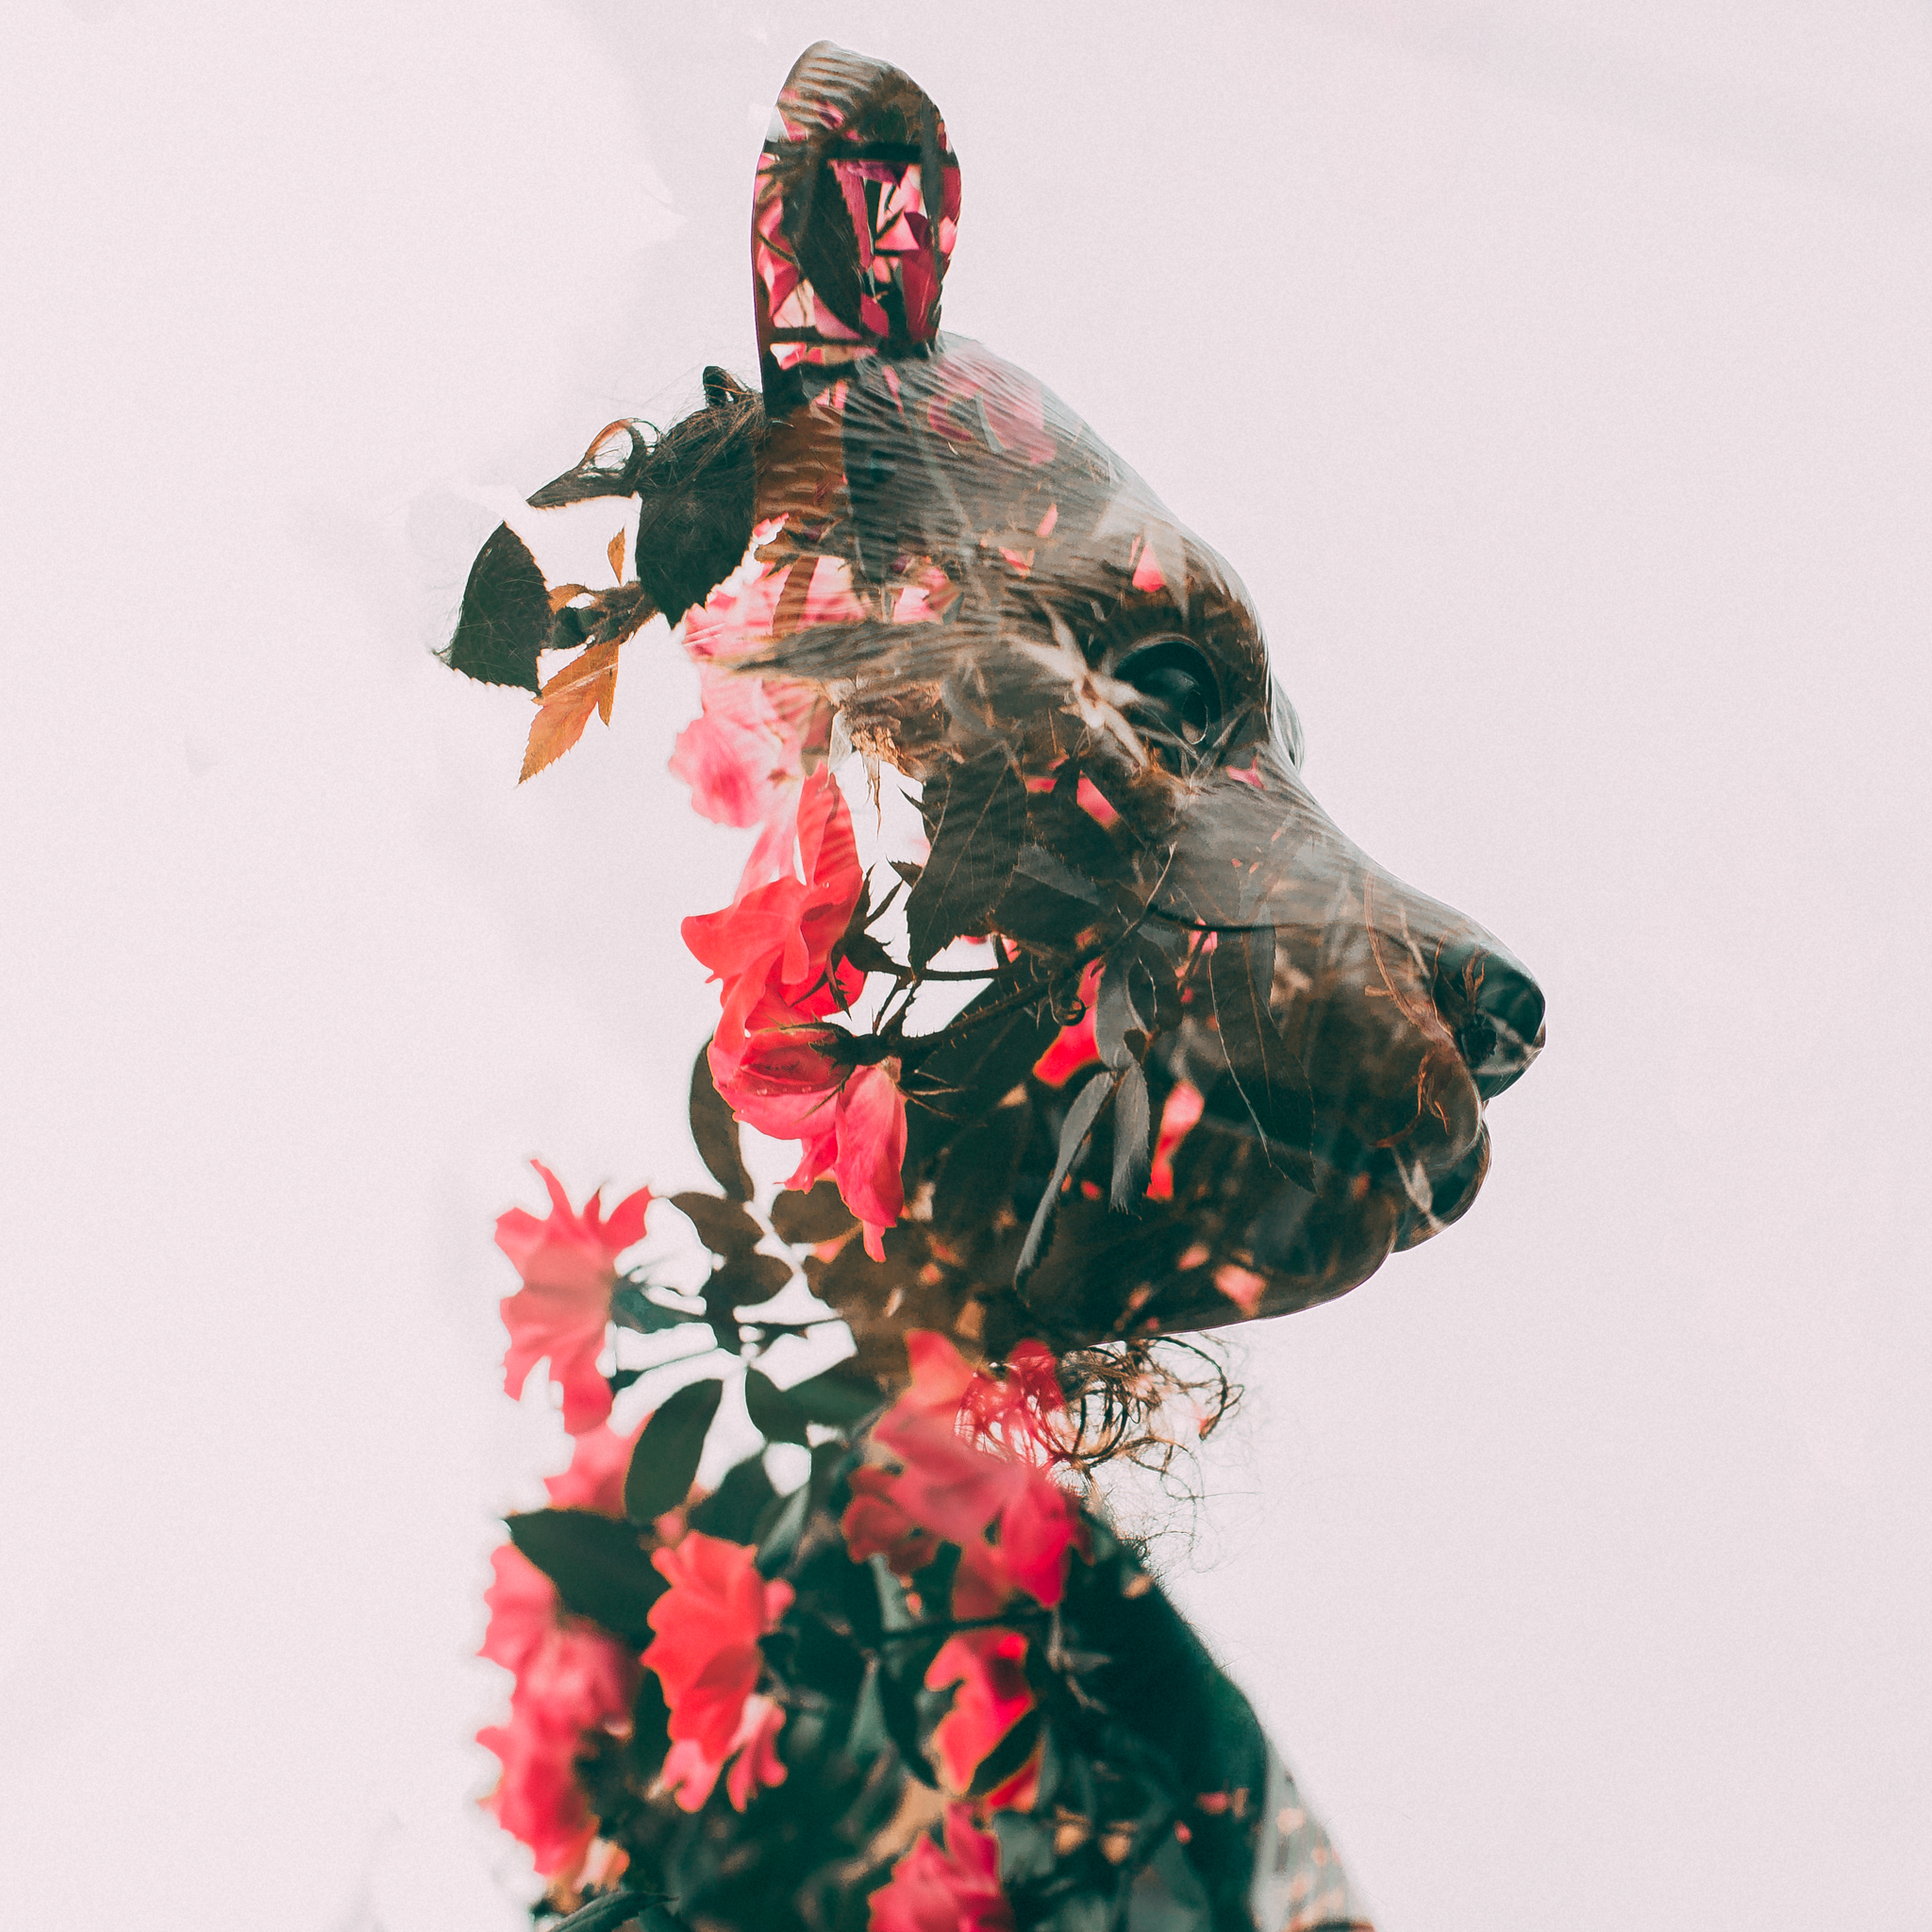
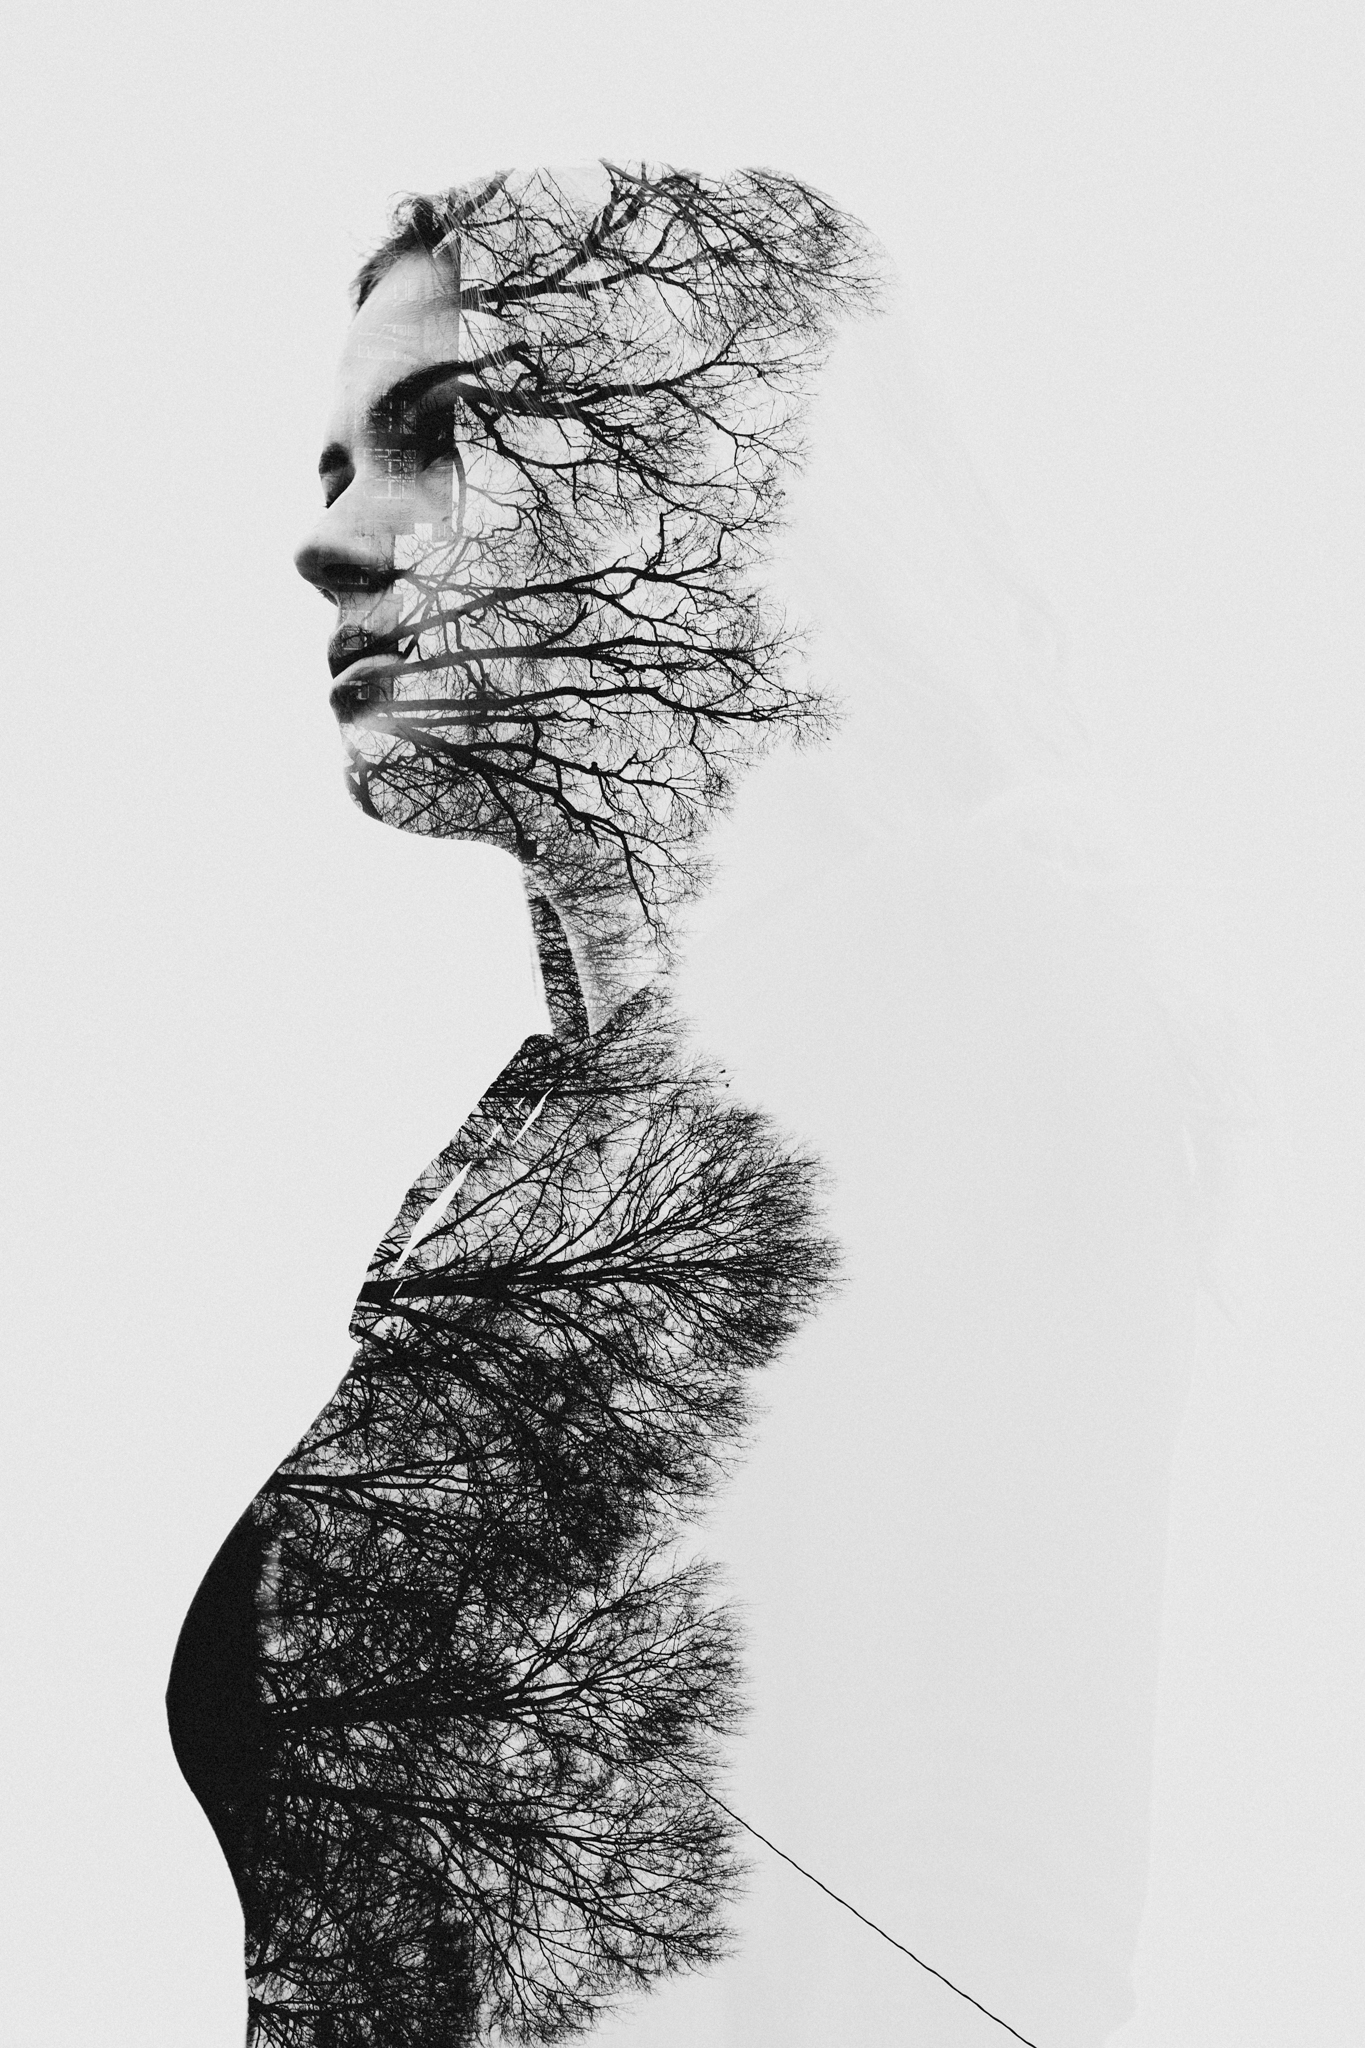
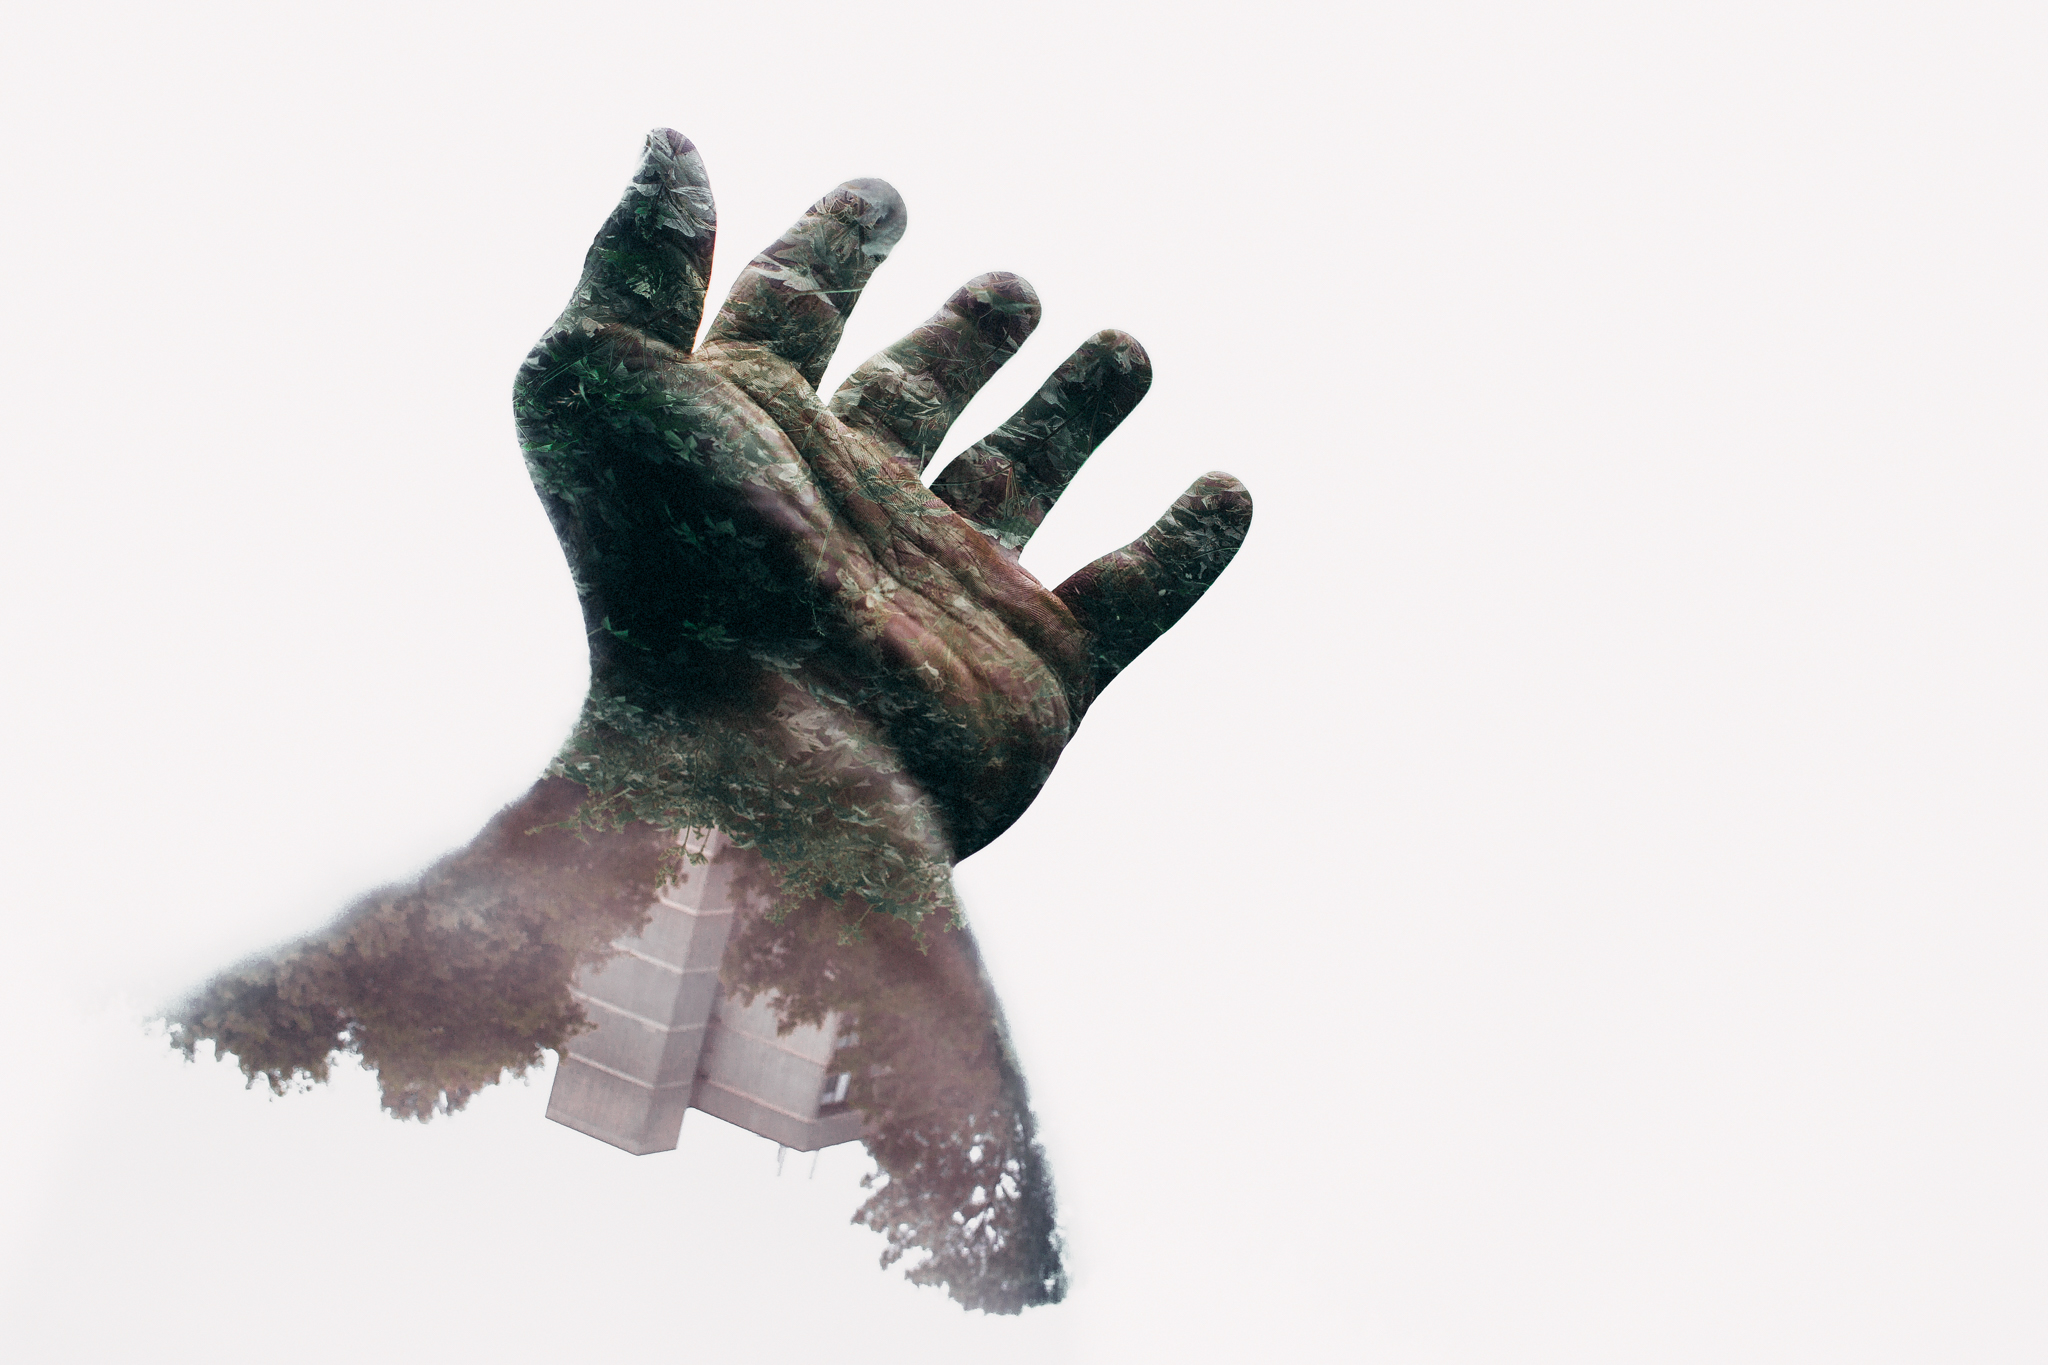
2. Find the background/fill image. Trees, shrubs, buildings and other continual shapes and lines work well.
3. Go to "multiple exposure" mode in your DSLR (I use the 5D Mark iv). Select the first portrait image (silhouette) and go to the "live view" mode. The back of the screen will now give you a preview of your images when combined. You also want to make sure that you've set the "multiple exposure" to "additive" in the settings. This mimics the film technique of combining images.
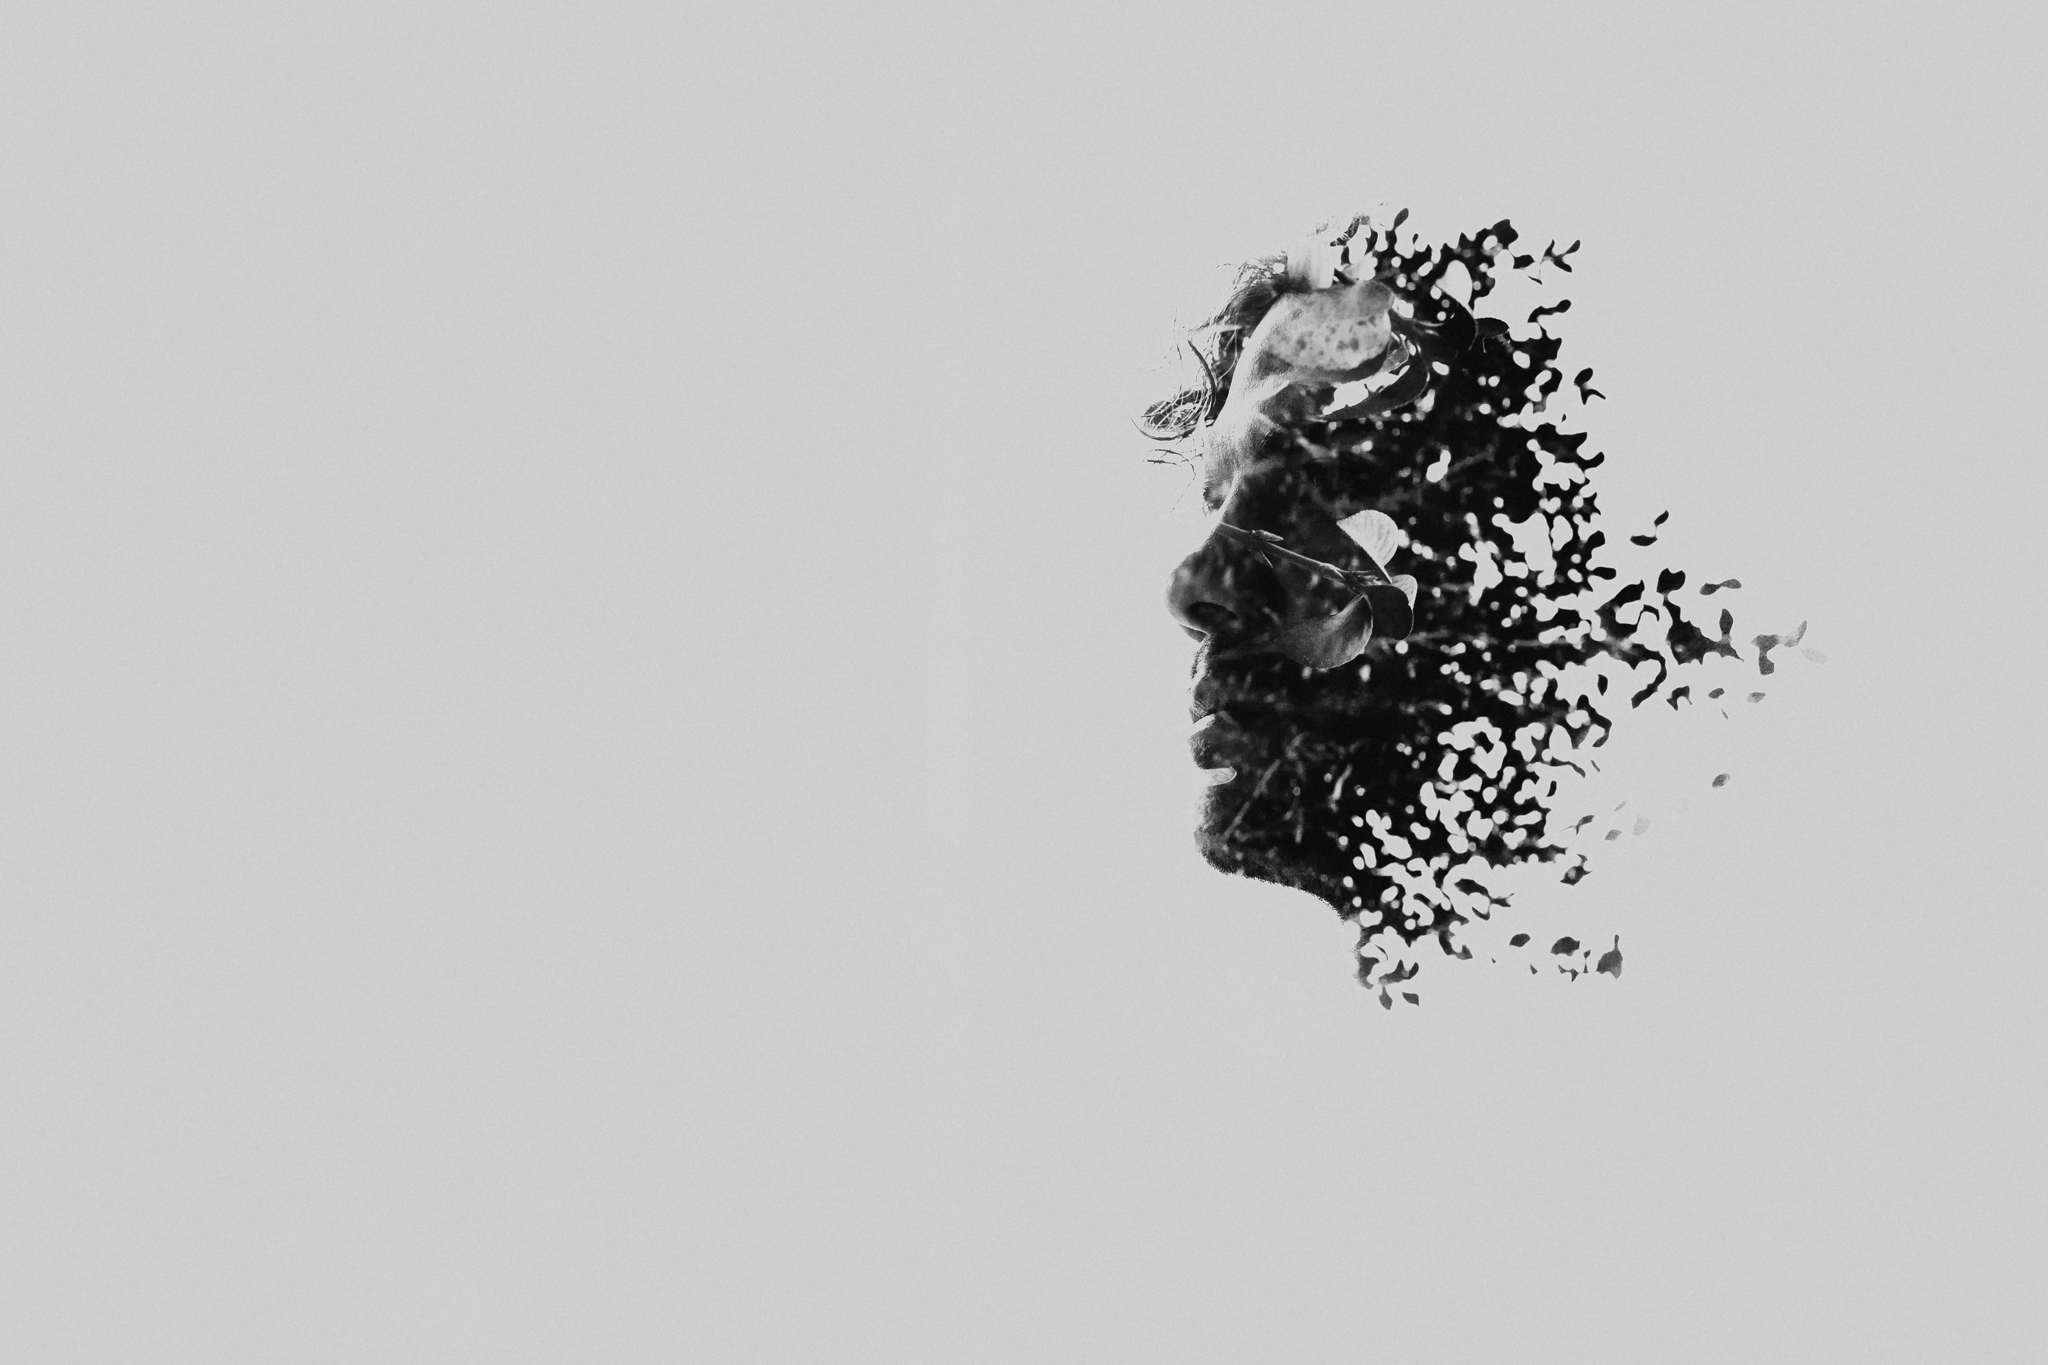
4. Take the photo. try to put the facial features in a "full" part of the the texture and have it spread out into the back of the face and head.
Challenge
Do this 10 times. Be open-minded and experiment. You'll probably come out with at least 1 you like.